 ultimate-guide
Best Hardwood Flooring Installation Techniques: A 2026 Guide
Table of Contents
- Understanding Hardwood Flooring Installation Methods
- Hardwood Flooring Subfloor Preparation: The Foundation Step
- Hardwood Floor Acclimation Time: Why It Matters
- Nail-Down Hardwood Floor Installation
- Glue-Down Hardwood Floor Installation
- Floating Click-Lock Installation for Engineered Wood
- Planning Layout, Racking, and Installation Alignment
- Common Installation Mistakes and How to Avoid Them
- Frequently Asked Questions
Last Updated: October 14, 2026
Understanding Hardwood Flooring Installation Methods
Choosing the right hardwood flooring installation technique is one of the most critical decisions you'll make. The method you select determines how your floors look, how long they'll last, and how well they'll perform in your environment.
The three primary methods are nail-down, glue-down, and floating click-lock systems. Each has distinct advantages, limitations, and ideal applications. Understanding these differences before you commit can save you thousands in future repairs.
Solid Wood vs. Engineered Hardwood
Solid wood flooring is milled from a single piece of hardwood.
Engineered hardwood is a real hardwood veneer bonded to a plywood or high-density fiberboard core.
The choice between these two affects which installation methods are viable. Solid wood works with all three methods. Engineered wood is best suited to glue-down or floating click-lock, though some engineered products can be nailed down.
How Installation Method Affects Your Choice
Installation method and flooring type are interconnected. You can't pick whichever method sounds easiest without considering the wood itself.
Nail-down works best with solid hardwood in dry, stable environments. Glue-down is the most versatile, working with both solid and engineered wood and providing excellent stability on concrete slabs.
The subfloor condition, the room's moisture profile, and the wood type should all point toward one or two viable methods.
Hardwood Flooring Subfloor Preparation: The Foundation Step
Your subfloor is everything. A perfect hardwood flooring installation built on a compromised subfloor will fail within months.
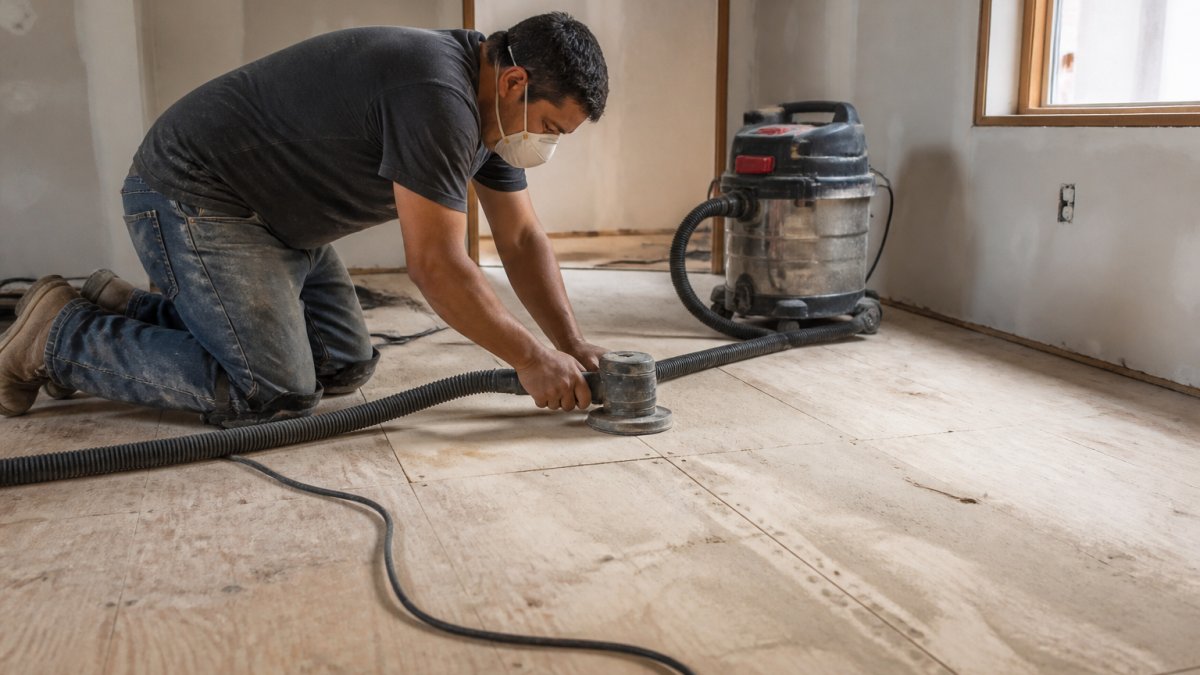
Before any flooring goes down, your subfloor must be clean, dry, level, and structurally sound. Skip this step, and you're gambling with your entire investment.
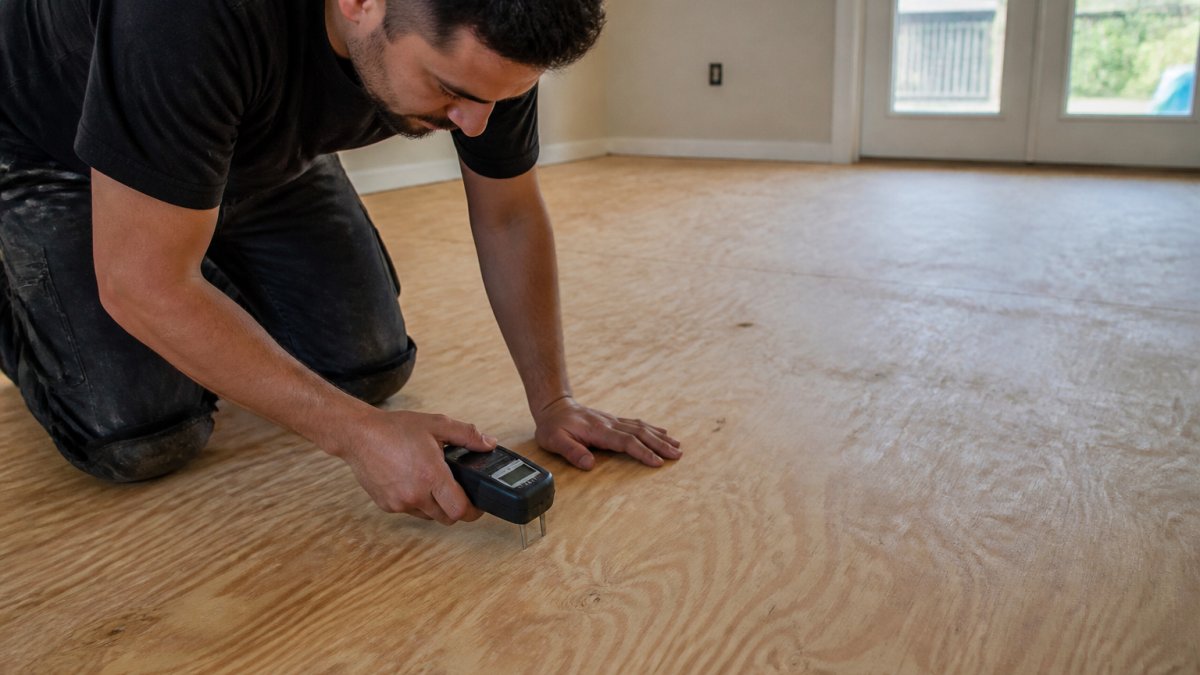
Moisture Testing and Corrective Actions
Moisture is the primary enemy of hardwood flooring. Wood expands when it absorbs moisture and contracts when it dries.
Test your subfloor's moisture content before installation using a moisture meter. If your concrete slab reads above 80% relative humidity, address the moisture issue before installing hardwood.
For wood subfloors, check for water damage, soft spots, or mold. Replace any affected sections before hardwood installation proceeds.
Leveling and Inspecting for Structural Issues
Your subfloor must be level within 3/16 inch over 10 feet for most hardwood flooring installation methods.
Use a long straightedge to identify high and low spots. Build up low areas with self-leveling compound or shims; sand down high spots.
Inspect the subfloor for structural damage, rot, or pests. Soft or bouncy areas indicate deeper problems that must be addressed first, or fasteners won't hold and your flooring will shift and squeak.
Hardwood Floor Acclimation Time: Why It Matters
Hardwood is a natural material that responds to humidity and temperature changes. Before installation, it must acclimate to the environment where it will live permanently.
Acclimation typically takes 5 to 7 days, though some manufacturers recommend longer.
Stack the flooring in the room where it will be installed, leaving space for air to circulate. Skip acclimation or shorten it too much, and the wood will move after installation, creating gaps or cupping.
Nail-Down Hardwood Floor Installation
Nail-down installation is the traditional method and remains the most common approach for solid hardwood flooring. It's durable, allows future refinishing, and works well in dry, stable environments.
When to Use Nail-Down Installation
Nail-down is best when installing solid hardwood over a wooden subfloor in a dry area. It's ideal for living rooms, bedrooms, and hallways, anywhere moisture levels are controlled and stable.
Don't use nail-down over concrete slabs, in basements, or in kitchens where moisture exposure is likely. Fasteners won't hold in concrete, and the wood will absorb moisture from the slab, causing failure.
Step-by-Step Nail-Down Process
Step 1: Install underlayment (if desired). A thin underlayment reduces noise and provides a moisture barrier. It's optional but recommended in multi-story homes.
Step 4: Install the starter row. Use a flooring nailer set to the correct depth for your board thickness.
Step 6: Handle the final rows. The last row often requires cutting boards lengthwise.
Glue-Down Hardwood Floor Installation
Glue-down installation is the most versatile method. It works over concrete slabs, wood subfloors, and radiant heating systems, provides excellent stability, and is preferred for commercial applications.
When to Use Glue-Down Installation
Glue-down is your best option over concrete, in basements, kitchens, or any moisture-prone area. It's also ideal for radiant floor heating, where nails and staples would damage the heating elements. It works with both solid and engineered hardwood, making it the most flexible method.
The downside: glue-down flooring is difficult to remove and cannot be easily refinished in place. Once installed, it's there for the long term.
Step-by-Step Glue-Down Process
Step 3: Apply adhesive. Use a notched trowel to spread flooring adhesive on the subfloor; larger boards require larger notches.
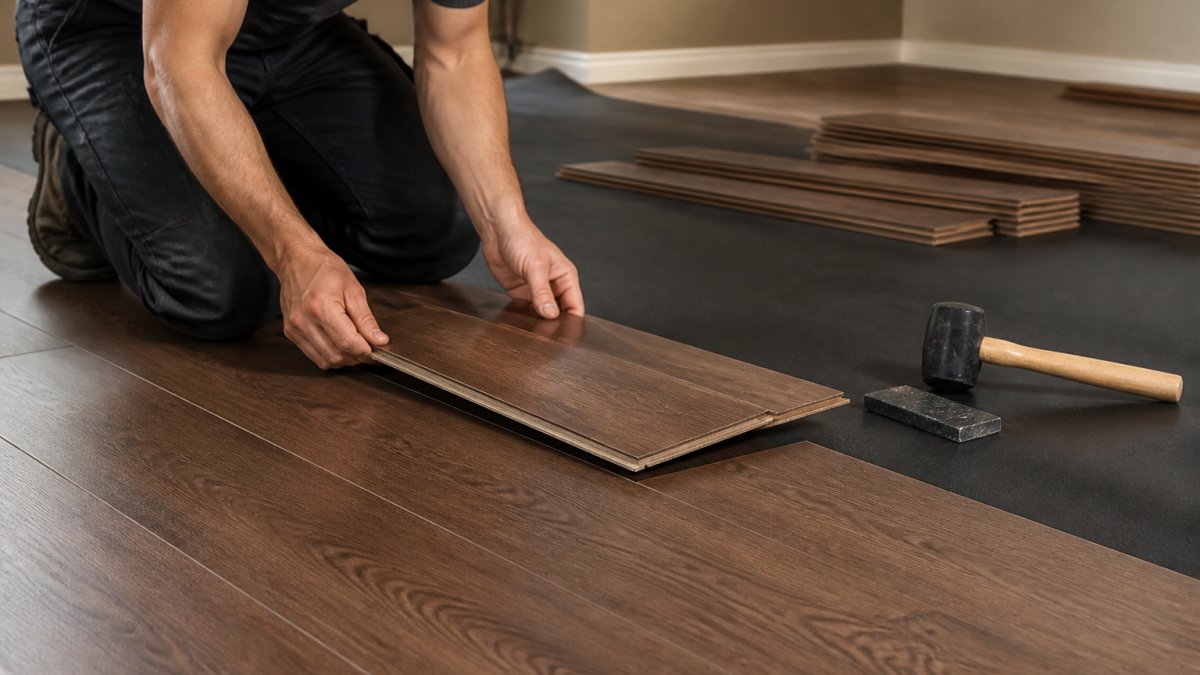
Step 4: Install boards. Press each board firmly into the adhesive, using a tapping block to seat it fully.
Step 6: Install transitions and trim. Once the adhesive is cured, install transition strips and baseboards to finish.
Floating Click-Lock Installation for Engineered Wood
Floating click-lock installation is the easiest method for DIY installers and works exclusively with engineered hardwood that has click-lock joints.
This method is ideal for renters, temporary installations, or situations where you want to avoid permanent fastening. It's the quickest method and requires the fewest tools.
Begin at one corner and work across the room, clicking boards together at the tongue-and-groove joints. Maintain expansion gaps at the perimeter, since the floor expands and contracts with humidity.
Planning Layout, Racking, and Installation Alignment
The layout of your hardwood flooring determines how it looks and how stable it will be. Poor planning here creates visible defects and structural weakness.
Choosing Your Starting Point
Most installations begin along the longest, straightest wall, running boards parallel to it for a visually pleasing, linear appearance. Some rooms benefit from running boards perpendicular to the main wall or at an angle to highlight architectural features.
Consider the room's shape, the direction of natural light, and how the flooring will flow into adjacent rooms. The goal is a layout that looks intentional and balanced, without narrow slivers at the edges or awkward transitions at doorways.
Board Racking and Staggered Joint Patterns
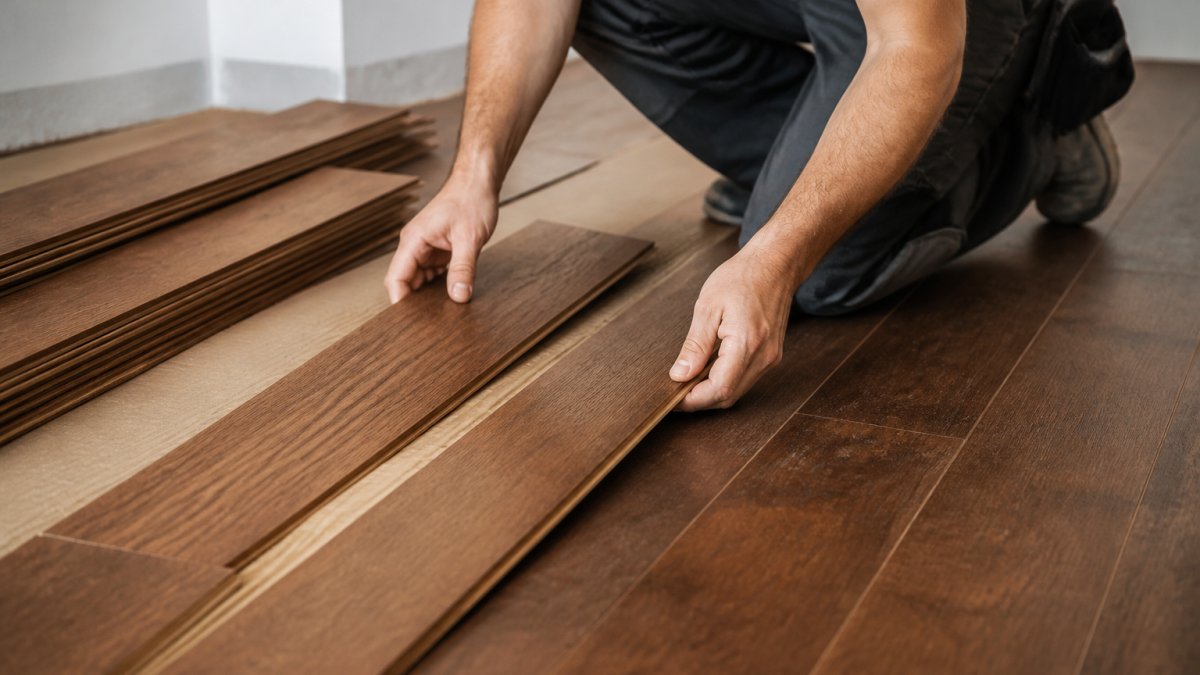
Before you fasten a single board, rack your flooring: lay out several rows dry, without fastening, to check your layout and ensure staggered joints.
Staggered joints are critical. Never align end joints in consecutive rows, which creates a weak point that can fail under foot traffic.
Racking also reveals board length issues. If your room is 15 feet long and your boards are 5 feet, you'll have joints every 5 feet no matter how you arrange them.
Managing Expansion Gaps and Transitions
Hardwood needs space to expand and contract with seasonal humidity changes. Maintain a 3/4-inch gap between the flooring and all fixed walls, door frames, and built-in features so the wood can move without buckling or cupping.
At doorways, transitions, and changes in floor height, install transition strips that bridge the gap between flooring types or levels. These protect the edges of your hardwood and create a finished appearance.
Common Installation Mistakes and How to Avoid Them
Countless hardwood flooring installations can go wrong. Most failures trace back to a handful of preventable mistakes.
Moisture-Related Failures
The most common cause of hardwood flooring failure is moisture. Floors that cup, buckle, or develop gaps almost always have a moisture problem at their root.
Avoid this by testing your subfloor's moisture content before installation, addressing moisture issues before the flooring goes down, and allowing proper acclimation time. Don't install hardwood in basements or areas with active moisture problems without first installing a vapor barrier and resolving the moisture issue.
Poor Layout Planning and Alignment Issues
Rushing the layout phase creates visible defects. Floors installed without proper planning often have narrow slivers at the edges, misaligned joints, or awkward transitions at doorways.
Spend time planning your layout. Rack your flooring before fastening anything. Measure twice, install once. A few extra hours of planning prevents days of regret.
Fastener and Adhesive Mistakes
Using the wrong fastener size, spacing fasteners too far apart, or missing the joists creates squeaks and movement. The wrong adhesive, or applying it incorrectly, causes glue-down floors to fail.
Follow the manufacturer's specifications for fastener type, size, and spacing. For glue-down installations, use the recommended adhesive and the correct notch trowel. These details matter.
The difference between a hardwood flooring installation that lasts decades and one that fails within years often comes down to preparation, attention to detail, and choosing the right method for your situation. At Freddie Sanchez Hardwood Floors, we handle every aspect of this process, from moisture testing and subfloor preparation through final installation and finishing, with clear communication at every stage. If you're planning a hardwood flooring project and want expert guidance tailored to your home's conditions, get a free quote and let's discuss the best approach for your space.
Frequently Asked Questions
How long should hardwood flooring acclimate before installation?
Hardwood flooring acclimation time typically ranges from 3 to 14 days, depending on the wood species, humidity levels in your home, and the flooring type. Solid hardwood generally requires longer acclimation than engineered wood. Place flooring in the installation room unopened, allowing the wood to adjust to the room's temperature and humidity. This prevents cupping, crowning, and gaps after installation. Check the manufacturer's guidelines for your specific product.
What is the difference between nail-down and glue-down hardwood floor installation?
Nail-down hardwood floor installation uses fasteners to secure boards to the subfloor and works best on wood subfloors. Glue-down hardwood floor installation applies adhesive to bond boards directly to concrete, plywood, or other subfloors. Nail-down is faster and allows easier future removal; glue-down provides superior moisture resistance and works on concrete slabs. Choose based on your subfloor type, moisture levels, and project requirements.
How do you prepare a subfloor for hardwood flooring installation?
Start with moisture testing using a moisture meter, subfloors should measure between 5% and 12% moisture content. Level the surface to within 1/8 inch over 10 feet, repair any structural damage, and remove old flooring if necessary. For concrete subfloors, apply a moisture barrier or primer. For wood subfloors, ensure they're solid and well-ventilated. Clean thoroughly to remove dust and debris. This hardwood flooring subfloor preparation prevents installation failures and ensures long-term durability.
Is it better to hire a professional or install hardwood flooring yourself?
Professional installation ensures proper moisture testing, correct fastener placement, perfect alignment, and warranty coverage. DIY installation saves labor costs but requires specialized tools, technical knowledge, and significant time. Mistakes in moisture management, layout, or fastening can cause cupping, squeaks, and premature failure. For older homes with moisture concerns, uneven subfloors, or complex layouts, professional installation is strongly recommended. Professionals also handle transitions, doorways, and obstacles more effectively.
What causes hardwood floors to cup or crown after installation?
Cupping (edges higher than center) or crowning (center higher than edges) occurs when moisture imbalance develops after installation. This happens when subfloor moisture was too high, acclimation was skipped, or humidity levels fluctuate significantly after installation. Prevent this by testing subfloor moisture before installation, acclimating wood properly, using moisture barriers on concrete, maintaining consistent indoor humidity (30-50%), and ensuring proper fastener spacing. Once cupping occurs, you may need sanding or board replacement.
Which hardwood installation method works best for concrete subfloors?
Glue-down hardwood floor installation is the best choice for concrete subfloors because adhesive creates a moisture barrier between the wood and concrete. Engineered wood with glue-down installation offers superior moisture resistance compared to solid wood. Nail-down installation does not work on concrete. Always apply a moisture barrier or primer to concrete before glue-down installation, and test moisture levels to ensure concrete is dry enough for wood flooring.
How do you layout hardwood flooring to avoid visible seams and pattern issues?
Start your first row parallel to the longest wall or the room's main sightline. Rack boards (arrange them in a pattern) before fastening to ensure staggered joints and varied plank lengths. Avoid aligning end joints in consecutive rows, which creates visible lines. Plan your layout so the last row won't be too narrow, if necessary, rip the first and last rows to equal widths. Leave 1/2 inch expansion gaps around perimeter walls and obstacles. This planning prevents poor aesthetics and ensures stable installation.