 ultimate-guide
Hardwood Floor Installation Quality Standards: A Complete Guide
Table of Contents
- Understanding Hardwood Floor Installation Quality Standards
- Pre-Installation Site Assessment and Environmental Conditions
- Subfloor Preparation for Hardwood Flooring
- Hardwood Flooring Acclimation Requirements
- Installation Methods by Flooring Type
- Hardwood Floor Installation Checklist for Quality Control
- Hardwood Floor Installation Warranty Coverage
- Common Installation Defects and How to Identify Them
- Frequently Asked Questions
Last Updated: October 20, 2026
Understanding Hardwood Floor Installation Quality Standards
Hardwood floor installation quality standards define the measurable criteria that separate professional-grade work from substandard installations. At Freddie Sanchez Hardwood Floors, we understand that these standards aren't arbitrary; they're designed to protect your investment.
The difference between a floor that lasts 20 years and one that fails in five often comes down to whether the installer followed established quality benchmarks during site preparation, acclimation, and installation.
This guide covers the complete framework for evaluating hardwood floor installation quality, from pre-installation assessment through post-installation inspection.
Pre-Installation Site Assessment and Environmental Conditions
Before any hardwood flooring can be installed, the jobsite must meet specific environmental and structural requirements. This phase determines whether the installation will succeed or fail, yet it's often rushed or overlooked entirely.
Temperature and Relative Humidity Requirements
The environment where hardwood flooring will live must remain stable. Hardwood naturally expands and contracts with changes in moisture and temperature.
The ideal range is 60-80 degrees Fahrenheit with relative humidity between 30-50 percent.
Document these readings before work starts. Use a calibrated hygrometer and thermometer to record baseline conditions. This documentation becomes essential if disputes arise later about whether the installer met their obligations.
Jobsite Conditions and Local Building Codes
Every property falls under specific building codes and ordinances that govern flooring installation. These regulations exist to ensure structural safety and compliance with local standards.
Before installation begins, verify that your project complies with local building codes and any applicable HOA covenants.
Jobsite conditions also include access, protection of existing structures, and coordination with other trades. The installer should protect walls, fixtures, and other surfaces from damage during the installation process.
Subfloor Preparation for Hardwood Flooring
The subfloor is the foundation upon which hardwood flooring rests. Its condition directly determines the quality and longevity of the finished floor. This is where most installation problems originate.
Cleanliness, Flatness, and Structural Soundness
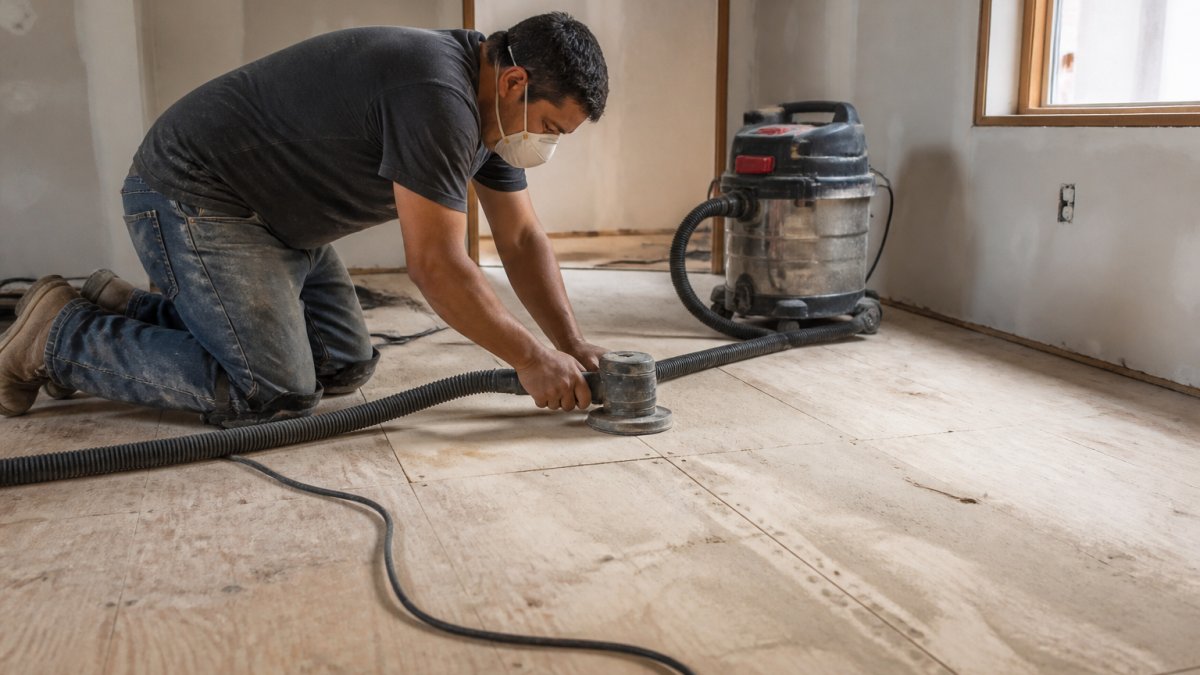
A clean subfloor is the baseline requirement. Dust, debris, adhesive residue, and old flooring material must be completely removed.
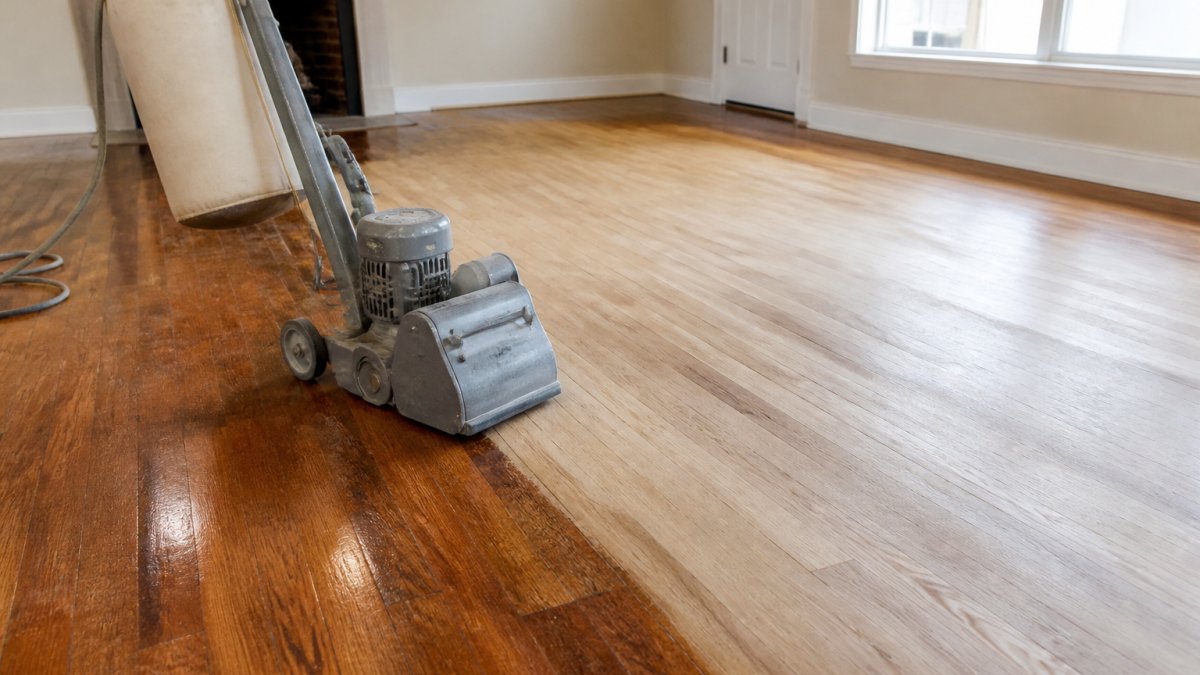
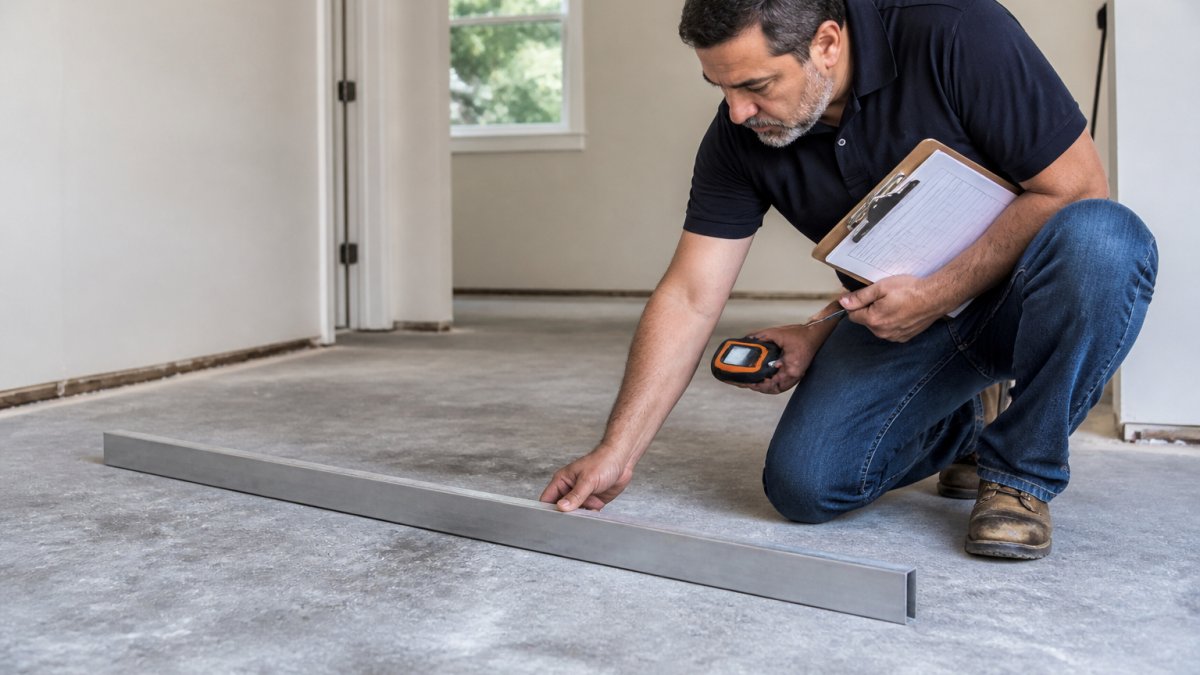
Flatness matters equally. The subfloor must not deviate more than 3/16 inch over a 10-foot span when measured with a straightedge. High spots can prevent proper fastening or cause the hardwood to rock.
Structural soundness means the subfloor must be solid and free of rot, water damage, or movement.
Moisture Testing and Acceptable Moisture-Content Differences
Moisture is the primary enemy of hardwood flooring. Excess moisture causes the wood to expand, leading to cupping, crowning, and buckling. Insufficient moisture causes shrinkage and gap formation.
Before installation, the subfloor moisture content must be tested using a calibrated moisture meter. For concrete subfloors, perform calcium chloride or relative humidity testing to ensure moisture levels are acceptable.
Document all moisture readings with date, time, location, and meter calibration information.
Hardwood Flooring Acclimation Requirements
Hardwood flooring must acclimate to the jobsite environment before installation. Acclimation allows the wood's moisture content to equilibrate with the surrounding air, preventing excessive movement after installation.
Solid hardwood typically requires 7-14 days of acclimation, while engineered hardwood may need 3-7 days, depending on the product specifications.
Many installers skip or shorten this step to meet tight schedules, but this is a false economy.
Installation Methods by Flooring Type
Different hardwood flooring products require different installation methods. The correct method depends on whether you're installing solid hardwood or engineered hardwood and whether the floor is above grade, on grade, or below grade.
Solid Hardwood vs. Engineered Hardwood Installation
Solid hardwood is 3/4 inch thick and consists entirely of hardwood. It's installed using nails or cleats fastened through the tongue into the subfloor.
Engineered hardwood has a hardwood veneer over a plywood or high-density fiberboard core.
The installer must follow the manufacturer's specifications for the specific product being installed. Mixing installation methods or deviating from specifications voids the warranty and creates installation defects.
Glue-Down, Nail-Down, and Floating Floor Methods
Nail-down installation is the traditional method for solid hardwood above grade.
Glue-down installation uses adhesive to bond the flooring to the subfloor. This method works for both solid and engineered hardwood and is required for on-grade and below-grade installations.
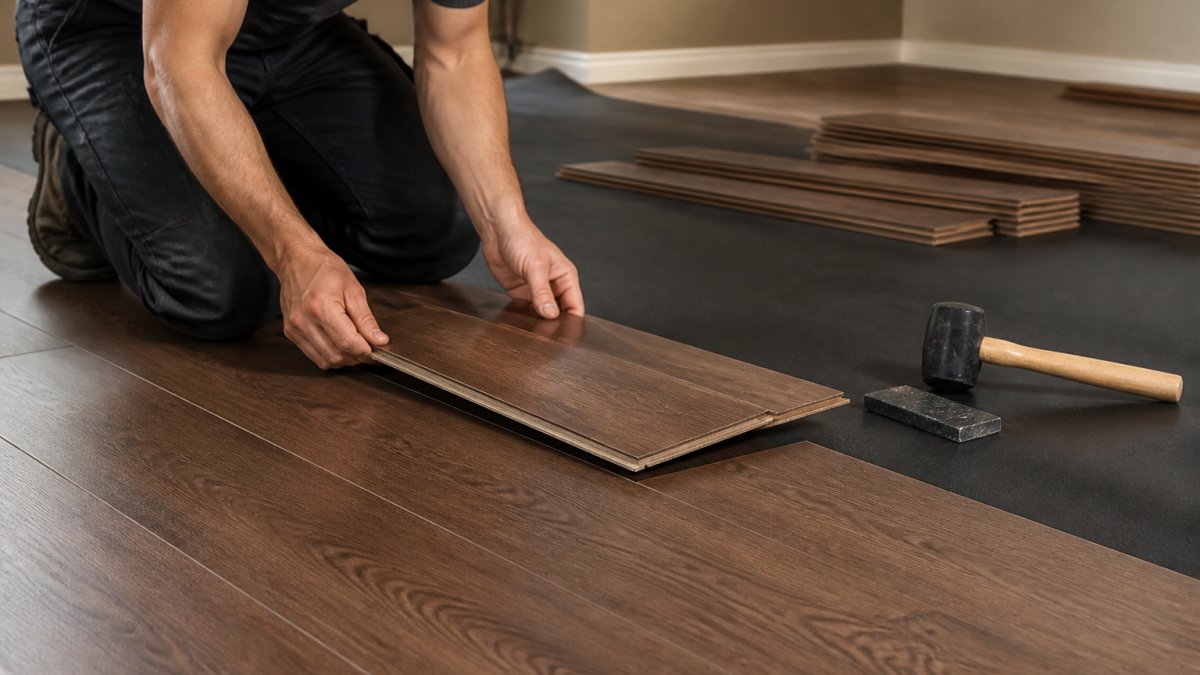
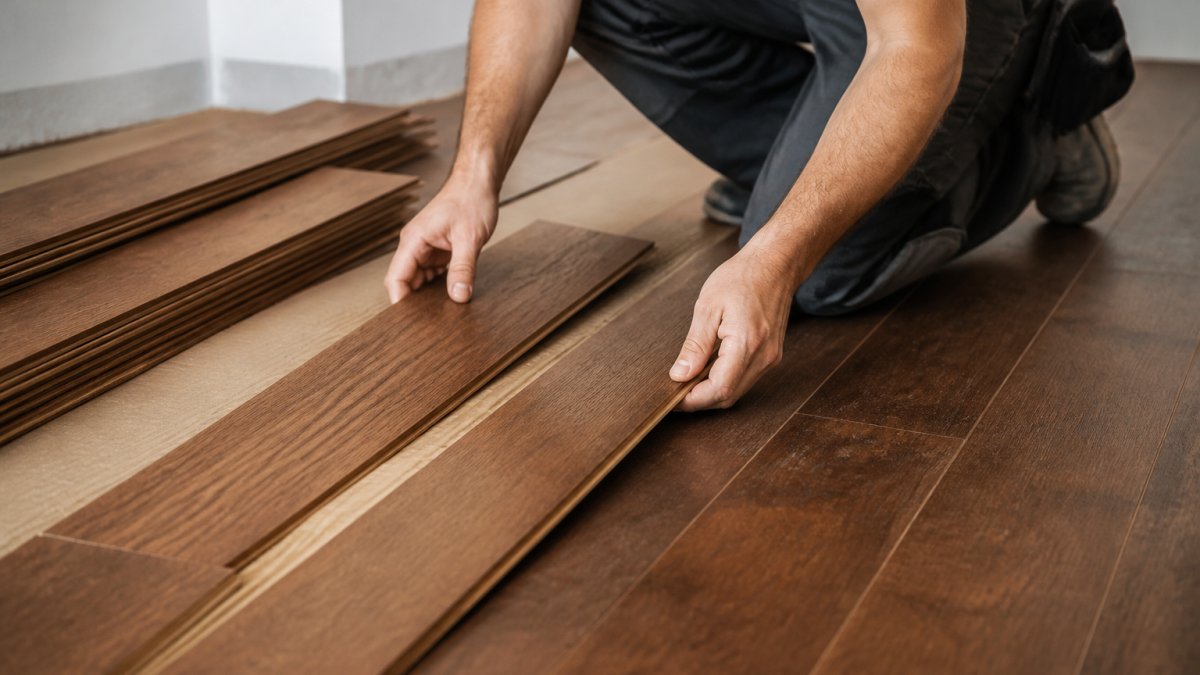
Floating floors are not fastened to the subfloor. Instead, planks are connected to each other with tongue-and-groove joints or click systems.
Hardwood Floor Installation Checklist for Quality Control
A professional hardwood floor installation quality checklist ensures nothing is overlooked. This checklist should be completed at three critical phases: before installation begins, during the installation process, and after the work is finished.
Pre-Installation Inspection Steps
Before work begins, verify the following:
- Temperature stable at 60-80°F for minimum 48 hours
- Relative humidity between 30-50 percent
- Subfloor clean, with no dust, debris, or adhesive residue
- Subfloor flatness within 3/16 inch over 10 feet
- No soft spots, rot, or water damage visible
- Moisture readings taken and documented (subfloor and flooring material)
- Moisture difference between subfloor and flooring is 4 percent or less
- Flooring has acclimated for the required time period
During-Installation Quality Monitoring
As installation proceeds, the installer should verify:
- Fasteners or adhesive applied according to specifications
- Spacing and alignment of planks consistent
- No visible gaps between planks during installation
- Expansion gaps maintained at walls and fixed objects
- Moisture and temperature conditions remain stable
- No damage to flooring during installation
- No debris or dust accumulating on the finished surface
- Installation progressing according to the agreed timeline
Post-Installation Inspection and Defect Diagnosis
After installation is complete, perform a thorough inspection:
- Walk the entire floor, listening for squeaks or movement
- Inspect the floor surface for visible defects, dents, or scratches
- Check expansion gaps at walls and fixed objects
- Verify all planks are properly seated and aligned
- Confirm moisture readings remain in acceptable range
- Document any defects with photos and measurements
- Verify the installer has cleaned the floor completely
- Confirm the warranty documentation has been provided
Hardwood Floor Installation Warranty Coverage
A professional warranty protects your investment and holds the installer accountable for quality. Understanding what a warranty should cover helps you evaluate whether an installer's offer is credible.
What Professional Warranties Should Include
A legitimate hardwood floor installation warranty typically covers labor for a minimum of one year.
Material warranties are usually provided by the flooring manufacturer, not the installer. These cover manufacturing defects in the flooring product itself.
A professional warranty should specify what is covered and for how long. Vague warranties that offer little protection often signal an installer who cuts corners.
Documenting Site Conditions and Installation Records
The installer should provide you with complete documentation of the installation, including:
- Pre-installation moisture readings and environmental conditions
- Flooring acclimation records
- Subfloor preparation photos or notes
- Installation method and materials used
- Post-installation inspection results
- Warranty terms and coverage details
This documentation serves two purposes. First, it proves the installation was performed to professional standards. Second, if defects appear later, the documentation helps determine whether they resulted from installation quality or from changes in jobsite conditions after the work was completed.
Common Installation Defects and How to Identify Them
Understanding common defects helps you evaluate whether an installation meets quality standards.
Squeaking floors indicate movement between the flooring and subfloor or between planks.
Gaps between planks occur when flooring shrinks due to low humidity.
Cupping or crowning happens when moisture content changes.
Buckling is severe movement where planks actually lift off the subfloor.
A hardwood floor installation quality standards checklist transforms abstract requirements into measurable, verifiable steps.
| Installation Phase | Key Requirement | Quality Indicator |
|---|---|---|
| Pre-Installation | Environmental stability | Temperature 60-80°F, humidity 30-50% for 48 hours |
| Subfloor Prep | Flatness and cleanliness | No deviation over 3/16" per 10 feet, debris-free surface |
| Acclimation | Moisture equilibration | Flooring MC within 4% of subfloor MC |
| Installation | Proper fastening or adhesive | No squeaks, gaps, or movement during walk-through |
| Post-Installation | Defect-free finish | No visible gaps, cupping, buckling, or uneven surfaces |
Frequently Asked Questions
What standards should a hardwood floor installation meet?
Hardwood floor installations should meet industry standards for subfloor flatness (typically 3/16 inch over 10 feet), moisture content differences between flooring and subfloor (no more than 4%), temperature between 60-85°F, and relative humidity between 30-50%. Installations must follow manufacturer instructions, local building codes, and trade practices. The flooring should be secured properly without gaps wider than 1/8 inch, and expansion gaps around the perimeter must be maintained for wood movement.
How can you tell if a hardwood floor was installed correctly?
A correctly installed hardwood floor shows no cupping, crowning, or excessive gaps between planks. Check for squeaking by walking across the floor, verify that expansion gaps exist at all walls and transitions, and inspect for consistent color and grain matching. The surface should be smooth and level. Use a straightedge to check flatness, and look for proper fastening without visible nail holes or glue seepage. Professional inspections use moisture meters to confirm subfloor conditions were documented before installation.
How long should hardwood flooring acclimate before installation?
Hardwood flooring typically requires 5-14 days of acclimation in the installation space, depending on climate differences between the shipping environment and your home. Acclimation allows the wood to adjust its moisture content to match local humidity levels, preventing post-installation cupping or gaps. Store flooring in its original packaging in the room where it will be installed, maintaining temperature between 60-85°F and relative humidity between 30-50%. Manufacturer instructions specify exact acclimation time for your product.
What should a hardwood floor installation warranty cover?
A comprehensive hardwood floor installation warranty should cover defects in workmanship, structural failures (squeaking, separation), and issues caused by improper installation methods. It should address wood movement problems (cupping, crowning) if site conditions were documented and met before installation. Warranties typically last 1-5 years and require proof that acclimation, subfloor preparation, and moisture testing were performed to industry standards. Warranties usually exclude damage from flooding, extreme humidity changes outside the acceptable range, or failure to follow care instructions.
What should be checked before hardwood flooring is installed?
Before installation, the subfloor must be inspected for cleanliness, flatness (within 3/16 inch over 10 feet), and dryness. Moisture testing is critical: subfloor moisture content should not exceed 12%, and the difference between subfloor and flooring material should be no more than 4%. Temperature should be stable between 60-85°F, and relative humidity between 30-50%. Structural soundness must be verified, no soft spots, rot, or movement. All these conditions should be documented with readings and photos before the installer begins.
How flat does a subfloor need to be for hardwood flooring?
Subfloors for hardwood flooring must be flat within 3/16 inch (4.76 mm) over a 10-foot span for solid hardwood and within 1/4 inch (6.35 mm) for engineered hardwood. This is measured using a 10-foot straightedge. Deviations beyond these tolerances can cause gaps, squeaking, or uneven fastening. Above-grade subfloors, on-grade slabs, and below-grade installations may have different requirements. If the subfloor exceeds these limits, it must be leveled, sanded, or repaired before flooring installation begins.
What expansion gap should be left around hardwood flooring?
Hardwood flooring requires a 1/2-inch to 3/4-inch expansion gap around all walls, door frames, and fixed objects to allow for wood movement caused by humidity and temperature changes. In humid climates, larger gaps (up to 1 inch) may be necessary. These gaps are typically hidden by baseboards or trim. Failing to leave adequate expansion space causes cupping, buckling, or separation of planks. Expansion gaps are especially critical for solid hardwood, which moves more than engineered hardwood.
What are common signs of poor hardwood floor installation?
Signs of poor installation include cupping (edges higher than centers), crowning (centers higher than edges), squeaking when walked on, visible gaps wider than 1/8 inch between planks, buckling at walls, nail pops, visible glue seepage, uneven color or grain matching, and soft or springy spots. These issues often result from inadequate subfloor preparation, improper moisture testing, insufficient acclimation, incorrect fastening methods, or installation during unsuitable temperature and humidity conditions. Professional post-installation inspection can identify these defects early.
Additional Resources:
For more information on industry standards, consult the National Wood Flooring Association guidelines and manufacturer-specific installation instructions. The Engineered Wood Flooring Association technical documentation provides detailed specifications for engineered products. Understanding these standards helps you hold contractors accountable and protect your investment in quality hardwood flooring.