 ultimate-guide
Subfloor Preparation for Hardwood Installation
Table of Contents
- Why Subfloor Preparation Decides How Long Your Hardwood Lasts
- Moisture Testing for Hardwood Installation: The Step That Prevents Cupping
- Subfloor Leveling Methods for Flatness Within Tolerance
- Cleaning, Fastening, and Structural Integrity Checks
- Best Underlayment for Hardwood Floors by Installation Type
- Subfloor Compatibility by Hardwood Type
- Troubleshooting Common Subfloor Failures
- DIY vs. Professional: When to Bring in a Flooring Crew
- Frequently Asked Questions
Last Updated: October 3, 2026
Why Subfloor Preparation Decides How Long Your Hardwood Lasts
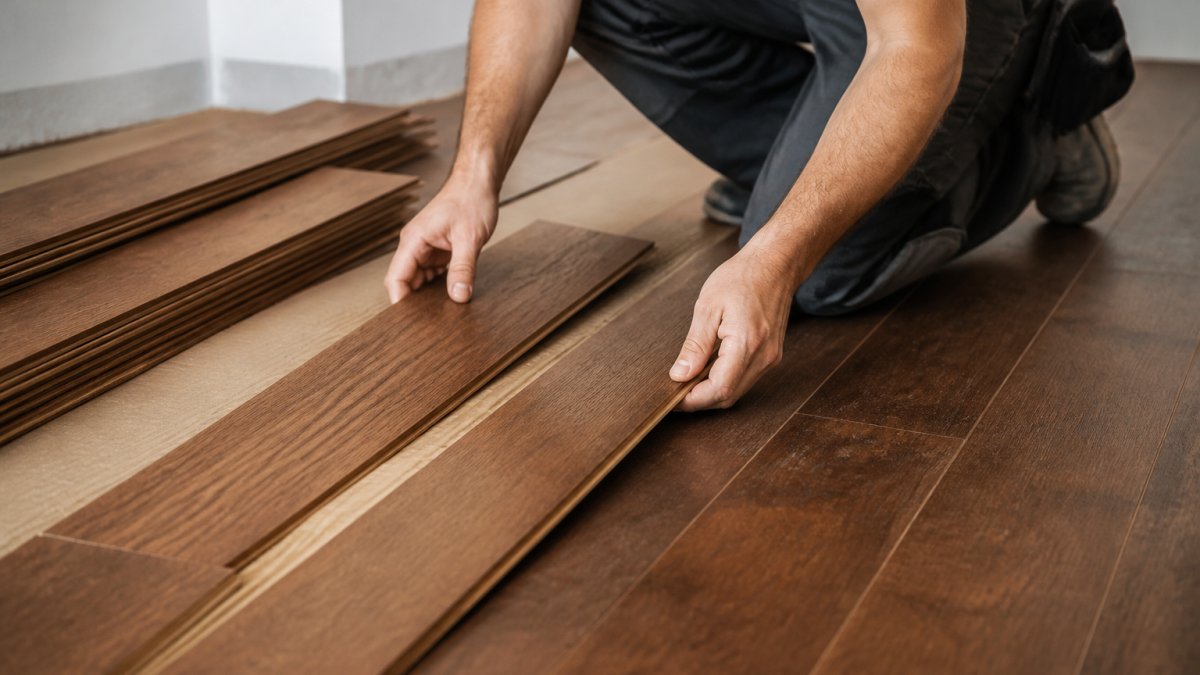
Subfloor preparation for hardwood installation means making the surface beneath your new floor flat, dry, clean, and structurally sound before any boards go down. Skip it, and even premium hardwood will cup, squeak, and gap within a few seasons. At Freddie Sanchez Hardwood Floors, we've torn out enough failed installations to know the subfloor, not the wood, is usually the culprit.
Hardwood moves. It expands and contracts with every seasonal humidity swing, and it transfers that movement straight into whatever it's fastened to. A flat, dry, rigid substrate absorbs that stress. A wavy, damp, or bouncy one amplifies it until the finish cracks and the seams open. The National Wood Flooring Association guidelines treat substrate condition as the single largest determinant of long-term performance, and that matches everything we see on job sites.
Below is the exact sequence: moisture testing, leveling, cleaning, fastening, and underlayment selection.
Moisture Testing for Hardwood Installation: The Step That Prevents Cupping
Moisture testing for hardwood installation is non-negotiable, and it's the step most rushed jobs skip. Confirm the subfloor's moisture content is close enough to the wood's that neither pulls the other out of shape.
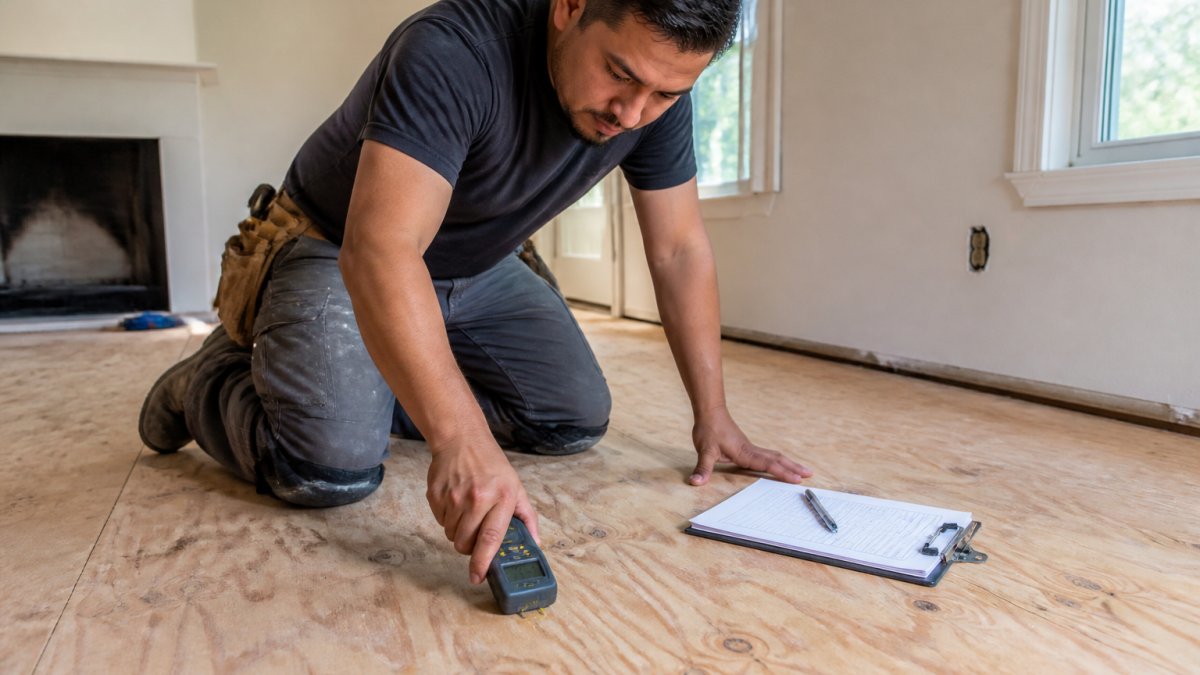
Using a Moisture Meter on Wood and Concrete
A pin-type moisture meter reads wood subfloors; a calcium chloride test or in-situ probe reads concrete slabs. Test multiple spots per room, since readings vary near exterior walls and plumbing. Compare the subfloor reading against the wood's own moisture content after acclimation; the two should land within a few points. If they don't, wait, forcing installation early is how cupping starts.
Subfloor Leveling Methods for Flatness Within Tolerance
Subfloor leveling methods fall into two families: mechanical (sanding high spots, adding plywood underlayment) and chemical (self-leveling compound). Which you use depends on how far out of flat the floor is and whether you're over wood or concrete. Flatness, not levelness, is what matters, a floor can slope gently and still be fine; what breaks hardwood is variation across a short distance.
Checking Flatness With a Straightedge and Gap Tolerance
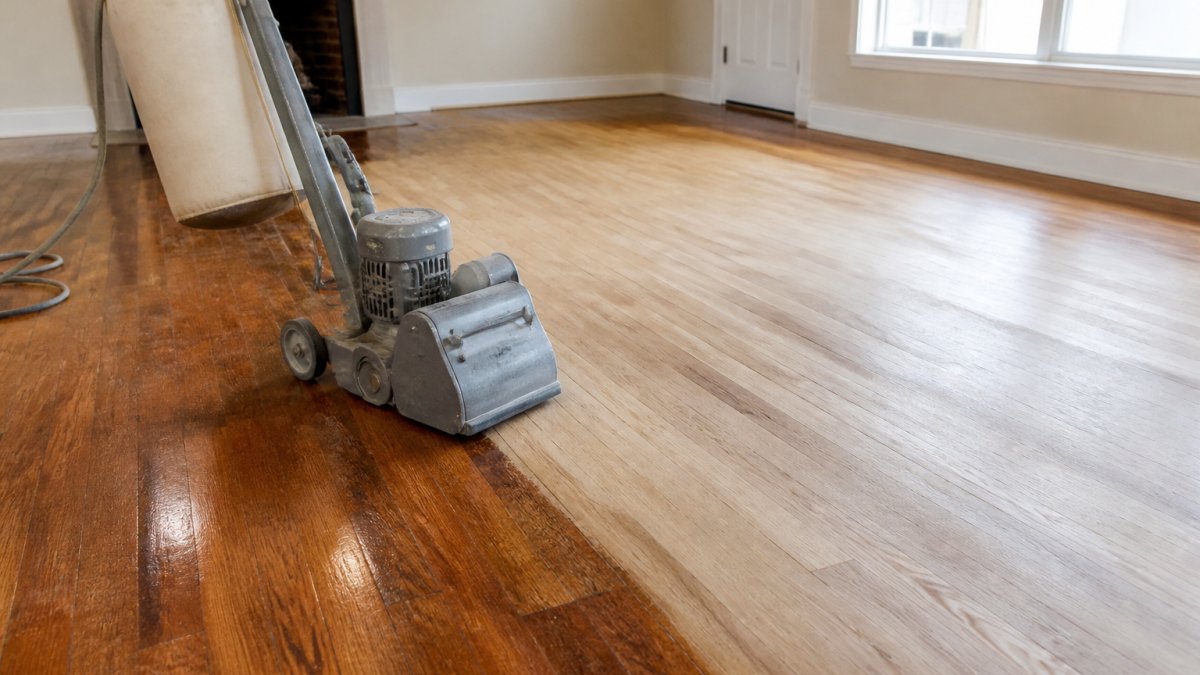
Lay a 10-foot straightedge across the subfloor in multiple directions. The gap tolerance for hardwood is typically no more than 3/16 inch over that span, though some manufacturers specify tighter. Mark every high and low spot: high spots get sanded or planed, low spots filled with leveling compound or built up with plywood. Check joist spacing too, since wide spacing lets the subfloor deflect.
| Problem | Fix | Why It Matters |
|---|---|---|
| High spot | Sand or plane down | Prevents rocking boards and gaps |
| Low spot | Leveling compound or plywood | Stops flex and squeaks |
| Wide joist spacing | Add blocking or thicker plywood | Reduces subfloor deflection |
| Uneven transition | Ramp or feather patch | Keeps floor flat across rooms |
Cleaning, Fastening, and Structural Integrity Checks
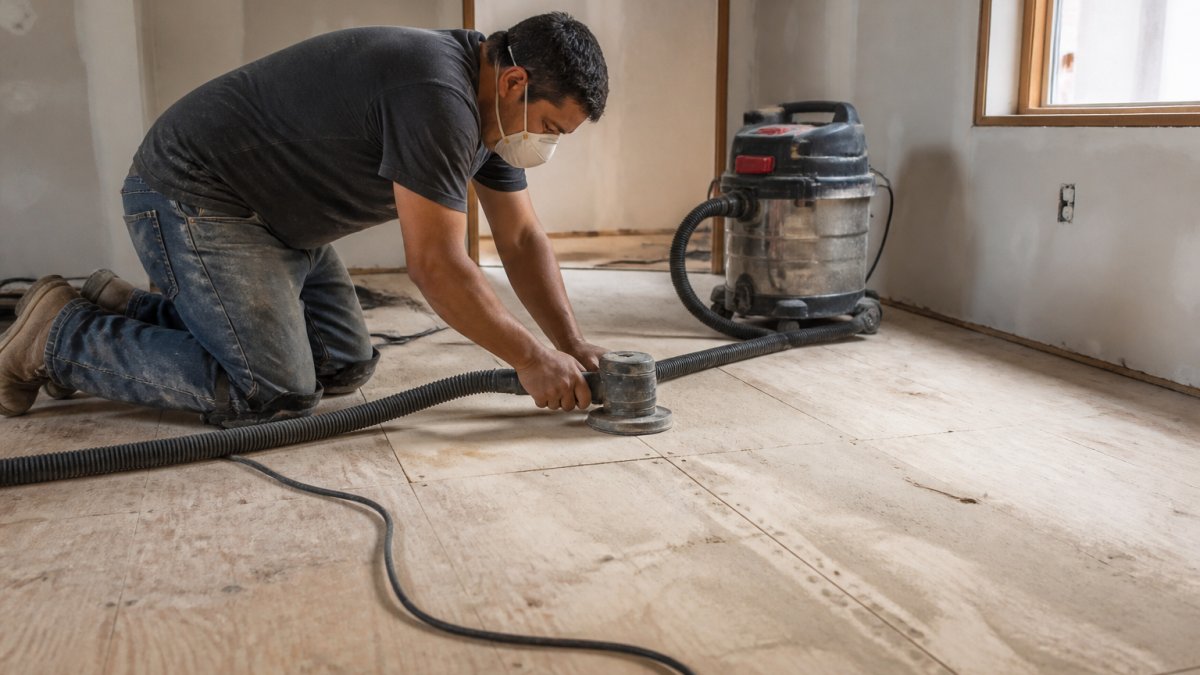
Cleaning and debris removal comes before anything else touches the subfloor. Sweep, scrape, and vacuum every trace of old adhesive, staples, and drywall dust.
Fastening loose subfloor panels means driving screws through the subfloor into the joists, not just into the panel below.
Checking for structural integrity is the last gate. Press down hard across the floor and feel for give.
Best Underlayment for Hardwood Floors by Installation Type
The best underlayment for hardwood floors depends on how the floor is installed, not on which product has the loudest marketing. Nail-down and glue-down installations bond directly to the subfloor and usually need only a vapor retarder or rosin paper. Floating floors need foam or cork to cushion the click system and deaden sound. The common mistake is buying one "universal" underlayment for all three methods, the wrong choice can void a warranty or trap moisture against the wood.
Underlayment by Installation Method
- Nail-down over wood subfloor: 15-lb asphalt-saturated felt or rosin paper (typically 3 ft wide rolls) stapled or tacked down with overlaps of about 4 inches. No foam cushion, it lets the boards rock and creates squeaks. The felt acts as a slip sheet and a mild vapor retarder, not a waterproof barrier.
- Glue-down over concrete: a 6-mil or thicker polyethylene vapor retarder, or a manufacturer-approved adhesive that doubles as a moisture barrier. Urethane adhesives with moisture-blocking chemistry are common; check the adhesive's perm rating against the slab's measured emission rate before committing.
- Glue-down over wood: rosin paper or a thin underlayment felt to keep adhesive from bonding the subfloor panels together, which can telegraph movement into the finished floor.
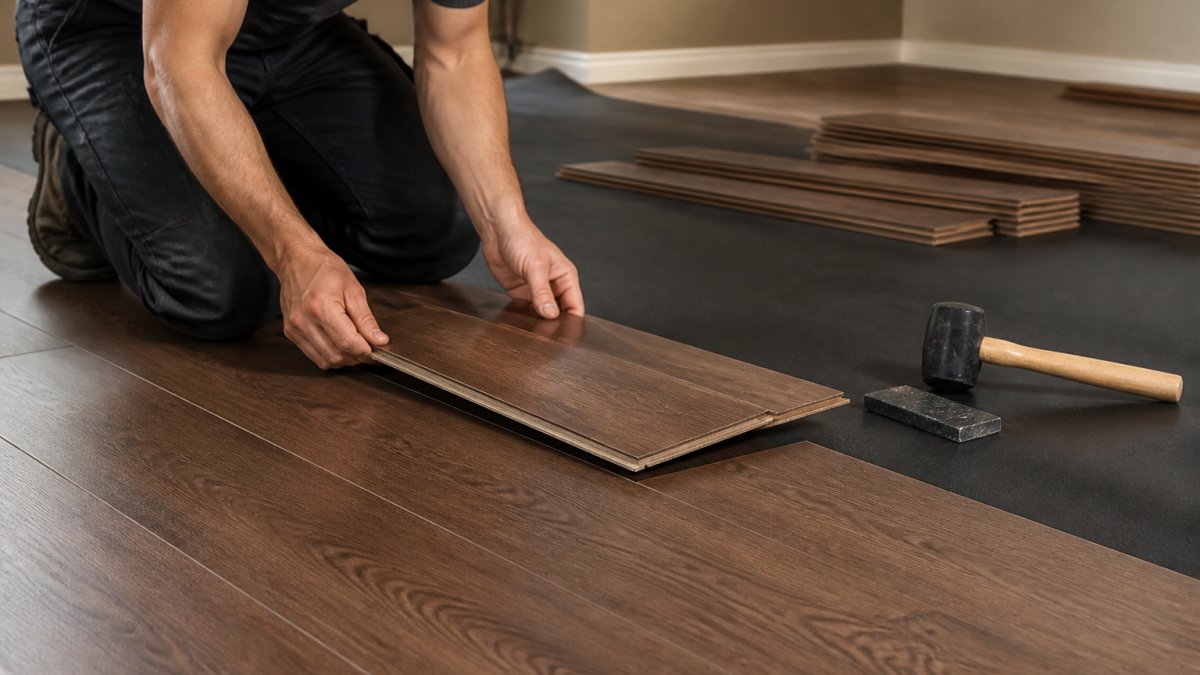
- Floating: a foam, cork, or combo underlayment with a built-in vapor barrier. Thickness typically runs 2 mm to 3 mm for foam and 6 mm for cork. Cork deadens sound better; foam is cheaper and thinner. Anything thicker than about 3 mm can make the click joints feel spongy and stress the locking system.
Vapor Retarders vs. Vapor Barriers
These are not the same thing, and the distinction matters over concrete. A vapor retarder slows moisture movement; a vapor barrier stops it. Most floating-floor underlayments with an attached film are retarders, not true barriers. Over a slab that reads high on a calcium chloride test, a retarder alone isn't enough, you need a true barrier membrane or a moisture-mitigation coating.
Acoustic and Thermal Considerations
On a second floor or over a basement, sound transmission matters. Cork and dense foam reduce impact noise noticeably; thin polyethylene does almost nothing. For radiant-heated slabs, choose an underlayment rated for the heat, many foams break down above roughly 85°F.
- Nail-down: rosin paper or 15-lb felt over a wood subfloor; no cushion
- Glue-down: vapor retarder or moisture-blocking adhesive over concrete
- Floating: foam, cork, or combo underlayment with a built-in vapor barrier
- Over concrete: always a vapor retarder at minimum, and a true barrier if slab readings are elevated
Match the underlayment to the installation method and subfloor material. A vapor retarder over a damp concrete slab protects the wood from below; skip it and you're gambling on the slab staying dry.
Subfloor Compatibility by Hardwood Type
Subfloor compatibility by hardwood type is where a lot of installations quietly go wrong. Solid hardwood, engineered hardwood, and floating planks each tolerate different subfloor conditions, depending on how each handles moisture movement and dimensional change.
Solid Hardwood
Solid hardwood is milled from a single piece of wood, so it moves almost entirely across its width with seasonal humidity. It needs a stable, dry wood subfloor, typically plywood or OSB at least 3/4 inch thick, or a properly prepped slab with a plywood overlay fastened down. Solid strips and planks are almost always nailed or stapled, so fasteners need something to bite into.
Engineered Hardwood
Engineered hardwood has a cross-ply core, layers of wood veneer glued at opposing angles, which dramatically reduces how much the plank moves with humidity, and is why it handles concrete better than solid. It can be glued directly to a properly prepped slab with a moisture-blocking adhesive, or floated over foam underlayment with a vapor barrier. Engineered planks still have a real wood wear layer, so they react to ambient humidity, just less dramatically.
Floating Planks
Floating floors aren't fastened to the subfloor at all; they lock together and rest on underlayment. That means the subfloor has to be the flattest of the three, because any dip becomes a hollow spot that flexes underfoot and stresses the click joints. Flatness tolerance is tighter than for nail-down, often 1/8 inch over 10 feet rather than 3/16 inch.
Matching Wood to Substrate: A Quick Decision Path
- Over a wood subfloor, dry and flat: solid, engineered, or floating all work. Solid is the traditional choice.
- Over a concrete slab, dry and flat: engineered glue-down or floating. Solid requires a plywood overlay.
- Over a concrete slab with elevated moisture: mitigate the slab first, then engineered glue-down with a moisture-blocking adhesive, or floating with a true vapor barrier. Solid is not a good fit.
- Over radiant heat: engineered or floating, with an underlayment rated for the heat. Solid is risky because of how much it moves.
- Over a basement slab: floating with a vapor barrier is the safest bet; glue-down only if the slab tests dry.
What Happens When You Get It Wrong
Putting solid hardwood over a damp slab is the classic failure: boards cup within a season, the finish cracks along the seams, and the only real fix is removal. A floating floor over a subfloor out of flat by more than 1/8 inch produces hollow spots and eventually broken click joints. Any wood floor over a subfloor that's still moving, loose panels, deflecting joists, transfers that movement into the finished surface and opens gaps at the seams.
Troubleshooting Common Subfloor Failures
Troubleshooting common subfloor failures starts with reading the symptom. Cupping means moisture. Squeaks mean loose panels or fasteners. Gaps mean the subfloor is moving or the wood wasn't acclimated. Each points to a specific prep step that got skipped, and each has a fix that doesn't require ripping out the whole floor.
- Cupping: find the moisture source, dry it out, re-test before refinishing
- Squeaks: drive screws from below or through the finished floor into joists
- Gaps: check acclimation and humidity control, not just the wood
- Bounce: add blocking or a second subfloor layer to reduce deflection
- Lifting planks: re-test slab moisture; adhesive likely failed from damp
If the subfloor itself is failing, repair it before touching the floor above. Patching a symptom while the cause stays put just buys you a few months.
DIY vs. Professional: When to Bring in a Flooring Crew
The DIY-versus-professional threshold comes down to three things: moisture, flatness, and structural repair. If your readings are dry, your floor is flat within tolerance, and nothing bounces, a confident DIYer can handle the prep. The moment moisture is elevated, the floor is badly out of flat, or joists need work, the math flips. Fixing a failed installation costs far more than doing it right once.
At Freddie Sanchez Hardwood Floors, we test moisture, check flatness, and verify structural integrity before we quote a job, because that's what separates a floor that lasts from one that fails. If you're weighing DIY against hiring out, that inspection is the deciding factor.
Frequently Asked Questions
What should I put between the subfloor and hardwood?
It depends on the installation method. Nail-down and glue-down hardwood usually go straight onto a clean, flat, dry subfloor with no underlayment, because the wood needs to bond or fasten directly to the structure. Floating engineered floors need a foam or felt underlayment with a built-in vapor barrier. Over a concrete slab, a vapor barrier is non-negotiable regardless of method. The wrong layer under your floor traps moisture and causes cupping, so match the underlayment to the specific product you bought.
Can you put hardwood directly on a subfloor?
Yes, provided the subfloor is structurally sound, flat within tolerance, and dry. Plywood and OSB subfloors are the standard base for nail-down and glue-down hardwood. The catch is that "directly" still means the panel is clean, fastened tight with no squeaks, and has a moisture content close to the hardwood itself. If any of those conditions fail, you need repair or an added layer before the wood goes down.
How flat does a subfloor need to be for hardwood?
Most hardwood manufacturers require flatness within 3/16 inch over a 10-foot span, and some tighter tolerances apply over shorter distances. Check this with a 10-foot straightedge laid in several directions across the room. High spots get sanded or ground down; low spots get filled with a leveling compound. Skipping this step is the most common reason new floors develop squeaks, gaps, and uneven seams within the first year.
What are the moisture requirements before installing hardwood?
Wood subfloors typically need a moisture content within 2 to 4 percent of the hardwood being installed, measured with a pin or pinless meter. Concrete slabs are tested with a calcium chloride test or an in-situ relative humidity probe, and most manufacturers want readings below their specified limit, often around 3 pounds per 1,000 square feet per 24 hours for the calcium chloride method. If readings are high, address the source before installation, not after.
Do I need to remove particle board before installing hardwood?
Yes. Particle board does not hold fasteners well and swells when it gets wet, so it makes a poor base for hardwood. Remove it down to the plywood or OSB panel underneath, then check that panel for flatness and moisture before proceeding. Leaving particle board in place is a shortcut that leads to loose boards and squeaks, and it can void the flooring manufacturer's warranty.
How do I fix squeaks and gaps before the new floor goes down?
Squeaks usually come from movement between subfloor panels or between the panel and the joists. Drive screws through the subfloor into the joists every 6 to 8 inches along the panel edges and every 12 inches in the field, then recheck for movement. Gaps at panel seams can be filled with a patching compound after cleaning out loose debris. Fixing these now is far cheaper than pulling up finished hardwood later.
Should I level the whole room or just the low spots?
Only the areas that fall outside the flatness tolerance need attention. Grind or sand down high spots first, then pour leveling compound into low areas and feather the edges so the patch blends into the surrounding subfloor. Leveling the entire room is rarely necessary and adds cost and dry time. A straightedge and a chalk line help you map exactly where the problem zones are before you mix anything.
Can I install hardwood over a concrete slab?
Yes, but only engineered hardwood is typically recommended over concrete, and only after moisture testing confirms the slab is dry enough. You also need a vapor barrier and, in most cases, a plywood sleepers system or a glue-down adhesive rated for concrete. Solid hardwood over a slab is risky because it moves more with humidity changes. Test the slab, address any moisture source, and follow the flooring manufacturer's written instructions for slab installations.
Hardwood only performs as well as the subfloor beneath it. If your moisture readings, flatness, or structural checks raise any doubt, that's the moment to bring in a crew rather than push forward. Freddie Sanchez Hardwood Floors handles expert wood floor installation with high standards of craftsmanship and constant communication from the first measurement to the final walkthrough. Get a Free Quote and let us verify your subfloor before you invest in the wood.