 how-to
Best Way to Refinish Floors for Sale: 2026 Guide
Table of Contents
- Why Refinishing Floors Before Selling Pays Off
- Signs Your Floors Need Refinishing Before a Sale
- DIY vs. Professional Refinishing: Which Is the Best Way for You?
- Step-by-Step: How to Refinish Hardwood Floors for Sale
- Choosing the Right Finish: Water-Based vs. Oil-Based
- Hardwood Floor Refinishing Cost: What Sellers Should Budget
- Can You Refinish Engineered Wood Floors?
- Hardwood Floor Refinishing Time: How to Hit Your Listing Date
- Frequently Asked Questions
Last Updated: October 5, 2026
Why Refinishing Floors Before Selling Pays Off
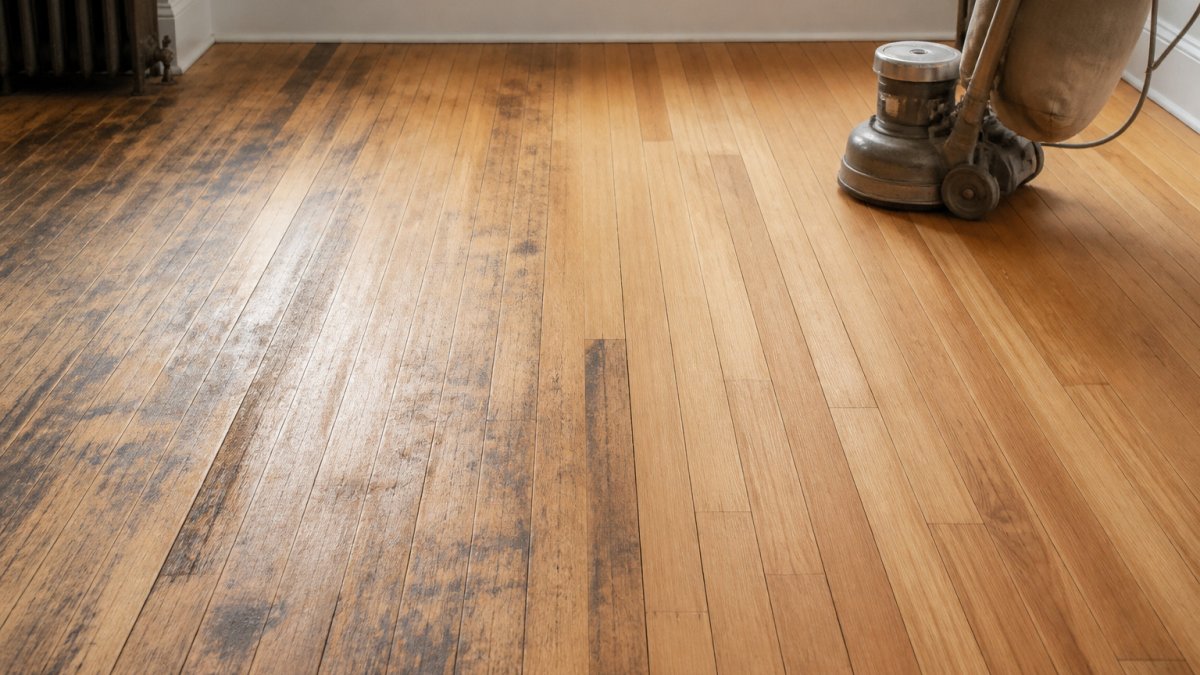
The best way to refinish floors for sale starts with understanding what buyers actually pay for. Worn, scratched hardwood signals deferred maintenance to a buyer's eye, and that perception costs sellers at the negotiating table. Tired floors drag down offers, while freshly finished ones help a property show at its full potential.
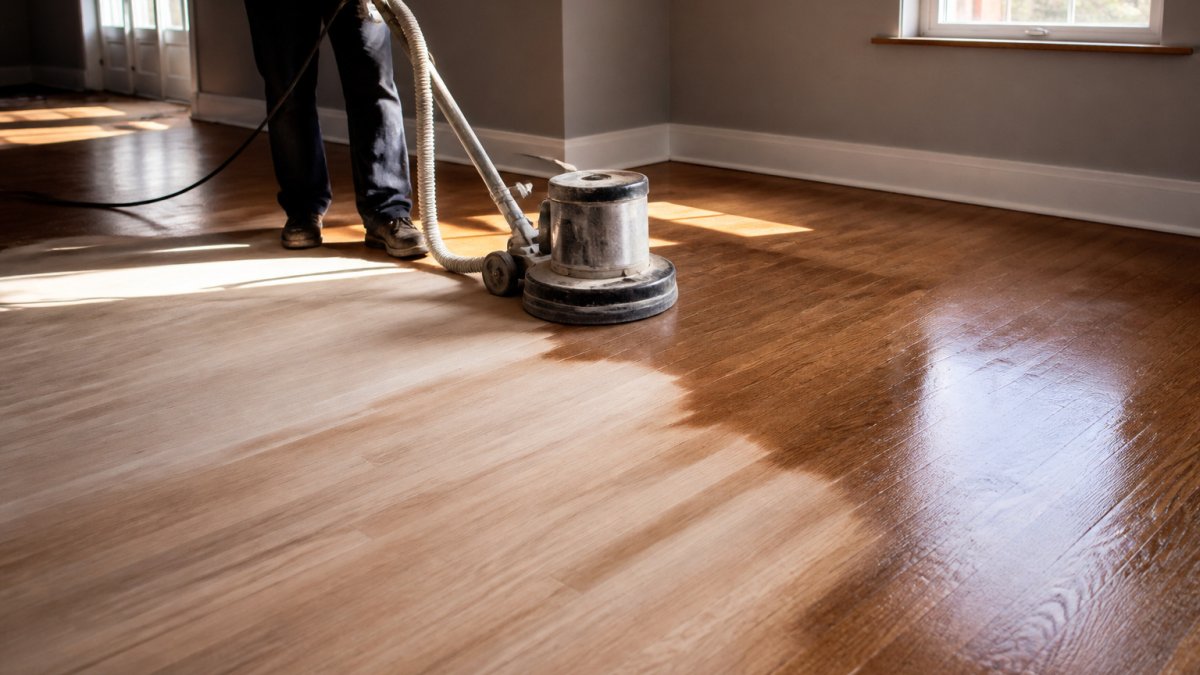
Hardwood floor refinishing is the process of sanding away the existing finish and a thin layer of the wood surface, then applying new stain and protective coats to restore the floor's appearance and durability. It's different from a deep clean or a screen-and-recoat, which only refreshes the top layer.
The ROI Math: What Buyers Actually Pay For
Sellers rarely get a dollar-for-dollar return on any pre-listing project, and refinishing is no exception. What it does deliver is speed and perception. A floor with gray, scratched traffic lanes reads as "project" to buyers touring a home. A floor with even color and a fresh top coat reads as "move-in ready."
That shift matters most in competitive price bands, where buyers compare several similar homes in one weekend. According to the National Association of Realtors' 2025 Remodeling Impact Report, hardwood refinishing consistently ranks among the interior projects with the strongest perceived value at resale. The exact payback varies by market, home condition, and price point, so treat any single percentage with suspicion.
Signs Your Floors Need Refinishing Before a Sale
Not every floor needs a full sand-down before listing. Watch for these signals:
- Gray or whitish traffic lanes in hallways and doorways, where the finish has worn through
- Deep scratches that catch a fingernail or stay visible after cleaning
- Cupping or crowning along plank edges, which points to moisture problems underneath
- Dull, uneven sheen that no amount of cleaning restores
- Water stains or pet damage that have darkened the wood grain
- Loose or squeaky boards that need fastening before sanding
If you see only light surface scratches, a screen-and-recoat may be enough. If the wood itself is discolored, gouged, or exposed, you're looking at a full refinish.
DIY vs. Professional Refinishing: Which Is the Best Way for You?
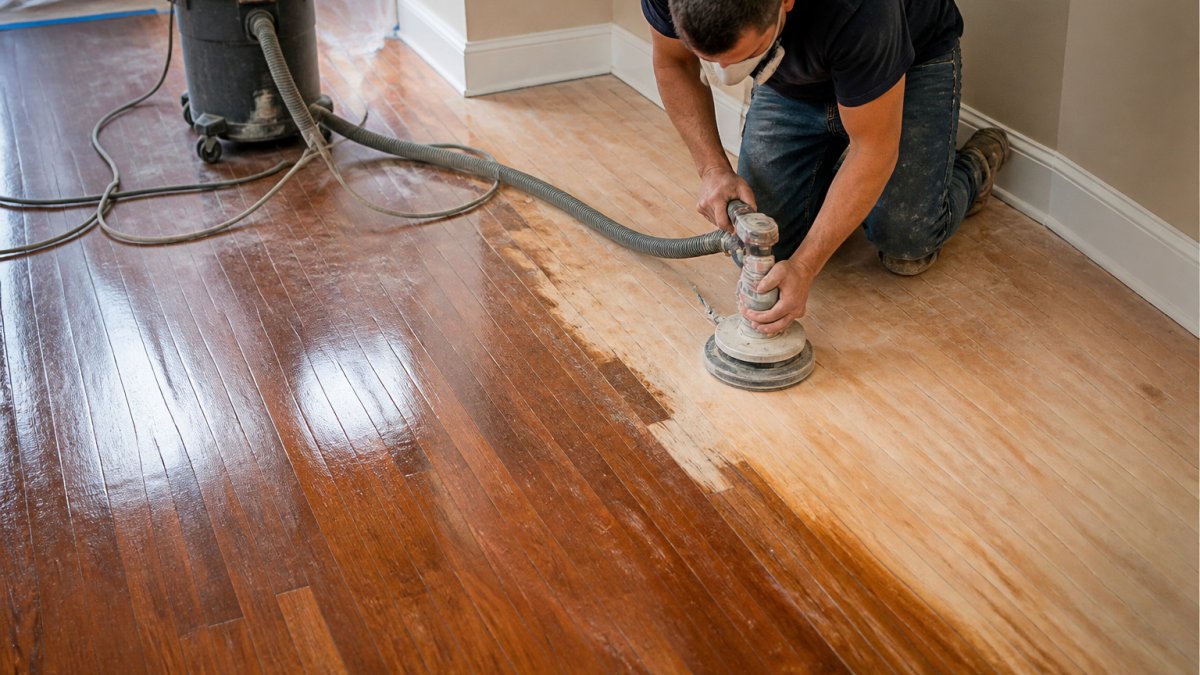
For most sellers on a deadline, hiring a professional is the safer path. DIY refinishing can work for a confident homeowner with time to spare, but the margin for error is thin. A drum sander left in one spot for two seconds can gouge a floor beyond repair, and that mistake shows up in every listing photo.
Here's how the two paths compare:
| Factor | DIY Refinishing | Professional Refinishing |
|---|---|---|
| Equipment | Rental drum sander and edger | Commercial-grade sanders and dust control |
| Timeline | Often several weekends | Typically a few days |
| Risk | High chance of sanding marks or uneven stain | Damage covered by the contractor |
| Finish quality | Varies with skill | Consistent, commercial-grade top coat |
| Best for | Small rooms, tight budgets, flexible timelines | Whole-home jobs before a listing date |
The equipment gap is real. A rental drum sander from a home improvement store runs about $80 per day, and a professional-grade orbital sander like the Festool RO 150 FEQ retails around $750. Neither solves the skill problem.
Step-by-Step: How to Refinish Hardwood Floors for Sale
Refinishing a floor for sale follows the same core sequence whether you hire out or do it yourself. The difference is who holds the sander.
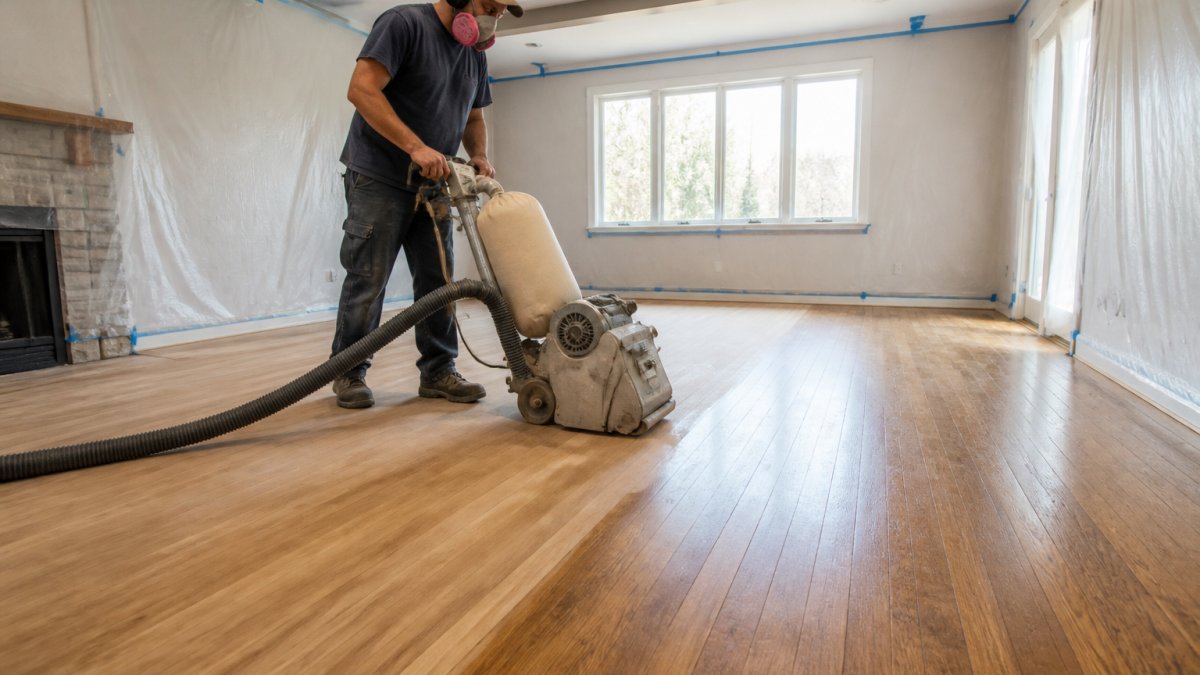
Step 1: Prep the Room and Protect the Site
Clear the room completely, remove baseboards or tape them off, and seal doorways with plastic sheeting to contain dust. Set every protruding nail with a punch so it sits below the surface. Fill gouges, cracks, and nail holes with a stainable wood filler such as Rust-Oleum Wood Filler, then let it dry fully before sanding.
Step 2: Sand With the Right Grit Sequence
Sanding is where floors are won or lost. Work through a grit sequence, never skipping steps:
- 24 to 36 grit to strip old finish and level the surface
- 60 grit to remove the coarse scratch pattern
- 80 to 100 grit to smooth
- 120 grit for a finish-ready surface
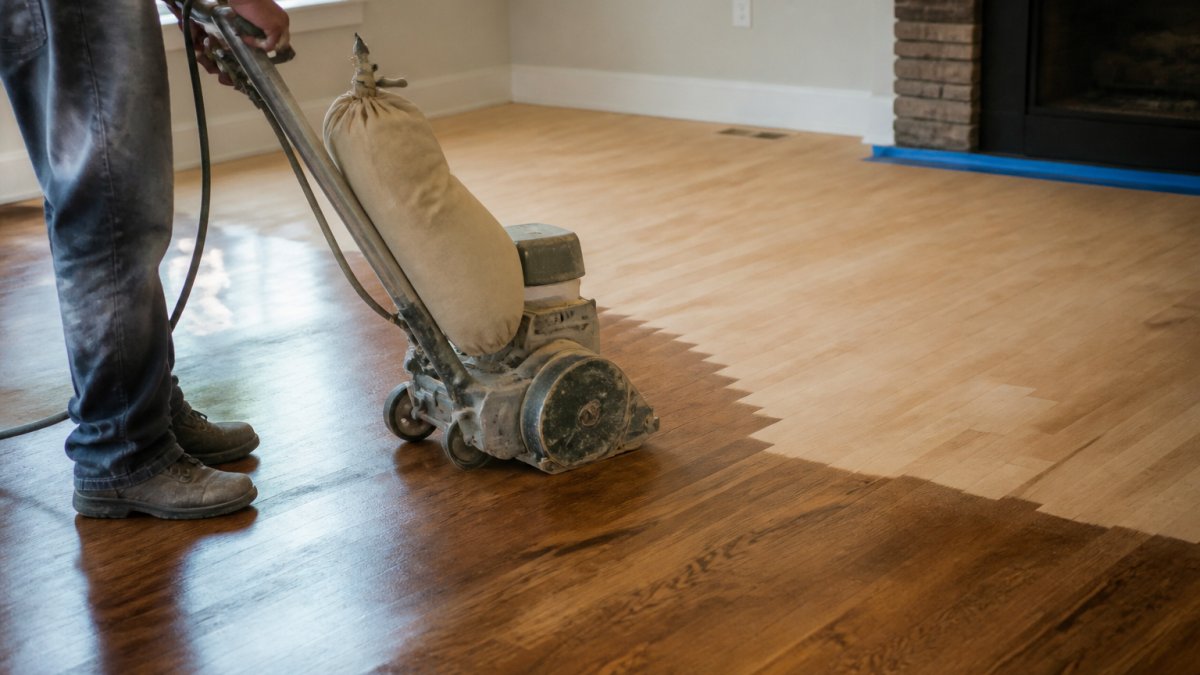
Use a drum sander for open floor areas, an edger along walls, and hand-sanding sponges like 3M Pro Grade Precision for corners and tight spots. Vacuum thoroughly between every grit change.
Step 3: Stain, Seal, and Apply the Top Coat
Apply stain with a lambswool applicator or rag, working in small sections and wiping excess before it dries. Minwax Wood Finish is a common choice for consistent color. Once the stain cures, apply thin coats of finish with a sponge roller or synthetic brush, sanding lightly between coats. Build up two to three coats for durability.
Choosing the Right Finish: Water-Based vs. Oil-Based
Water-based finishes dry fast and stay clear, which suits sellers on a tight timeline. Oil-based polyurethane adds a warmer amber tone and a longer working window, but it carries stronger fumes and needs more curing time. According to the U.S. Environmental Protection Agency's guidance on volatile organic compounds, low-VOC and water-based products reduce indoor air emissions, which matters when a home is being shown to buyers.
For most pre-sale projects, a commercial-grade water-based finish can be a good choice. It offers scratch resistance, dries quickly, and won't yellow over time.
| Finish Type | Dry Time | Appearance | Best For |
|---|---|---|---|
| Water-based | Fast (about 2 hours) | Clear, non-yellowing | Quick turnarounds, light woods |
| Oil-based | Slow (8+ hours) | Warm amber tone | Traditional looks, longer cure window |
Hardwood Floor Refinishing Cost: What Sellers Should Budget
Hardwood floor refinishing cost depends on square footage, floor condition, finish choice, and whether any boards need replacing. Most contractors price by the square foot, and the number climbs with damage, multiple rooms, and premium finishes.
Rather than quote a figure that won't match your home, we'd rather walk the space and give you a real number. Factors that move the price:
- Total square footage, including closets and hallways
- Number of coats and finish grade
- Repairs needed for cupped, loose, or water-damaged boards
- Stain color changes, which require more sanding to remove old pigment
- Access and staging, especially in occupied homes
For current pricing, Freddie Sanchez Hardwood Floors provides free on-site quotes.
Can You Refinish Engineered Wood Floors?
Yes, engineered wood floors can often be refinished, but only if the wear layer is thick enough. Engineered planks have a thin top layer of real wood over plywood or composite core, and that layer determines whether sanding is safe.
If the wear layer is roughly 2 millimeters or thicker, a light sand and recoat is usually fine. Thinner wear layers can't survive aggressive sanding and may need replacement instead. A flooring professional can measure the wear layer and tell you which path makes sense.
Hardwood Floor Refinishing Time: How to Hit Your Listing Date
Hardwood floor refinishing time depends on square footage, finish type, and curing requirements. A single room might take two to three days; a whole home typically runs four to seven days including dry time. Plan your refinishing at least two to three weeks before your first showing so the finish has time to fully cure.
A Realistic Timeline for Sellers
| Phase | Duration | Notes |
|---|---|---|
| Prep and repairs | 1 day | Nail setting, filling, masking |
| Sanding | 1-2 days | Grit sequence plus edge work |
| Staining | 1 day | Dry time between sections |
| Top coats | 2-3 days | Thin coats with light sanding between |
| Full cure | 5-7 days | Keep heavy traffic off the floor |
Working Backward From Your Listing Date
Most sellers start with the listing date and work backward. A common pattern looks like this:
- Three weeks out: Final walkthrough with your flooring pro, confirm scope, order stain and finish.
- Two weeks out: Move furniture out, complete any board repairs, and begin sanding.
- Ten days out: Stain and first top coats go down.
- One week out: Final coats cure; keep the home off the market for showings.
- Listing day: Floors are fully cured, staged, and photo-ready.
If your timeline is tighter than three weeks, a screen-and-recoat can sometimes work instead of a full sand-down, but only if the existing finish is intact. Ask your contractor whether a recoat is viable before committing to a full refinish.
Staging and Photography After the Finish Cures
Once the floor is done, staging matters. Pull furniture off the freshly finished surface, photograph in natural light, and let the floor be the visual anchor of each room. Buyers notice a floor that looks cared for.
A few seller-specific moves that help:
- Shoot listing photos in late morning or early afternoon when natural light rakes across the floor and shows the grain.
- Keep area rugs minimal in photos so the full floor reads as continuous.
- Avoid heavy furniture placement in the first two weeks; it can mar a finish that hasn't fully hardened.
- Mention the refinish in the listing description with the finish type and date, which signals recent maintenance to buyers.
Frequently Asked Questions
Is it worth refinishing hardwood floors before selling?
In most cases, yes. Refinishing hardwood floors before selling restores the wood grain, removes scratches, and gives rooms a brighter, cleaner look that photographs well. Buyers often view worn or dull floors as a future expense, which can lead to lower offers. Freshly refinished floors signal a well-maintained home and can help you compete with updated listings in your price range.
How much does it cost to refinish 2,000 square feet of hardwood floors?
Hardwood floor refinishing cost depends on square footage, wood species, finish type, and whether repairs are needed. For 2,000 square feet, most projects involve sanding, staining, and multiple top coats, so pricing is typically quoted per square foot. Request a written estimate based on an on-site measurement rather than a phone estimate, since site conditions and floor imperfections affect the final number.
Can you refinish engineered wood floors?
Yes, engineered wood floors can often be refinished, but only if the wear layer is thick enough. Most engineered planks have a real wood top layer that can be sanded once or twice. Thin wear layers (under 2 mm) may not survive sanding, so a professional should inspect the floor first. If the wear layer is too thin, a screen-and-recoat or a full replacement may be the better option.
How long does hardwood floor refinishing take before a sale?
Hardwood floor refinishing time is usually 3 to 5 days for sanding, staining, and applying multiple coats, plus curing time before furniture and foot traffic. Water-based finishes dry faster than oil-based ones, which shortens the window. If you have a listing date, schedule refinishing at least two weeks before showings so the finish has time to fully cure and the rooms can be styled.
Selling a home on a deadline leaves little room for a refinishing job that runs long or shows flaws in listing photos. Freddie Sanchez Hardwood Floors handles the full process, from expert wood floor installation to high-quality refinishing, with reliable project management and constant communication from your first call to the final coat. Get a free quote and let us make your floors a selling point instead of a negotiation.