 how-to
How to Tell If Hardwood Floors Need Sanding or Replacement
Quick Summary
Hardwood floors need sanding when the damage sits in the finish or top wood layer, and replacement when the wood is too thin to sand again. Test whether scratches catch a fingernail, then measure the remaining wear layer at a vent or hidden edge. Cupping or buckling must be fixed at the moisture source before any sanding.
- Finish-only wear with stable boards usually needs recoating, not sanding.
- Scratches that catch a fingernail point to sanding and refinishing.
- Solid hardwood at 3/4 inch can typically be sanded multiple times.
- Engineered floors with a wear layer under 2 mm are generally not sandable.
- Cupping over 1/16 inch means moisture must be fixed before sanding.
Table of Contents
- Hardwood Floor Sanding or Replacement: How to Decide
- Signs Hardwood Floors Need Refinishing
- Inspection Checklist: Deciding Between Sanding and Replacement
- Checking Wood Thickness Before You Sand
- Water Damage, Cupping, and Buckling
- Loose Boards, Deep Gouges, and Structural Damage
- Refinish or Replace Hardwood Floors: Cost and Disruption Compared
- Booking a Floor Assessment With Freddie Sanchez Hardwood Floors
- Frequently Asked Questions
Hardwood Floor Sanding or Replacement: How to Decide
Last Updated: October 30, 2026
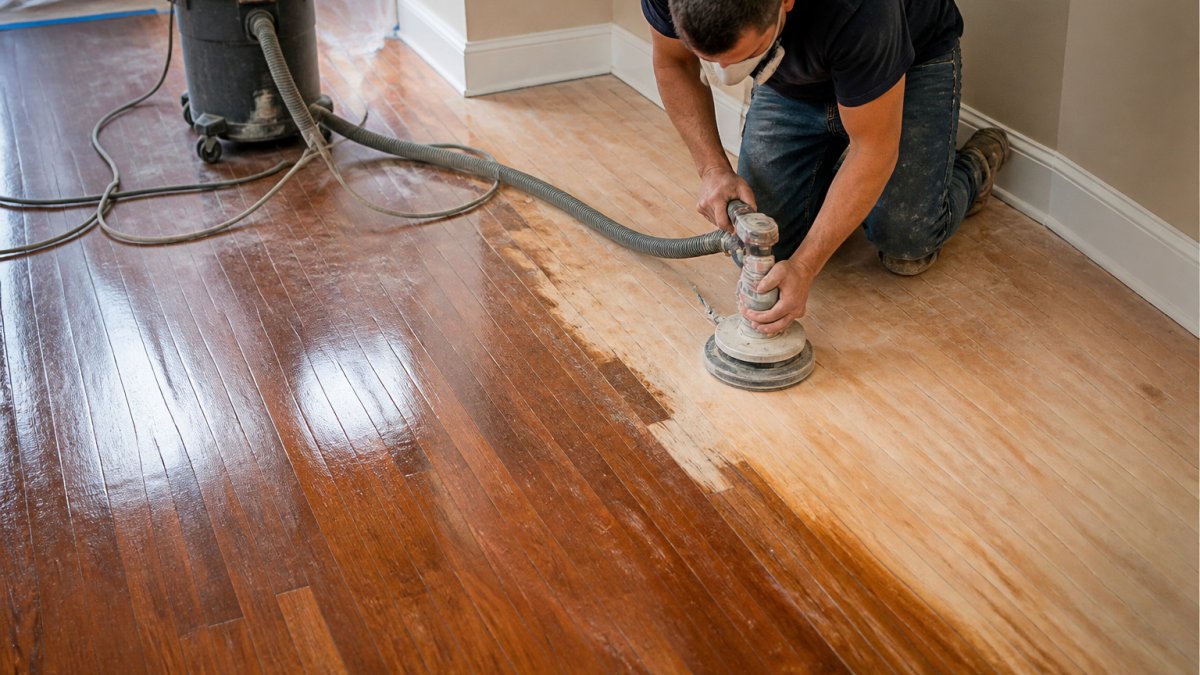
Deciding whether your hardwood floors need sanding or replacement starts with one question: is the damage in the finish, or in the wood itself? Most floors that look ruined can be brought back, but not all of them.
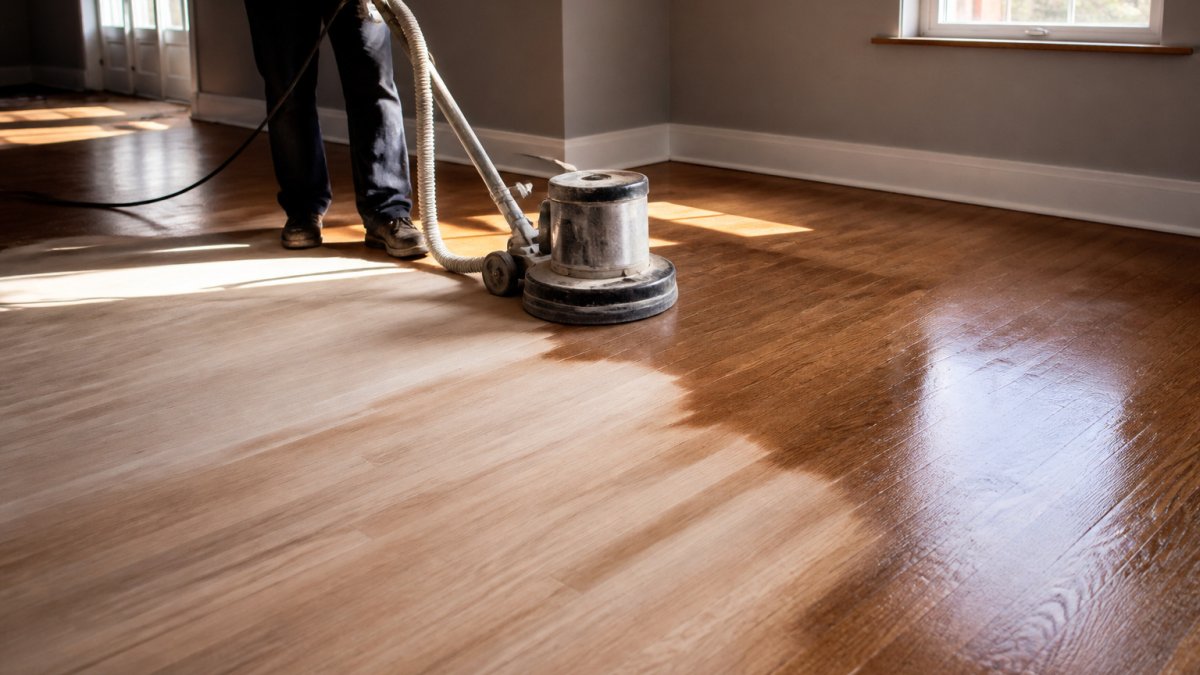
Hardwood floors can often be refinished several times over their life. Each sanding removes a thin layer of wood, though, so the amount left is limited.
Signs Hardwood Floors Need Refinishing
Refinishing fixes problems that sit in the top layers. Look for these signs first.
Surface Scratches, Scuffs, and Dull Finish
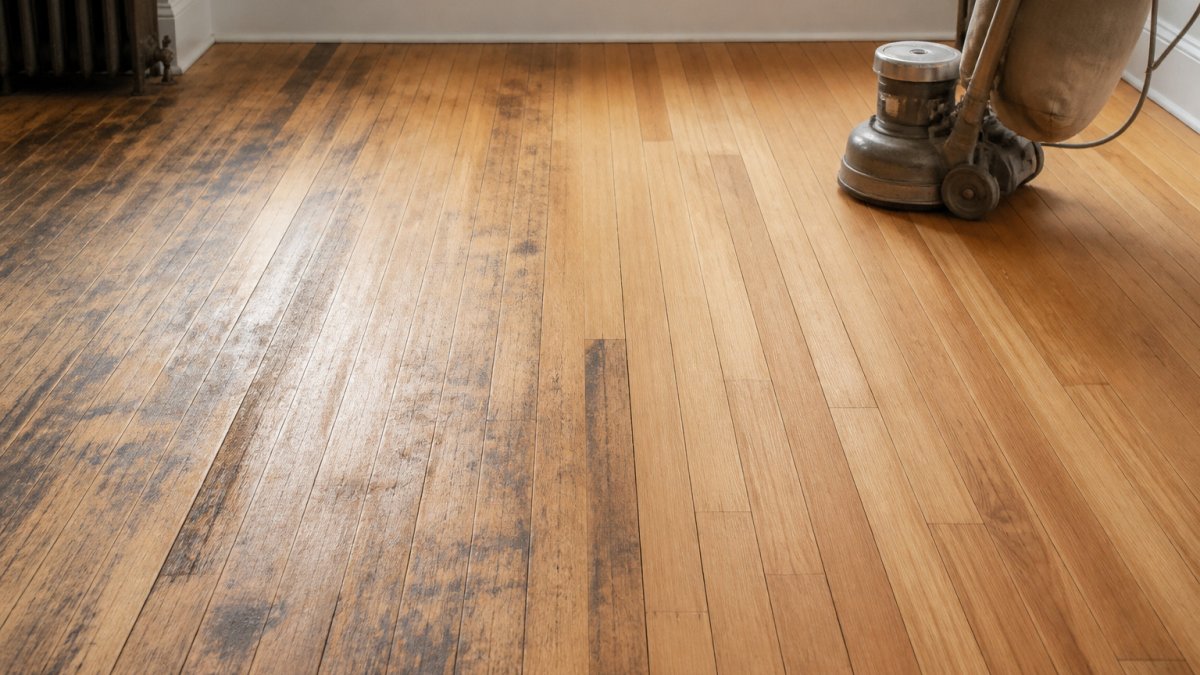
Light scratches and scuffs are usually in the finish, not the wood. A dull, worn path in the hallway or near the kitchen sink is a common sign.
- Fine scratches that catch the light
- Dull or cloudy patches in high-traffic areas
- Scuffs that don't wipe away with cleaning
Watch out: Don't assume a dull floor needs sanding. Cleaning and recoating often fix finish wear without removing any wood.
Fading and Discoloration
Sun exposure can fade wood and create uneven color near windows. Water stains and pet accidents can leave dark marks. Some of these stains only reach the finish, while others soak into the wood. Test a small, hidden spot with a damp cloth to see how deep the stain goes.
Inspection Checklist: Deciding Between Sanding and Replacement
This checklist gives you a structured way to sort your floor into one of four outcomes: recoat, sand and refinish, repair affected boards, or replace. Work through it in order, each step narrows the decision.
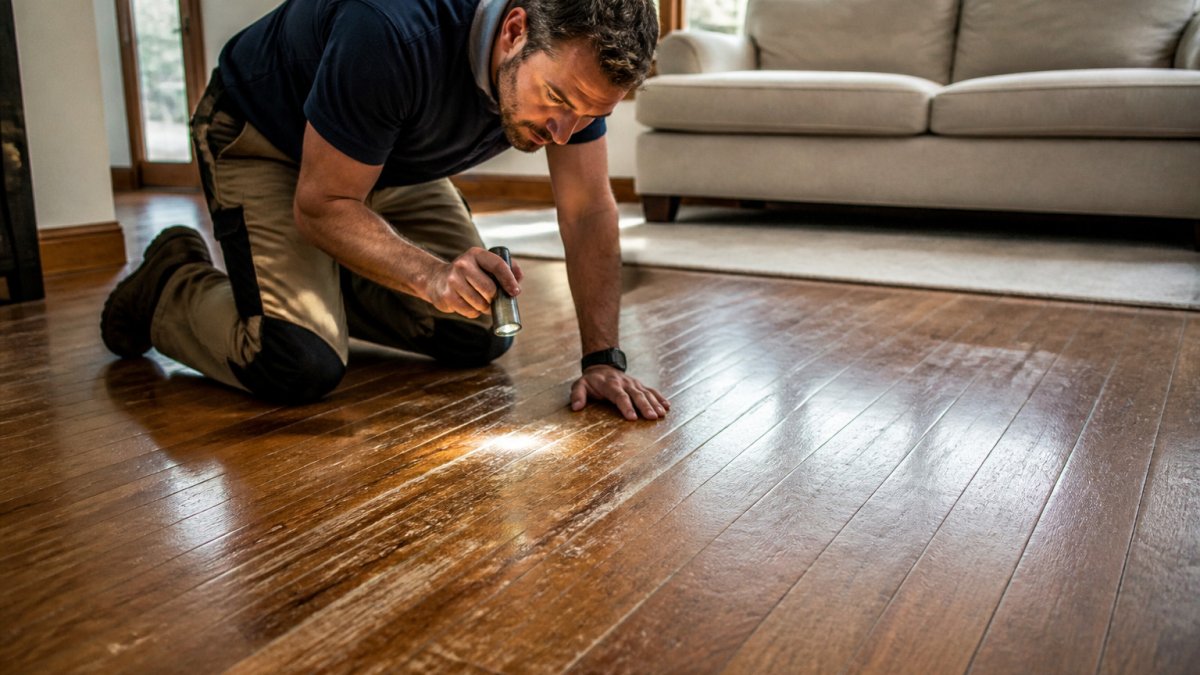
Step 1: Test the Finish, Not the Wood
Before you judge the wood, confirm whether the problem is only in the finish. Drag a coin or key lightly across a high-traffic area at a 45-degree angle. If the scratch is white or light and does not catch a fingernail, it is in the finish. If it catches a fingernail or shows bare wood underneath, it has reached the wood.
- Finish-only wear: recoat is likely enough, no sanding required.
- Scratches that catch a fingernail: sanding and refinishing is the likely path.
- Bare wood visible across more than a few square feet: plan for a full sand and refinish.
A simple water-drop test helps separate finish failure from wood damage. Place a few drops of water on an inconspicuous spot. If the water beads on the surface, the finish is intact. If it soaks in within a minute or two, the finish has failed in that area and the wood is exposed.
Step 2: Measure How Much Wood Is Left
- Solid hardwood at 3/4 inch with visible wear layer: usually sandable multiple times.
- Engineered wear layer under 2 mm: often sandable once or not at all.
- Wear layer under 1 mm or unknown: treat as non-sandable until a pro confirms otherwise.
Step 3: Check Board Stability and Moisture
Walk the floor in socks and press on suspect boards. A board that moves, squeaks sharply, or feels spongy is a structural signal, not a finish problem. Check for cupping by laying a straightedge across the boards, if the edges rise more than about 1/16 inch above the center, moisture is active and sanding will not fix it.
- Stable boards, no cupping: proceed to Step 4.
- Loose or moving boards: secure or replace affected boards before any sanding.
- Cupping over 1/16 inch or buckling: diagnose and fix the moisture source first.
Sanding a cupped or buckled floor without fixing the moisture source almost always leads to the same problem returning within a season. Treat moisture diagnosis as a prerequisite, not an optional step.
Step 4: Score the Extent of Damage
Count how much of the visible floor shows deep damage, gouges that catch a fingernail, dark stains that do not lighten after a light sanding test, soft or rotted spots, or boards with exposed tongue-and-groove joints.
Step 5: Match Your Result to an Outcome
| What you found | Likely outcome |
|---|---|
| Finish-only wear, stable boards, no cupping | Recoat (no sanding) |
| Scratches into wood, stable boards, under 30% damage | Sand and refinish |
| Damage under 10%, isolated boards | Localized board replacement and blend |
| Wear layer too thin, cupping over 1/16 inch, or over 30% damage | Replacement |
If your answers land in more than one row, the more conservative outcome usually wins, for example, a floor with finish-only wear in most rooms but one cupped section still needs the moisture issue resolved before a recoat makes sense. When in doubt, get a professional assessment before committing to either path.
Checking Wood Thickness Before You Sand
Sanding removes wood, so the central question is how much sandable wood remains. That answer depends on construction, solid versus engineered, and on how many times the floor has already been sanded. Get this wrong and you can sand through a wear layer in a single pass, turning a refinish job into a full replacement.
Solid Hardwood Versus Engineered Hardwood Wear Layers
Solid hardwood is milled from a single piece of wood, so its full thickness is sandable. A standard 3/4-inch solid oak floor typically has enough material for three to five sandings over its life, depending on how aggressively each pass removes stock.
Engineered hardwood is a different animal. It has a thin top layer of real wood, called the wear layer, bonded over plywood or high-density fiberboard core layers. Engineered hardwood wear layers vary by product, so check the manufacturer's specification.
- Solid hardwood: sandable multiple times; confirm actual thickness at an edge or vent cutout.
- Engineered with 4 mm or thicker wear layer: usually sandable once, sometimes twice, with a light pass.
- Engineered with 2 mm to 4 mm wear layer: typically one light sanding at most.
How to Identify Construction and Measure the Wear Layer
You do not need to pull up a board to get a useful measurement. Try these approaches in order, from least invasive to most:
- Check a floor vent or transition strip. Remove a HVAC floor register or a threshold strip at a doorway. The cut edge of the plank is usually visible, and you can see the wear layer as a distinct top band above the core.
- Look at a closet or unseen corner. A board pulled from a closet, pantry, or behind a toe-kick often shows the cross-section.
- Use a utility knife to score a hidden edge. At an inconspicuous spot, score the edge of the wear layer and measure the depth with a feeler gauge or a machinist's rule. A wear layer under 2 mm is a strong signal to stop and call a pro.
- Check the manufacturer's spec. If you know the product name or have a builder's packet, the wear layer thickness is usually listed. Compare that number to the sanding allowance your contractor recommends.
If you cannot identify the product and cannot see a clean cross-section, assume the wear layer is thin and get a professional opinion before sanding.
How Many Times Can Your Floor Be Sanded?
There is no universal number, the answer depends on starting thickness, wear layer, and how much each pass removes. As a working rule:
A flooring contractor can measure remaining thickness at a vent or edge and tell you how many passes are safe. If the floor has already been sanded before, common in older homes, subtract those passes from the estimate. When the remaining allowance is one pass or fewer, replacement usually makes more financial sense than risking a sand-through.
The wear layer, not the plank thickness, controls whether an engineered floor can be sanded. Measure it at a vent, transition, or hidden edge before committing to refinishing, and if you cannot measure it, assume it is too thin to sand.
Water Damage, Cupping, and Buckling
Water is one of the biggest threats to hardwood. It can ruin a floor that otherwise looks fine.
Cupping happens when board edges rise higher than their centers. Buckling happens when boards lift off the subfloor, often in large sections.
Sanding alone won't fix buckling or cupping.
Moisture in the subfloor can come from a crawl space, a basement, or a plumbing leak.
Finish Failure Versus Damage to the Wood
Finish failure and wood damage look similar but need different fixes.
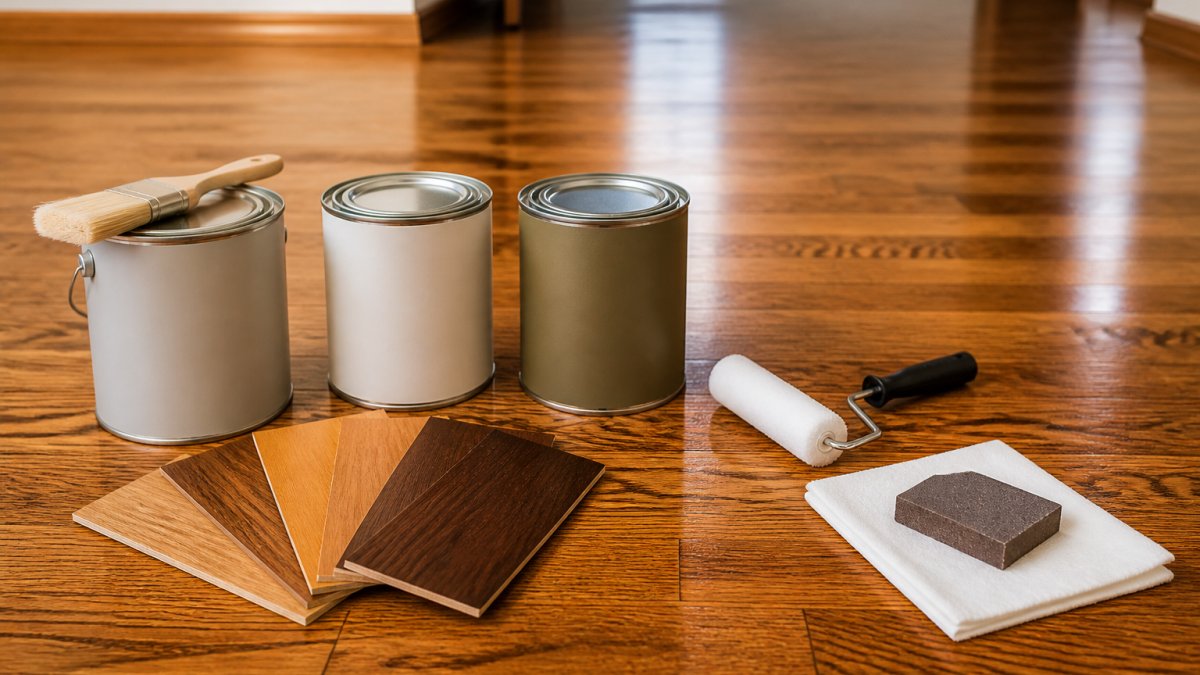
- Finish failure: Peeling, flaking, or bubbling finish that sits on top of sound wood. Usually fixed by sanding off the old finish and recoating.
- Wood damage: Gouges, dark stains that run deep, rot, or boards that feel soft. Often needs board replacement or deeper sanding.
Pressing a fingernail into the surface helps. If the mark stays only in the finish, the wood is likely fine.
Loose Boards, Deep Gouges, and Structural Damage
Loose or squeaky boards point to a structural problem. The fasteners may have loosened, or the subfloor may have shifted. Sanding won't fix this. Securing the boards comes first.
Deep gouges that expose bare wood can sometimes be filled and sanded. Very deep damage may require replacing only the affected boards. Repairing just the damaged sections is often far cheaper than replacing the whole floor.
Signs of structural damage include:
- Boards that move or shift underfoot
- Gaps that open and close with the seasons
- Soft spots that give under weight
Refinish or Replace Hardwood Floors: Cost and Disruption Compared
Refinishing and replacement differ in cost and time, and the right choice depends on the floor's condition.
Pricing depends on the size of the room, the condition of the floor, and the work required. For current figures, contact Freddie Sanchez Hardwood Floors for a quote tailored to your home.
Disruption matters too. Refinishing usually means several days without full use of the room, plus dust control. Replacement takes longer and can affect nearby rooms.
Booking a Floor Assessment With Freddie Sanchez Hardwood Floors
Many floor problems look worse than they are, and some look better than they are. A professional assessment can tell you whether your hardwood floors need sanding, repair, or replacement.
At Freddie Sanchez Hardwood Floors, we prioritize clear, constant communication with our customers from start to finish.
Ready to know where your floors stand? Get a Free Quote from Freddie Sanchez Hardwood Floors today.
Frequently Asked Questions
How can you tell if hardwood floors need to be refinished?
Look for a dull, worn finish, surface scratches that do not buckle or lift, and areas where the topcoat has turned gray or dark from foot traffic. If the boards are still flat, tight, and solid and the wood shows through only in high-traffic paths, refinishing is usually the right call. Press on the boards and check for movement. If they are stable and the damage sits mainly in the finish, sanding and recoating will typically restore the look at a fraction of replacement cost.
How do you know if hardwood floors are too thin to sand?
Check the board edges or a heating vent opening for the thickness of the wood above the tongue and groove, and check whether previous sanding has already reduced it. Solid hardwood can usually be sanded several times, but each pass removes wood. Engineered hardwood has only a thin top wear layer, so if it is worn through to the core or the layer is very thin, sanding is not an option and recoating or replacement is the realistic path. A flooring professional can measure the remaining allowance before any work begins.
Can water-damaged hardwood floors be saved?
Sometimes. Surface staining and light cupping caused by a one-time spill often improve once the moisture source is fixed and the floor dries out completely, then sanded. Warping, buckling, black staining, or soft spots that point to subfloor rot usually mean the damaged boards must be replaced and the moisture problem diagnosed first. Repairing only the affected boards can be a practical option when the damage is localized.
When should hardwood floors be replaced instead of refinished?
Replacement makes more sense when boards are buckled, cracked, or structurally loose across large areas, when engineered wear layers are too thin to sand, when subfloor damage is extensive, or when deep gouges expose bare wood across most of a room. Sanding is also the wrong choice when moisture is still present. For a reliable recommendation on your specific floors, schedule a professional assessment and request a free quote.