 how-to
How to Restore Hardwood Floors After Water Damage
Last Updated: October 29, 2026
Quick Summary
Hardwood floor restoration after water damage starts by stopping the water source and making the room safe, then drying the boards and subfloor slowly with airflow and a dehumidifier. Use a moisture meter to confirm the floor is dry, and only then decide whether to repair, refinish, salvage, or replace the boards.
- Stop the water source and cut power to affected areas before anything else.
- Use airflow and a dehumidifier; avoid high heat, which can crack or warp boards.
- Track drying with a moisture meter and wait for readings to level off near baseline.
- Do not start repairs or sanding until moisture readings are stable and safe.
- Check subfloor condition first, since it is the biggest factor in the repair estimate.
Table of Contents
- Hardwood Floor Restoration Starts With a Safety Check and Stopping the Water
- Assessing the Extent and Type of Water Damage
- How to Dry Hardwood Floors After Water Damage
- Using a Moisture Meter for Wood Floors to Track Drying Progress
- How Long Hardwood Floors Take to Dry and When Repairs Can Begin
- Repair, Refinish, Salvage or Replace: Deciding What Your Floor Needs
- Documenting the Damage for Your Insurance Claim and Booking Your Restoration Estimate
- Frequently Asked Questions
Hardwood Floor Restoration Starts With a Safety Check and Stopping the Water
Hardwood floor restoration after water damage begins with one question: is the water still coming? Before you touch a single board, stop the source, cut the power to affected areas, and make sure the room is safe to walk in. Water and electricity do not mix, and wet subfloors can sag or give way under weight.
The order matters here. Most people want to start mopping right away. That is a mistake, because surface water hides the real problem underneath.
Here is a simple safety checklist to follow first:
- Shut off the water supply or the appliance that is leaking
- Turn off power to the affected room at the breaker if water is near outlets or cords
- Wear rubber boots and avoid walking through standing water
- Open windows and doors to start airflow if it is safe
- Take photos and video of the damage before moving furniture or removing water
If the water came from a broken pipe, a failed appliance, or a roof leak, get that fixed before drying begins. Otherwise, the floor will stay wet and the damage will keep spreading.
Assessing the Extent and Type of Water Damage
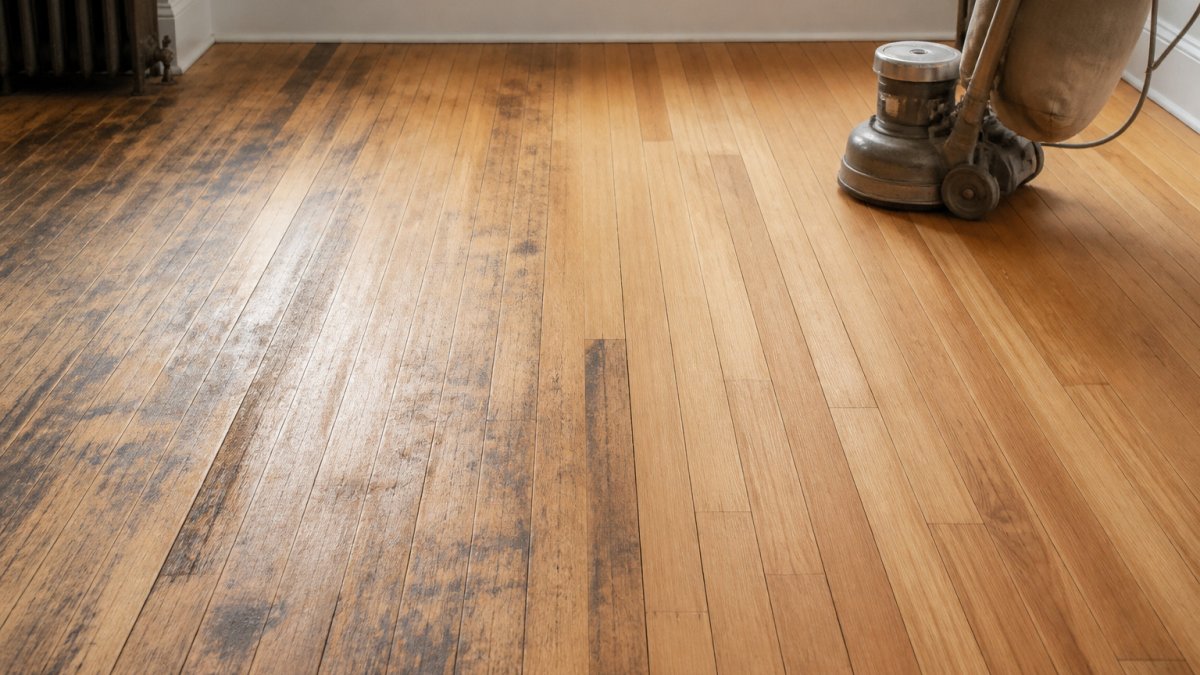
Not all water damage looks the same. The type of water and how long it sat on the floor both affect what can be saved.
Clean water from a supply line break is the least risky. Gray water from a dishwasher or washing machine carries some contaminants. Black water from sewage or floodwater is the most serious and often means replacing the affected boards.
Look for these warning signs:
- Cupping: Board edges rise higher than the center, which often means moisture is trapped below.
- Buckling: Boards push up off the subfloor or lift away from each other.
- Staining: Dark or gray marks can point to deeper moisture or early mold growth.
- Swelling and gaps: Boards may swell, then shrink and leave gaps once they dry.
- Loose or soft spots: The subfloor may be damaged if boards move or feel spongy underfoot.
A common mistake is judging the floor only by what you see on top. Check along baseboards, around the edges of the room, and under any rugs or furniture where water can hide.
How to Dry Hardwood Floors After Water Damage
Drying is where most of the real restoration work happens, and it is also where most homeowners go wrong. The goal is to pull moisture out of the boards and the subfloor evenly, without rushing the process. Surface water is easy to see; the moisture trapped in the wood and the subfloor is what determines whether the floor survives.
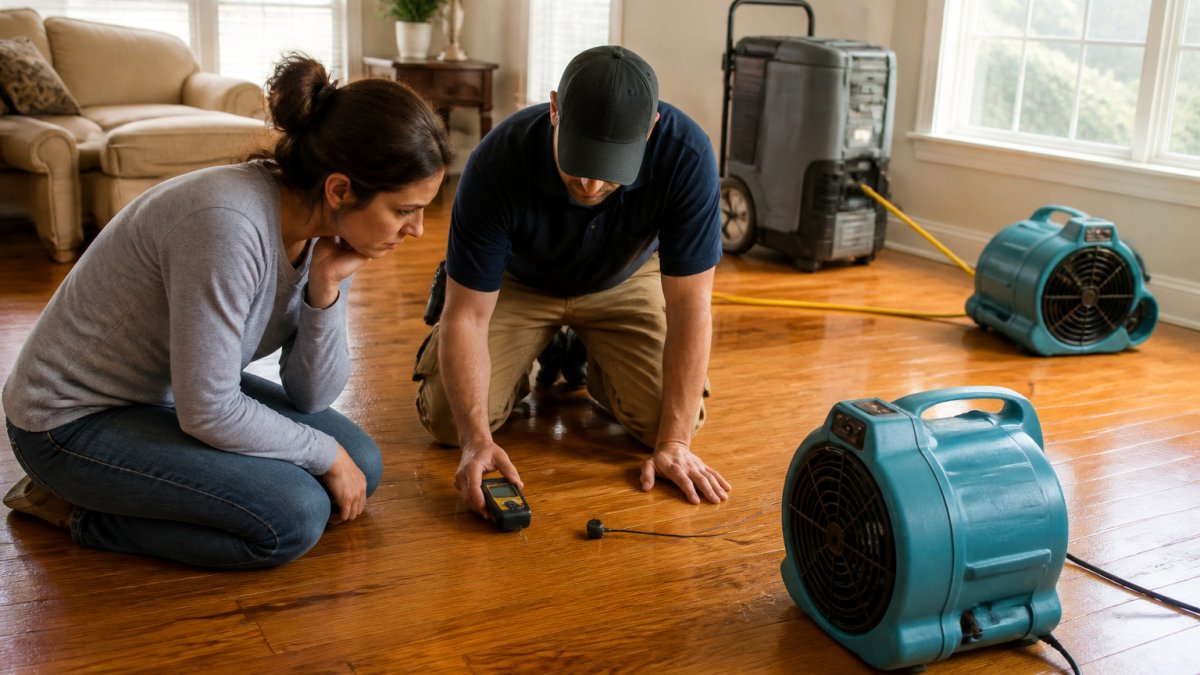
Start by removing standing water with a wet/dry vacuum or a mop, then blot up surface moisture with dry towels. From there, the work shifts from removal to evaporation control.
A few practical rules help a drying project go well:
- Airflow first, heat last. Air movers do the heavy lifting. High heat can crack, cup, or warp boards and is rarely the right tool for a homeowner.
- Lift the edges. Remove area rugs, and pull baseboards or quarter-round trim so air can reach the perimeter where water hides.
- Keep the dehumidifier running continuously. Cycling it on and off lets the room re-humidify and stretches drying time.
- Do not seal the room airtight. Some air exchange is fine; a completely sealed room with no dehumidifier just traps moisture.
- Skip the hair dryer and space heater. They dry the surface unevenly and can drive moisture deeper into the subfloor.
Never run a wet/dry vacuum, fan, or dehumidifier on a circuit that may have been exposed to water. Confirm the breaker is off and the outlet is dry before plugging anything in.
A common pattern is that the floor looks dry on top within a day or two while the subfloor underneath is still saturated. That is why the next step, measuring moisture, matters more than any visual check.
Drying is not finished when the floor looks dry. It is finished when moisture readings in the boards and subfloor have stabilized near the baseline of unaffected wood in the same home.
The article's drying rules are easy to scan at a glance.
| Drying rule | Why it matters | Avoid |
|---|---|---|
| Airflow first, heat last | Air movers do the heavy lifting | High heat that cracks or warps boards |
| Lift the edges | Lets air reach hidden perimeter water | Leaving rugs and trim in place |
| Keep the dehumidifier running continuously | Cycling lets the room re-humidify | Stopping and starting it repeatedly |
| Do not seal the room airtight | Trapped moisture keeps the floor wet | A completely sealed room with no dehumidifier |
| Skip the hair dryer and space heater | Dries the surface unevenly | Driving moisture deeper into the subfloor |
Using a Moisture Meter for Wood Floors to Track Drying Progress
A moisture meter for wood floors is the most reliable way to know when drying is finished. Guessing by feel or appearance is not enough, because a board can look dry on the surface while the core is still wet.
Take readings in several spots, including near walls, in the middle of the room, and on the subfloor if you can reach it. Record the numbers each day so you can see the trend. The reading should drop steadily and level off near the normal moisture content for your home and climate.
Use the subfloor and nearby undamaged boards as a reference point. When the affected boards match that baseline, drying is close to complete. Share your readings with your contractor, since they help decide whether boards can be kept.
How Long Hardwood Floors Take to Dry and When Repairs Can Begin
How long hardwood floors take to dry depends on the amount of water, the wood species, the room conditions, and the equipment used. Drying often takes several days to a few weeks, so patience matters.
Do not start repairs, sanding, or refinishing until moisture readings are back to a safe, stable level. Sealing or sanding wet wood traps moisture underneath and can lead to cupping or mold later.
Watch for these signs that drying is complete:
- Moisture readings have stopped dropping for several days
- Boards lie flat and no longer feel soft or spongy
- Cupping or buckling has started to flatten out
- The subfloor reads close to normal levels
If the floor has not improved after a reasonable drying period, that is a sign the damage may be beyond simple drying.
Repair, Refinish, Salvage or Replace: Deciding What Your Floor Needs
Once the floor is dry, you have four main paths: repair, refinish, salvage, or replace. The right choice depends on the damage, the cost, and the time you can wait, but the decision is more structured than it looks. Work through these questions in order.
1. Is the subfloor sound? If the subfloor is rotted, soft, or delaminating, no amount of board work will hold. Subfloor repair or replacement comes first, and that alone can push a project toward full replacement.
2. Was the water clean, gray, or black? Clean supply-line water is the most salvageable. Gray water from appliances carries contaminants that can linger in porous wood.
3. How much of the floor is affected? A few boards near the source can often be replaced individually if matching wood is available. When damage covers a large share of the room, replacement of the whole run is usually more economical than piecemeal repair, because matching species, color, and grain across a patch is difficult and labor-intensive.
4. Are the boards flat and solid after drying? Cupping that flattens out during drying is a good sign. Boards that stay warped, cracked, or spongy after moisture readings stabilize are candidates for replacement, not refinishing.
Here is how the four paths compare on what drives cost and time:
- Repair: Best for a few loose, stained, or damaged boards. Time is usually short once the floor is dry.
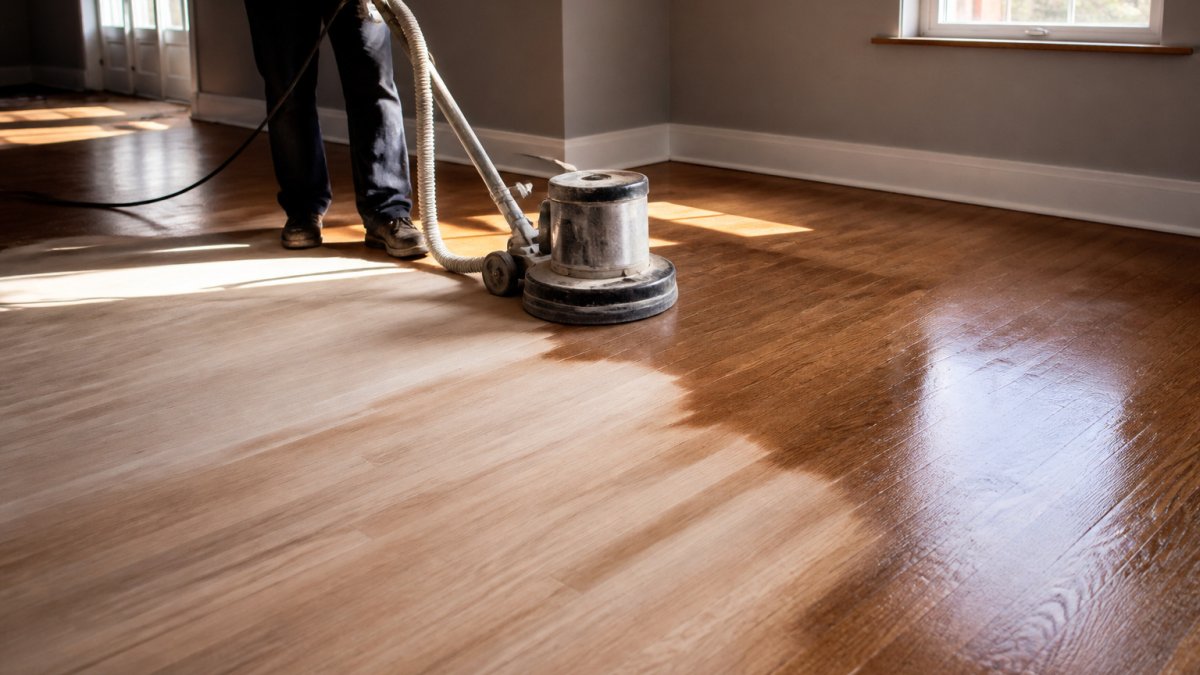
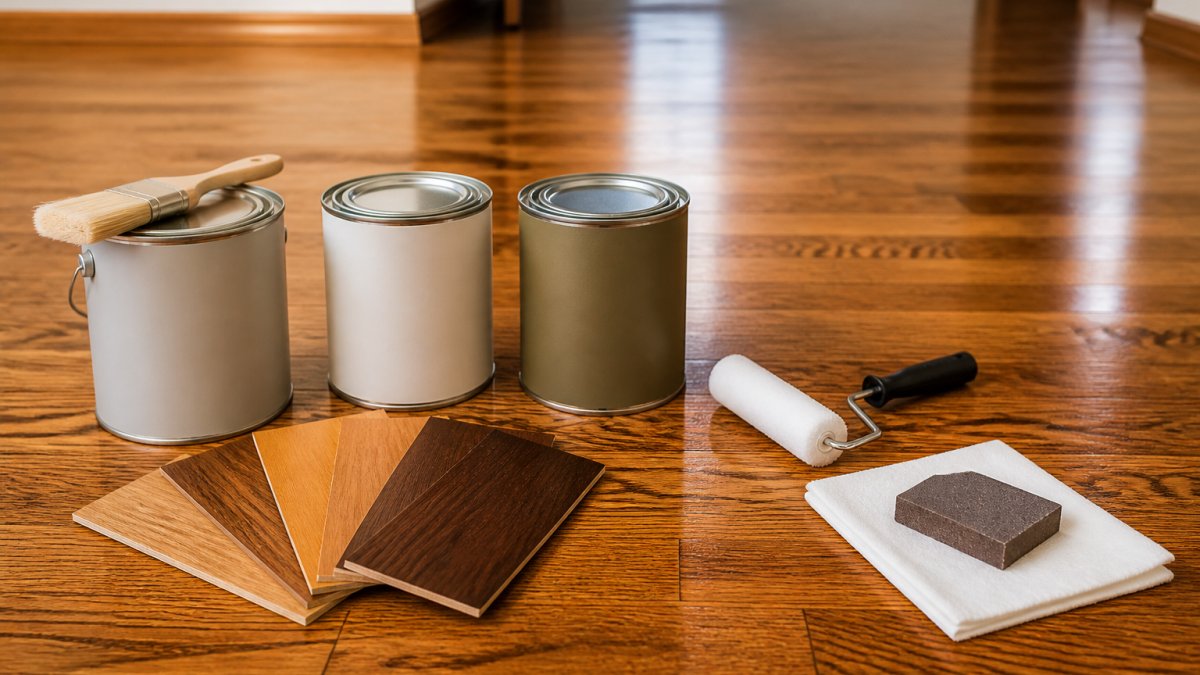
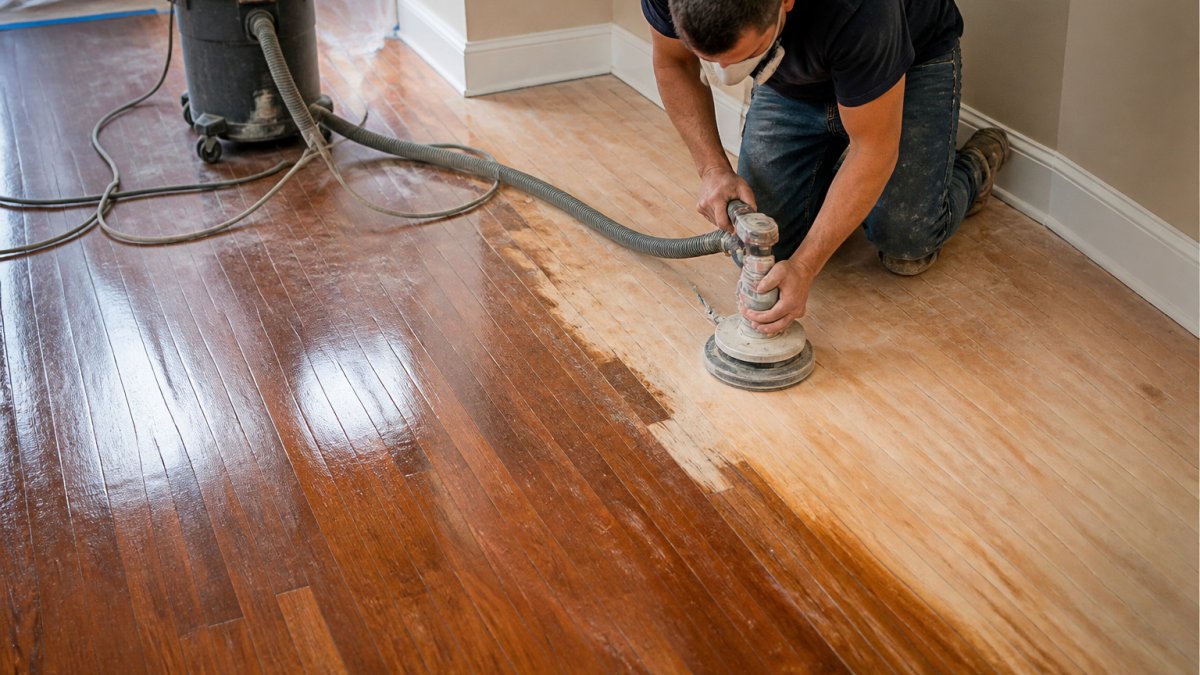
- Refinish: Suitable when boards are sound but the finish is stained, scratched, or worn after drying. Sanding removes surface damage but cannot fix a warped or rotted board.
- Salvage: Works when most of the floor is still flat, solid, and healthy after drying. This is less a separate service than a judgment call, salvage usually means a combination of spot repair and refinishing.
- Replace: Usually needed when the subfloor is rotted, boards are cracked or permanently warped, or the water was black water.
Ask your contractor to show you moisture readings and photos of the subfloor before you decide between refinishing and replacing. The subfloor condition is the single biggest swing factor in the estimate, and it is easy to overlook when the top boards look fine.
Pricing depends on the size of the area, the species, the subfloor condition, and the amount of work involved, so ask for a written estimate that separates drying, repair, and finishing line items. For current pricing or a quote, contact Freddie Sanchez Hardwood Floors directly.
Documenting the Damage for Your Insurance Claim and Booking Your Restoration Estimate
Good records make insurance claims much easier. Before any work starts, take clear photos and video of every damaged area, the water source, and the cleanup steps.
Keep these documents together:
- Photos and video of the damage and the water source
- Receipts for emergency cleanup and drying equipment
- Moisture readings you recorded during drying
- Any written estimates from contractors
- A copy of your insurance policy and claim number
Contact your insurance company promptly, since many policies have deadlines for reporting water damage. Share your documentation and ask what they will cover before you commit to repairs.
When you are ready, book a restoration estimate with Freddie Sanchez Hardwood Floors. Our team will inspect the floor, explain your options, and keep you informed throughout the project. Get a free quote today and take the first step toward restoring your floors.
Frequently Asked Questions
Can hardwood floors be restored after water damage?
In many cases, yes. Boards that have cupped, stained or lost their finish can often be sanded and refinished once they dry to a stable moisture level. Boards that are swollen, delaminated, rotted or have soaked subfloor beneath them usually need replacement. A flooring professional can measure moisture in the boards and subfloor, inspect for loose or crowned boards, and tell you whether restoration is realistic before any sanding begins.
How long does it take for water-damaged hardwood floors to dry?
Drying usually takes several days to a few weeks, depending on how much water got in, the species and thickness of the wood, room humidity and how much air movement you have. Fans and dehumidifiers speed the process, but boards should not be sanded or refinished until moisture readings have stabilized near the normal range for the home. Rushing the process can trap moisture and cause cupping or finish failure later.
When should water-damaged hardwood floors be replaced instead of repaired?
Replacement is generally the better choice when boards are badly swollen or buckled, when the subfloor is soft or rotted, when water came from contaminated sources such as sewage, or when there has been long-term or repeated exposure. Localized damage to a few boards can often be patched by replacing those boards. Get a written assessment that compares repair cost, time and expected result against replacement before you decide.
Can you refinish hardwood floors after water damage?
Yes, but only after the wood has dried fully and the subfloor is sound. Refinishing hides surface stains and restores a uniform look, yet it cannot fix cupping, warping or soft subfloor. Test for stains that go deep into the wood, since sanding may not remove them. Plan on a waiting period for drying before refinishing, and confirm that the boards are flat and secure.