 how-to
Can You Change Hardwood Floor Color Without Refinishing?
Last Updated: November 10, 2026
Quick Summary
Yes, you can change hardwood floor color, but the method depends on your floor type and finish. Most color changes use staining, which usually requires removing the old finish first, while screen-and-recoat methods offer only limited shifts.
- Check the board edge or a vent cutout to tell solid from engineered hardwood.
- Engineered floors have a thin veneer that may allow only one sanding.
- Screen-and-recoat works best when the new color is one or two shades different.
- Test each stain on a sample board to avoid blotching and undertone surprises.
- Sand and stain typically keeps a room out of use for several days.
Table of Contents
- Can You Change Hardwood Floor Color at All?
- Can You Change Hardwood Floor Color Without Sanding?
- Step-by-Step: How to Sand and Refinish Hardwood Floors Yourself
- Lightening Hardwood Floors: Before and After Results
- What Changing Hardwood Floor Color Costs
- Safety, Ventilation, and Disposal During Refinishing
- Book a Free Quote Before You Choose Your Color
- Frequently Asked Questions
Can You Change Hardwood Floor Color at All?
Yes, you can change hardwood floor color, but the method depends on what your floor is made of and what finish is on it. Most color changes happen through staining, and staining usually requires removing the old finish first.
Staining is the process of applying pigment into bare wood so the grain and tone shift. A stain can darken the floor, lighten it in some cases, or change its undertone from orange to brown or gray. It does not work the same way on every board, so testing matters.
Before you choose a method, you need to know what kind of floor you have. That starts with the next section.
Solid Versus Engineered Hardwood: How to Tell Which You Have
Solid hardwood is milled from a single piece of wood through its full thickness. Engineered hardwood has a thin top layer of real wood bonded over a plywood or fiberboard core. Both can look alike once installed, so it helps to check.
Look at the edge of a board, a gap by a vent, or an area where a transition strip meets the floor. A solid board shows the same wood grain all the way through. An engineered board shows layers, often with a different grain pattern underneath.
- Check a vent cutout or the end of a board for layered edges
- Look for a bevel with a visible core line
- Ask your installer or check the original purchase paperwork
Veneer Thickness and Why It Limits Your Options
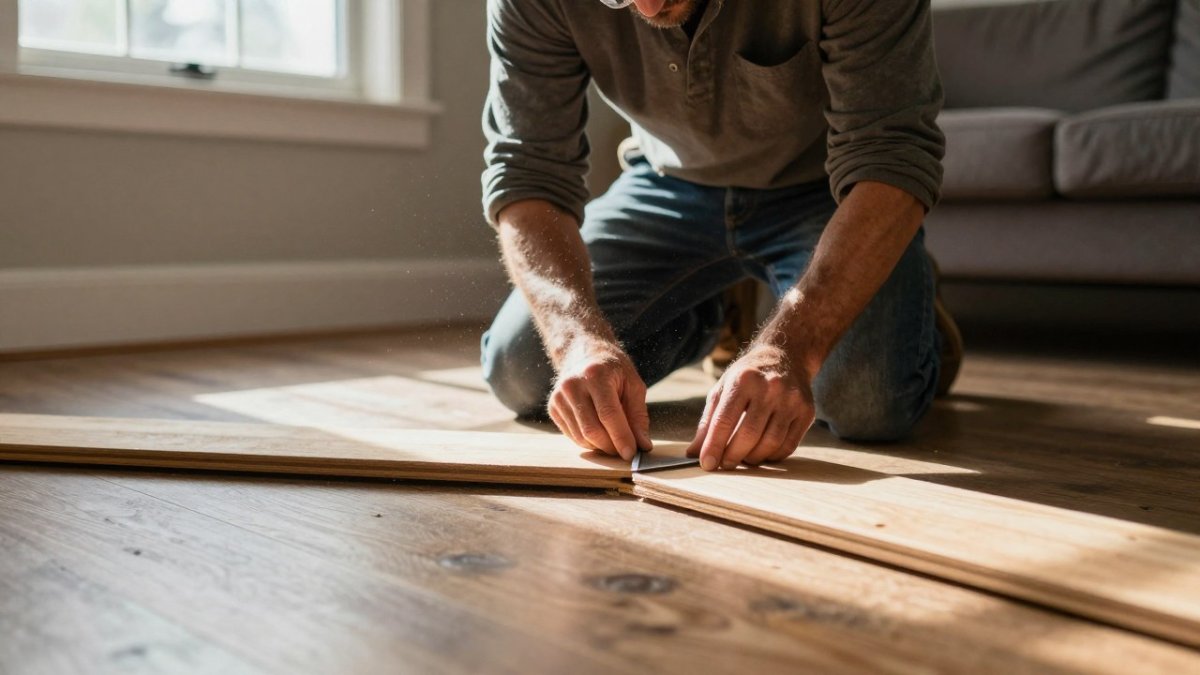
Engineered floors have a wear layer, also called veneer, that can be as thin as 1 millimeter or closer to 4 millimeters on premium products. This layer is the only part you can sand or stain. Once you sand through it, the core shows, and the floor cannot be fixed by refinishing alone.
Thin veneer rules out multiple sandings. Thicker veneer gives you more room to change color, but you should still expect fewer refinishing rounds than with solid wood. Ask for the veneer thickness before you commit to sanding.
Can You Change Hardwood Floor Color Without Sanding?
You can change color without sanding in some cases, though the results are more limited. Some homeowners use a screen-and-recoat process, which lightly abrades the existing finish and applies a new stain-and-topcoat system. This works best when the current finish is intact and the new color is only one or two shades different.
Other options include applying a tinted topcoat or a thin wash-style stain over the existing finish. These methods are faster and create less dust, but they rarely deliver deep or dramatic color shifts. They also do not hide scratches or wear.
A common approach is to test a small area first. Choose a closet or a spot under furniture, apply the product, and let it cure for at least 48 hours before judging the result. Many homeowners find that the color looks different once fully dry.
Step-by-Step: How to Sand and Refinish Hardwood Floors Yourself
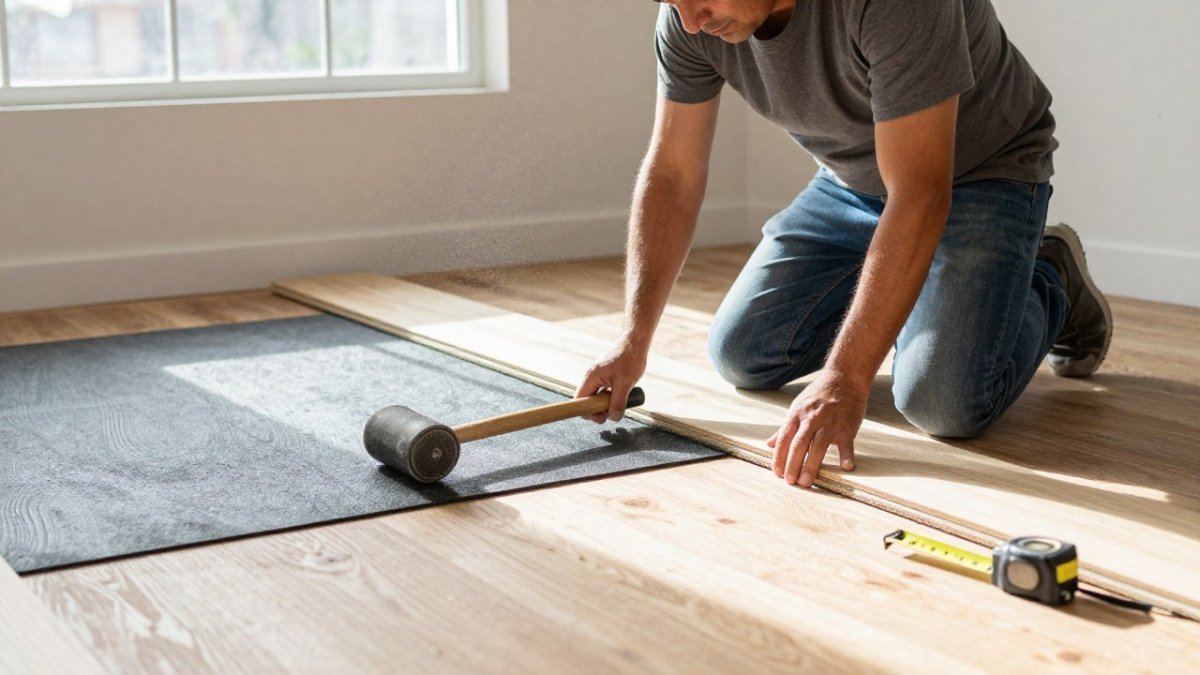
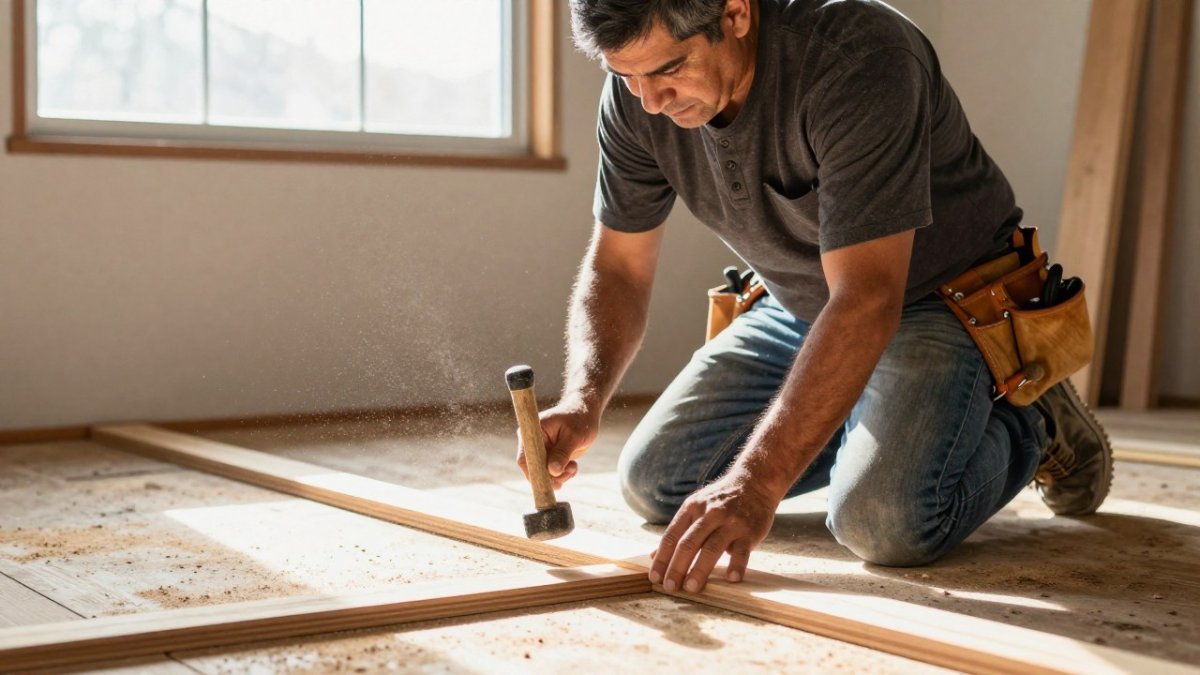
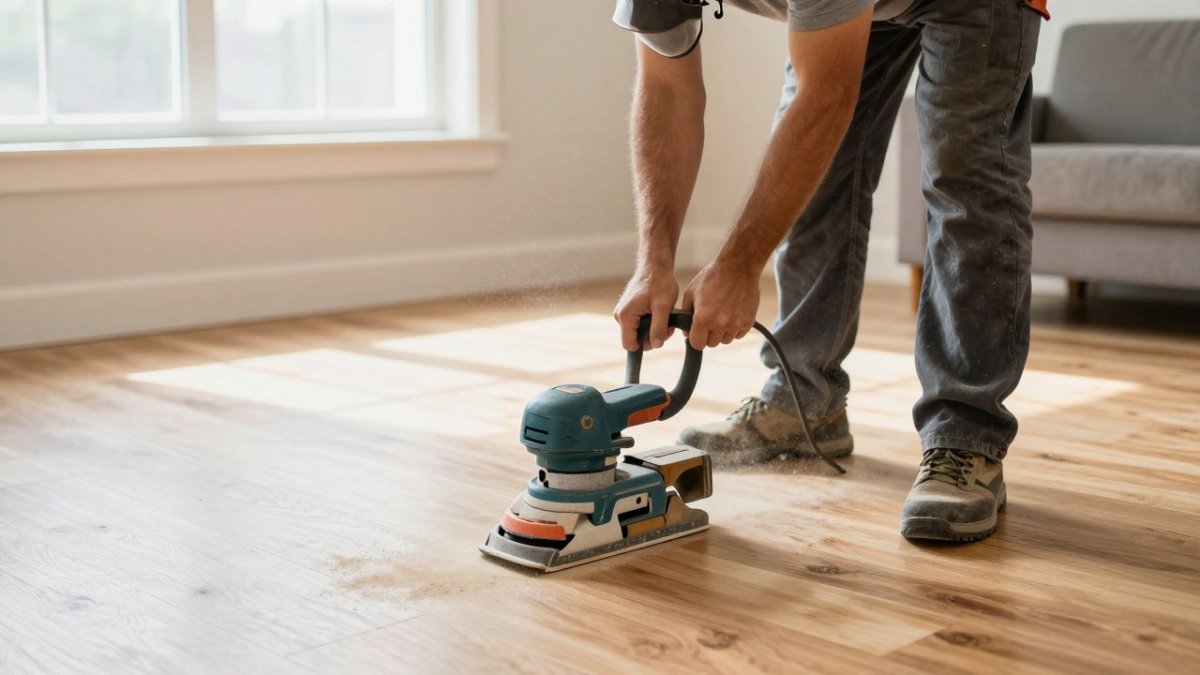
Doing this yourself is possible for a confident DIYer, but a full sand and stain takes several days and rents heavy equipment. Here is the basic sequence most homeowners follow.
- Clear the room and seal vents and doorways with plastic sheeting.
- Sand with a coarse grit first, then move to finer grits.
- Vacuum thoroughly between each pass.
- Apply stain in the direction of the grain, and wipe off excess.
- Let the stain dry fully, then apply two or three coats of protective topcoat.
- Allow the finish to cure before walking on the floor or moving furniture back.
Watch out: Skipping grits or rushing between passes leaves swirl marks that show through the stain. Sand evenly and take your time.
Preparing the Floor and Removing the Existing Finish
Preparation decides how well the new color takes. Remove furniture, pull up loose transitions, and fill any deep gaps or nail holes. Then sand off the old finish until you reach bare wood. Bare wood absorbs stain evenly, while leftover topcoat blocks it and causes uneven color.
Clean the floor with a vacuum and a tack cloth before staining. Any dust left behind shows up as specks in the finished color.
Testing Stain Colors and Avoiding Blotching
Blotching happens when stain soaks unevenly into certain boards, most often pine, maple or cherry. Before you commit to a whole room, test each stain color on a sanded sample board or an inconspicuous spot. Compare the sample in natural daylight and in the lighting you use at night.
Also watch for undertones. A stain that looks neutral in the can can turn reddish or greenish on oak. Testing helps you avoid a surprise after the topcoat dries.
Lightening Hardwood Floors: Before and After Results
Lightening results depend on species and the existing finish. Stains add pigment; they do not remove it. Making a floor lighter usually means stripping the old finish, sanding to bare wood, and then either bleaching the wood or applying a light-toned stain or whitewash. Each step has limits, and some species resist lightening more than others.
Why Some Woods Lighten and Others Resist
The starting color of the bare wood sets the ceiling on how light you can go. Some general species patterns include:
- Red and white oak: Respond well to sanding and can be lightened noticeably with a bleach or a light stain, though red oak tends to pull warm and may need a bleach step to neutralize pink or orange undertones.
- Maple and birch: Naturally light, so a light stain or clear finish can achieve a pale look, but these species blotch easily and often need a wood conditioner before staining.
- Ash and hickory: Ash lightens well and takes light stains evenly; hickory is highly variable board to board, so a light floor can look striped unless boards are sorted or a toner is used.
- Walnut and other dark species: Cannot be made light by sanding alone. The wood itself is dark, and only a bleach or an opaque finish changes that, often with uneven results.
- Pine and fir: Lighten easily but are soft, blotch-prone, and dent under traffic, so a pale finish shows wear faster.
A floor that was stained dark over a naturally light species generally responds well to lightening, because the underlying wood is already pale. A floor that is dark because the species itself is dark will not lighten by sanding alone.
The Role of the Existing Finish
What is on the floor matters as much as the wood. A penetrating oil finish can often be sanded back to bare wood more predictably than a thick polyurethane, which can leave residue in the grain that blocks a light stain. A factory finish on engineered flooring may include an aluminum oxide layer that is very hard to sand evenly and can cause the new light stain to take unevenly. If the existing finish is a tinted or toned topcoat, the color may sit on top of the wood rather than in it, and sanding removes it more cleanly than a stain that soaked in.
Whitewash and Light-Toned Stain: What They Actually Do
A whitewash or a light-toned stain does not remove color; it adds a translucent layer that softens the tone. On oak, a whitewash can produce a pale, washed look while still showing grain. On darker species, the same product may look muddy or gray rather than light. A bleach step, using a two-part wood bleach, can remove some natural pigment before staining, but it is a separate process with its own learning curve and should be tested on a sample board first.
Setting Realistic Before-and-After Expectations
Before-and-after photos online often show dramatic lightening, but those results typically involve a light species, a full sand to bare wood, and sometimes a bleach step. On your own floor, a practical test is a sample board: sand a small area to bare wood, apply the bleach or light stain you are considering, and compare it in daylight and under your evening lighting.
What Changing Hardwood Floor Color Costs
Costs depend on the size of the room, the wood species, the method you choose, and whether the floor is solid or engineered. Pricing varies from one job to another. For current figures tailored to your home, request a quote from Freddie Sanchez Hardwood Floors.
Time and disruption also matter. A sand and stain typically keeps a room out of use for several days, while a screen-and-recoat is shorter but offers less change.
Costs depend on several factors, so the article does not give fixed prices, but it does note the main timing trade-off between methods.
| Method | Time away from room | Color change |
|---|---|---|
| Sand and stain | Several days | Full, dramatic change |
| Screen and recoat | Shorter | Limited, one or two shades |
Safety, Ventilation, and Disposal During Refinishing
Sanding creates fine dust that can irritate lungs and eyes. Wear a respirator rated for fine particles, eye protection, and hearing protection. Keep windows open and run fans that exhaust outdoors, and close doors to other rooms.
Stains and finishes contain solvents (the EPA). Work with good ventilation, keep flames and pilot lights away, and store rags used with oil-based products in a sealed metal container or soak them in water until disposal. Follow your local waste rules for finishing materials and sanding debris.
Book a Free Quote Before You Choose Your Color
Choosing a color is easier when you know what your floor can take. Freddie Sanchez Hardwood Floors offers expert wood floor installation, a high standard of craftsmanship, and clear, constant communication from start to finish. Get a Free Quote!
Frequently Asked Questions
How much does it cost to change the color of hardwood floors?
Costs depend on the size of the room, the condition of the existing finish, whether the floor must be sanded, and the stain and topcoat you choose. Stain-only color changes on floors with an intact finish are generally less expensive than full sanding and refinishing, which involves more labor and materials. Because pricing varies by project and region, the most reliable figure comes from an in-home assessment. Contact the company for a free quote.
Is it possible to change the color of my hardwood floor without sanding it?
Sometimes. A thin, screen-and-recoat approach can work on floors with an intact finish and no deep scratches, and some homeowners use a tinted topcoat or a stain-and-topcoat system over a scuffed finish. However, you cannot fully remove an existing dark or heavily colored finish without sanding, and a new stain color usually cannot make a floor much lighter than its current tone. Test a sample area first and check how the new color looks in daylight before committing to the whole room.
Can you refinish hardwood floors in sections?
Refinishing in sections is possible but often produces visible seams, uneven color, and lap marks where the new finish meets the old. Professionals usually sand and finish an entire continuous area in one session to avoid these issues. If you must work in stages, plan breaks at natural doorways or transitions and keep the work area sealed off from foot traffic until each section fully cures.
How do you lighten hardwood floors before and after refinishing?
Lightening usually requires sanding off the existing stain and finish, then applying a light-colored or natural stain, a whitewash, or a clear finish with no stain at all. Before refinishing, the floor should be sanded down to bare wood, and a color test on a hidden area will show how the wood reacts. After refinishing, the floor will look noticeably lighter than the original, which is why many owners choose a clear or natural topcoat to keep the wood's warmth while removing darker tones.