 ultimate-guide
Hardwood Floor Moisture Testing Methods: 2026 Guide
Table of Contents
- Why Moisture Testing Matters Before Installation
- Hardwood Floor Moisture Meter Types: Pin vs. Pinless
- Acceptable Moisture Content for Wood Flooring
- ASTM F2170 and F1869: Testing Concrete Subfloors
- Step-by-Step Hardwood Floor Moisture Testing Methods
- How to Fix Cupped Hardwood Floors
- Documenting Results for Warranty Compliance
- Conclusion
- Frequently Asked Questions
Last Updated: October 1, 2026
Why Moisture Testing Matters Before Installation
Moisture is the single most common cause of hardwood floor failure, and it is almost always avoidable with proper hardwood floor moisture testing methods. Skipping this step leads to cupping, crowning, and buckling that no finish can hide. Wood is hygroscopic: it absorbs and releases water vapor until it reaches equilibrium moisture content with the surrounding air. Install a board that is too wet or too dry and it will move after installation, opening gaps in winter and swelling in summer.
Hardwood Floor Moisture Meter Types: Pin vs. Pinless
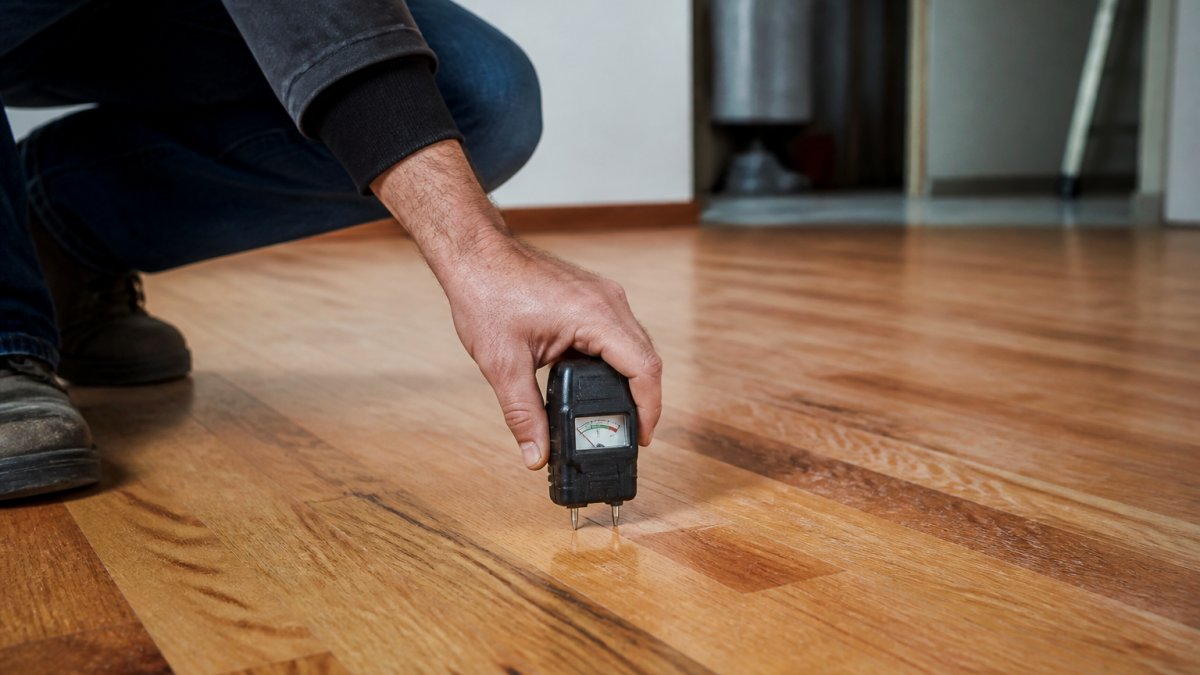
The two main hardwood floor moisture meter types are pin-type meters and pinless meters, and each measures moisture differently. Pin-type meters use electrical resistance: two pins drive a small current through the wood, and wetter wood conducts more. Pinless meters use dielectric or capacitance technology, sending an electromagnetic field into the board and reading how that field changes with moisture content.
| Meter Type | How It Works | Best For | Main Limitation |
|---|---|---|---|
| Pin-type | Electrical resistance between pins | Precise spot readings, thin boards | Leaves small pin holes |
| Pinless | Dielectric/capacitance field | Fast scanning, finished floors | Affected by density and coatings |
Acceptable Moisture Content for Wood Flooring
Acceptable moisture content for wood flooring is not one number, it is a moving target set by the species, the product construction, and the equilibrium moisture content (EMC) the floor will actually live at in service. The general rule is that wood flooring should be within 2 to 4 percentage points of the subfloor's moisture content and within roughly 2 to 4 points of the EMC the floor will experience in the room where it is installed.
Why EMC, Not a Spec-Sheet Number, Sets the Target
EMC is the moisture content wood settles at when it stops gaining or losing water to the surrounding air. It is driven by the temperature and relative humidity of the space, and it changes with the seasons. A board that reads 8% in a humid July job site may read 5% by February once the heat runs. If you install to the summer number, the floor dries and gaps in winter.
Species and Construction Change the Tolerance
Different species and products do not move the same amount, so the acceptable window is not identical across a job.
- Dimensionally stable species such as hickory, hard maple, and white oak move less across the width with humidity swings. They tolerate the tighter end of the range and are the safest choice for wide-plank solid flooring.
- More movement-prone species such as beech, mesquite, and some domestic soft maples expand and contract more per point of moisture change. Hold these to the tighter end of the window and expect wider seasonal gaps.
- Engineered planks are built with a cross-ply core that resists width movement, so they can accept a slightly wider moisture range than solid strip, but the core itself can delaminate if the plank is installed over a wet slab, so the subfloor limits still apply.
- Solid strip flooring is the least forgiving. It has no cross-ply to fight movement, so it demands the narrowest moisture gap between board and subfloor.
Reading the Numbers in Practice
Never trust a single number printed on a spec sheet or a sticker on the bundle. Test the actual boards delivered to the job, and test them after they have acclimated in the room where they will be installed. Acclimation is not a formality; it is how the wood reaches equilibrium with its environment before it is nailed down. A common pattern is to bring the flooring into the conditioned space, stack it with spacers for airflow, and let it sit until repeated meter readings stop drifting, often several days, longer in dry or humid climates.
ASTM F2170 and F1869: Testing Concrete Subfloors
Concrete subfloors require two dedicated tests defined by ASTM standards, and both measure something a wood meter cannot. The ASTM F2170 relative humidity probe test measures moisture conditions inside the slab using in-situ probes set at a specified depth (F2170 Standard Test Method for Determining Relative Humidity in Concrete Floor Slabs...). The ASTM F1869 calcium chloride test measures the moisture vapor emission rate from the slab surface using an anhydrous calcium chloride dish sealed under a plastic dome for a set period.
| Test | Standard | What It Measures | Typical Use |
|---|---|---|---|
| RH probe | ASTM F2170 | Relative humidity inside the slab | Slab moisture condition |
| Calcium chloride | ASTM F1869 | Moisture vapor emission rate | Surface vapor release |
Step-by-Step Hardwood Floor Moisture Testing Methods
Here is a common sequence to follow on every job, from wood subfloors and joists to concrete slabs.
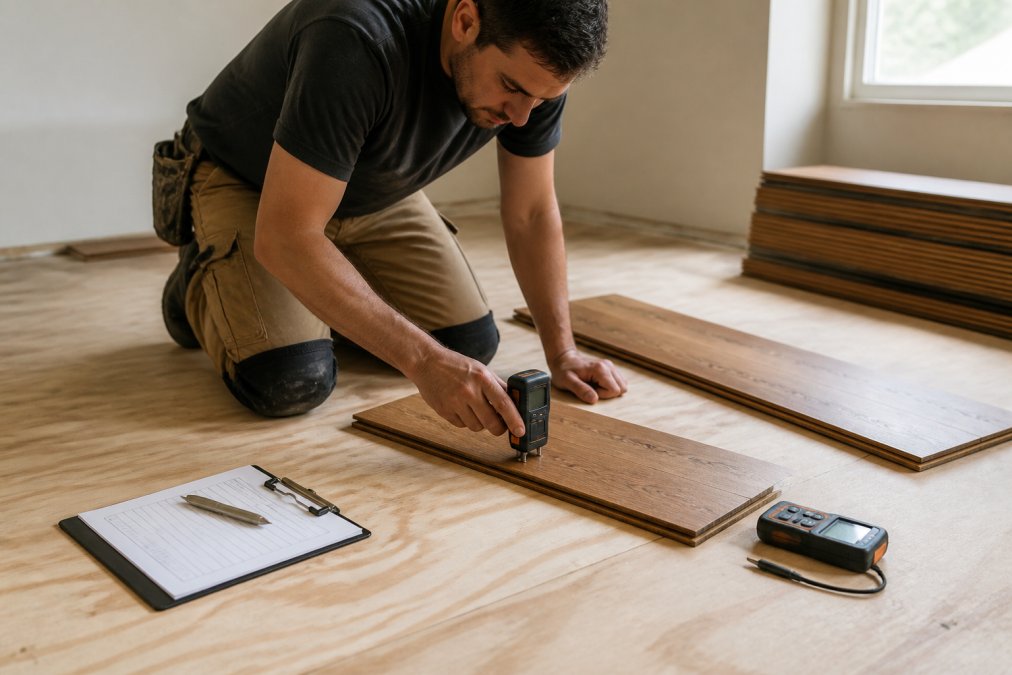
Testing Wood Subfloors and Joists
- Let the building reach normal living conditions for at least 48 hours before testing.
- Record ambient relative humidity and temperature with a hygrometer.
- Take pin-type readings at multiple points across each joist and subfloor panel.
- Test at least 20 points per 1,000 square feet, and more in suspect areas.
- Compare each reading against the flooring's target moisture content.
- Log every reading with its location, date, and meter used.
Testing Concrete Slabs
- Confirm the slab is at least 30 days old and the building is enclosed.
- For F2170, drill holes to the specified depth, insert in-situ probes, and let them equilibrate.
- For F1869, clean the surface, seal the calcium chloride dish under its dome, and wait the required period.
- Record all readings and compare them to the flooring manufacturer's limits.
- Retest if the slab is near the limit or if conditions change.
How to Fix Cupped Hardwood Floors
Knowing how to fix cupped hardwood floors starts with finding the moisture source, not sanding the surface. Cupping, where board edges sit higher than the centers, means the bottom of the boards has taken on more moisture than the top. The mechanism is straightforward: the underside swells, the top stays drier, and the board takes on a concave shape across its width.
Read the Floor Before You Test It
A visual inspection before you pull out a meter tells you where to focus. Walk the floor and note:
- Cupping, edges high, centers low. Points to moisture from below: a wet slab, a damp crawlspace, or a missing vapor barrier.
- Crowning, centers high, edges low. Usually the opposite cause: surface moisture or a prior sanding job that flattened a cupped floor while it was still wet.
- Buckling, boards lifting off the subfloor entirely. Indicates severe moisture gain, often a leak or flooding, and usually means the affected boards must come out.
- Gapping, boards separating at the seams. Points to drying, not wetting, and is common in winter when indoor humidity drops.
- Staining or dark streaks near seams or along a wall, a sign of chronic moisture and possibly mold in the subfloor.
Diagnose the Source
The first step is always diagnosis, and the source is almost never the wood itself. Check, in order:
- The subfloor. Test the slab or wood subfloor directly under the cupped zone. If the subfloor reads wetter than the boards, the moisture is coming from below.
- Plumbing and appliances. Look for slow leaks under sinks, dishwashers, refrigerators, and ice makers. A pinhole leak can wet a subfloor for months before it shows on the surface.
- Crawlspace or basement humidity. In a vented crawlspace, ground moisture migrates up into the joists and subfloor. A vapor barrier over the soil and proper ventilation are the fix.
- Vapor barrier integrity. On a slab, a compromised or missing vapor barrier lets moisture vapor move up through the concrete and into the wood.
- Ambient conditions. A room held at very low indoor humidity in winter can dry the top of the boards while the underside stays damp, exaggerating the cup.
Repair in the Right Order
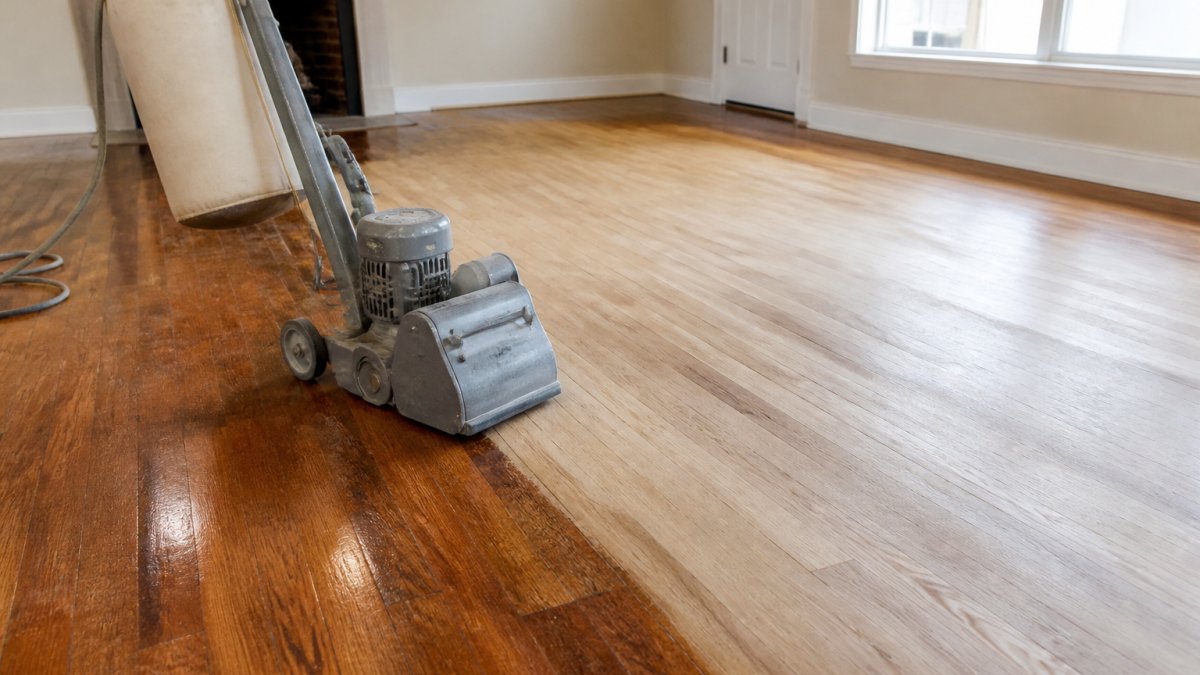
Once the source is corrected and the wood returns to equilibrium, minor cupping often resolves on its own over a heating season. Give it that time before you touch a sander. If the floor is still cupped after a full seasonal cycle and the moisture source is confirmed fixed, the boards have likely taken a permanent set and may need replacement rather than sanding.
Documenting Results for Warranty Compliance
Documentation is where most installations quietly lose their warranty protection. Flooring warranties almost always require proof that moisture conditions were within specification at the time of installation, and a verbal assurance will not satisfy a claim. Build a simple record for every job:
- Date, time, and ambient temperature and relative humidity
- Meter make, model, and calibration date
- Test method used (pin, pinless, F2170, F1869)
- Reading locations marked on a floor plan
- Every reading value recorded, not just the average
- Photos of the meter in place at key locations
- Signed acknowledgment from the homeowner or general contractor
Conclusion
Moisture testing is the least glamorous part of a hardwood floor installation and the one that decides whether the floor lasts. Get the meter types right, respect the ASTM standards for concrete, document every reading, and you remove the most common reason floors fail.
Frequently Asked Questions
Why are my hardwood floors cupping?
Cupping happens when the bottom of the wood absorbs moisture and expands while the top stays dry, pushing the edges up. Common causes include high ambient humidity, a wet subfloor, or a missing vapor barrier. Test with a moisture meter to confirm the source, then address the moisture before sanding, or the problem will return.
Can cupped hardwood floors be fixed?
Yes, if caught early and the moisture source is corrected. Light cupping often flattens as the wood dries to equilibrium moisture content. Severe cupping may require sanding after drying. Always verify with a moisture meter that readings are within acceptable moisture content for wood flooring before refinishing.
How do you use a moisture meter on hardwood floors?
For pin-type meters, insert the pins into the wood grain at several spots. For pinless meters, press the sensor flat against the surface. Take readings at least 20 spots per 1,000 square feet. Record the highest and average values. Calibrate the meter per the manufacturer's instructions before each job.
What is the acceptable moisture content for hardwood flooring?
Most hardwood flooring should be between 6% and 9% moisture content, but the target depends on your region's equilibrium moisture content. In humid areas, 8-10% may be normal. Always acclimate flooring to the job site and compare readings to the subfloor; a 2-4% difference is a common threshold for installation.
How do you draw moisture out of hardwood floors?
Increase ventilation with fans and a dehumidifier, and run your HVAC system to stabilize ambient conditions. Avoid direct heat, which can crack the wood. For small areas, a drying mat can help. If cupping is severe, call a professional to assess whether the floor needs to be dried, sanded, or partially replaced.
What ASTM standard applies to concrete subfloor moisture testing?
ASTM F2170 covers in-situ relative humidity probes, and ASTM F1869 covers the calcium chloride test. Both measure moisture vapor emission from concrete slabs. Many flooring manufacturers require one of these tests for warranty coverage. Always follow the manufacturer's specific requirements for your wood flooring product.
Moisture problems in an older home or a basement-level install are exactly the kind of job that separates a careful installer from a rushed one. Freddie Sanchez Hardwood Floors tests and documents every floor before installation, communicates with you at each stage, and stands behind work built to last. Get a free quote and let us walk you through the testing plan for your project before a single board goes down.