 how-to
Preventing Gaps in New Hardwood Floors
Table of Contents
- What You'll Need Before Installation Begins
- Why Gaps Form: Causes of Hardwood Floor Cupping and Shrinkage
- The Hardwood Floor Acclimation Process, Step by Step
- Moisture Testing the Subfloor: The Step Most Installers Skip
- Ideal Indoor Humidity for Hardwood Floors: Year-Round Targets
- Installation Techniques That Prevent Gaps in New Hardwood Floors
- Radiant Heat and Engineered vs. Solid Wood: Two Factors Most Guides Miss
- Preventative Maintenance: Stopping Gaps in New Hardwood Floors Before They Start
- Frequently Asked Questions
Last Updated: October 2, 2026
What You'll Need Before Installation Begins
Preventing gaps in new hardwood floors starts before the first plank goes down, with the room itself. The floor you get in year five is decided in week one.
Here's what you need on hand before installation day:
- A pin-type or pinless moisture meter for wood
- A concrete moisture test kit (calcium chloride or in-situ probe)
- A hygrometer to read relative humidity
- A dehumidifier or humidifier, depending on the season
- A pry bar, mallet, and pneumatic nailer
- A chalk line and spacers for the expansion gap
- The flooring itself, stacked and ready to acclimate
Why Gaps Form: Causes of Hardwood Floor Cupping and Shrinkage
Wood moves, that's physics, not a defect. The causes of hardwood floor cupping and shrinkage come down to one thing: moisture content changing after installation.
Two problems look similar but aren't:
- Shrinkage gaps show up in dry months. Boards pull apart at the seams.
- Cupping means the edges of each plank curl up. The board looks like a shallow cup. This points to moisture coming from below, not from the air.
The Hardwood Floor Acclimation Process, Step by Step
The hardwood floor acclimation process lets wood adjust to your home's moisture level before it's nailed down. It's the most important step in preventing gaps in new hardwood floors, and the one rushed jobs skip.
Here's how to do it right:
- Deliver the flooring 3 to 7 days before installation. Longer for thick solid planks.
- Open the boxes and stack the planks in the room where they'll be installed.
- Keep the home's HVAC running at normal living conditions.
- Check moisture content daily with a meter. Compare it to the subfloor reading.
- Wait until the two readings are within 2 to 4 percentage points of each other.
- Don't install until they match. No exceptions.
Moisture Testing the Subfloor: The Step Most Installers Skip
Test the subfloor before you touch a single plank. This is where most gap problems are born.
- Concrete: Use a calcium chloride test or an in-situ probe. Readings should fall within the flooring maker's limit.
- Wood subfloors: Check moisture content with a meter. It should be close to the wood flooring's reading.
- Crawl spaces: Add a vapor barrier over bare soil and check for standing water.
Ideal Indoor Humidity for Hardwood Floors: Year-Round Targets
The ideal indoor humidity for hardwood floors sits between 35% and 55% relative humidity all year. Keep it there and seasonal movement stays small.
To hold the range:
- Run a dehumidifier in summer and damp months
- Run a humidifier in winter when heating dries the air
- Check the hygrometer monthly, not just once
- Keep HVAC filters clean so airflow stays steady
Small swings are normal. Big ones open gaps.
Installation Techniques That Prevent Gaps in New Hardwood Floors
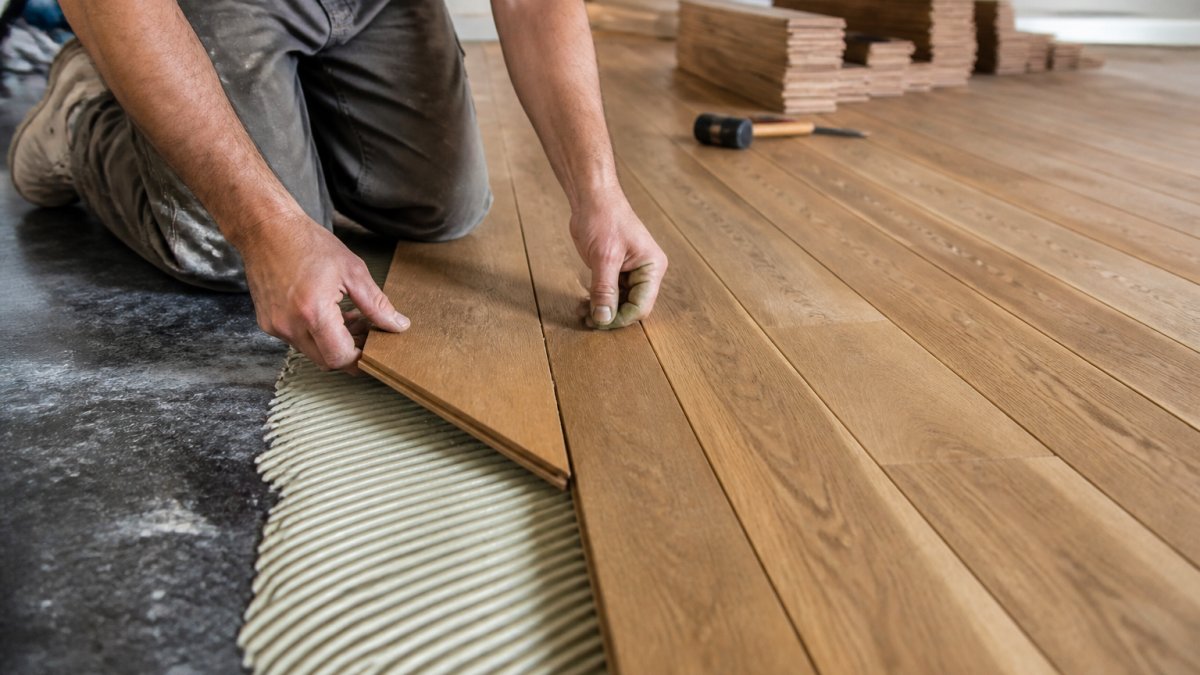
Good installation locks moisture content into place. The techniques that prevent gaps in new hardwood floors come down to control of spacing, fastening, and the subfloor itself.
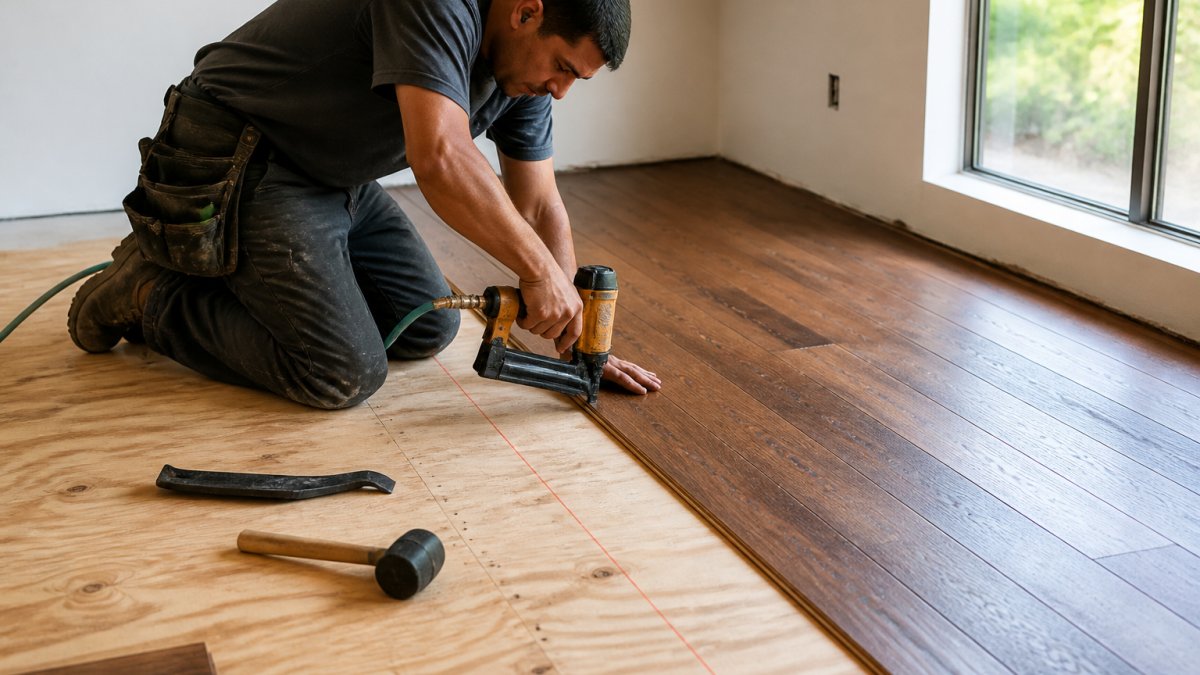
Then focus on fastening:
- Use the correct nailing pattern for the plank width
- Blind-nail through the tongue at the maker's spacing
- Add mechanical fasteners where glue-assist is allowed
- Stagger end joints so no two seams line up
- Check the subfloor is flat before you start
Loose fasteners let planks shift. Shifting planks gap.
Radiant Heat and Engineered vs. Solid Wood: Two Factors Most Guides Miss
Radiant heat and floor construction change how much a floor moves. Most guides skip both, and both decide whether gaps appear.
A few practical rules for radiant installations:
- Run the system for at least a week before installation so the slab or subfloor is at operating temperature, not cold.
- Acclimate the flooring at that operating temperature, not in a cold room.
- Bring the system up to temperature gradually after installation, most makers specify a ramp of a few degrees per day, not a sudden jump.
- Never staple or nail into a hydronic tube. Map the tube layout and mark it before you fasten.
| Factor | Solid Wood | Engineered Flooring |
|---|---|---|
| Construction | One solid piece through the thickness | Cross-laminated core with a wear layer |
| Movement with humidity | High, moves across the full thickness | Low, cross-lamination resists directional movement |
| Best for radiant heat | Limited; check maker's instructions | Preferred; most makers approve it |
| Exotic species | Prone to gaps as they dry | More stable, but check the core |
| Acclimation time | Longer, often a week or more | Shorter, sometimes 48-72 hours |
| Width effect | Wider planks show wider gaps | Wider planks still move less than solid |
Preventative Maintenance: Stopping Gaps in New Hardwood Floors Before They Start
Maintenance keeps a new floor tight for decades. Stopping gaps in new hardwood floors isn't a one-time job. It's a routine tied to the seasons, because the seasons are what move the wood.
A Year-Round Humidity Calendar
Hold indoor relative humidity between 35% and 55% all year, but the equipment and the target shift with the season.
- Late fall / early winter (heating season begins): Indoor air dries out fast once the furnace runs. Start the humidifier before you see gaps, not after. Aim for the upper half of the range, roughly 45%-55%, because heated air pulls moisture out of the wood. Watch for gaps opening at the seams; that is your signal the humidifier is behind.
- Deep winter: Peak gap season. Keep the humidifier running and check the hygrometer weekly. Verify any whole-home humidifier is keeping up, many undersized units can't hold 45% in a cold snap.
- Spring: As outdoor humidity rises, back the humidifier down and watch for swelling. Tight planks or squeaks mean you're on the wet side, switch to the dehumidifier as needed.
- Summer: Peak swelling season. Run the dehumidifier and keep the air conditioner running, AC removes moisture as it cools. Aim for the lower half of the range, roughly 35%-45%. Cupping in summer points to moisture from below, not from the air.
- Early fall: Transition season, both humidifier and dehumidifier may run in the same week, so check the hygrometer daily.
What to Check, and How Often
- Weekly during seasonal transitions: Read the hygrometer and adjust equipment.
- Monthly the rest of the year: Confirm the hygrometer is accurate, cheap ones drift. A salt-calibration check takes an hour and tells you whether your readings are real.
- At the start of heating and cooling seasons: Take moisture-content readings at several spots across the floor with a pin meter. Compare them to the readings you took at installation. A drift of more than a few percentage points means your indoor climate has changed.
- Annually: Walk the floor and inspect seams. Look for gaps that are wider than a dime, gaps that keep growing, or any cupping.
- After any leak, spill, or plumbing event: Dry the area fast, run a fan, and recheck the subfloor. Water that reaches the subfloor is the most common cause of a gap that shows up months later.
Normal Seasonal Movement vs. a Real Problem
- Normal: Hairline gaps that open in winter and close by summer. Gaps under the width of a dime. No cupping. No change from year to year.
- Watch: Gaps that open in winter but do not close the following summer. That means the floor is losing moisture and not getting it back, usually a humidity problem.
- Problem: Gaps wider than a dime, gaps that keep growing, cupping at the edges, or crowning in the center. These point to a moisture source, a wet subfloor, a crawl space without a vapor barrier, or a leak, and they need a pro to find the cause before anyone fills or sands anything.
If your floors are already showing gaps, cupping, or squeaks, don't guess at the cause. Freddie Sanchez Hardwood Floors installs hardwood with tight moisture control from the first reading to the final plank. Our team tests the subfloor, monitors acclimation, and keeps you updated at every step. Get a Free Quote and protect your floor before the gaps start.
Frequently Asked Questions
Should newly installed hardwood floors have gaps?
Small gaps along the edges are normal and expected. Every hardwood floor needs a 1/4 to 1/2 inch expansion gap at the walls, hidden under baseboards, so the wood can move with seasonal humidity changes. Gaps between individual planks in a new floor are a different story. Hairline gaps of less than 1/16 inch can appear during dry winter months and close up in summer. Wider gaps, gaps that appear within weeks of installation, or gaps paired with cupping usually point to a moisture problem or an installation error rather than normal seasonal movement.
How do you fill gaps in new hardwood floors?
Wait through one full heating and cooling season before filling anything. If gaps remain after the indoor relative humidity has been stable at 35 to 55 percent for several weeks, you can fill them. For gaps up to about 1/8 inch, a color-matched wood filler or latex-based filler pushed in with a putty knife works well. Wider gaps may need slivers of matching wood glued in and sanded flush. Never fill a floor that is still cupping; fix the moisture source first, because filler will crack or push out as the planks move.
Do hardwood floors shrink after installation?
Yes, and that shrinkage is the main reason new floors develop gaps. Wood is hygroscopic, meaning it gains moisture and swells in humid summer air, then releases moisture and shrinks when indoor heating dries the air in winter. A solid oak plank can change in width by roughly 1 percent across a normal yearly humidity swing, which adds up across a 20-foot room. Acclimating the wood to the home's actual living conditions before installation and keeping indoor humidity steady afterward are the two best ways to limit how much the floor moves.
How does humidity affect hardwood floor gaps?
Indoor relative humidity drives the moisture content of every plank. When indoor air drops below 30 percent in winter, planks lose moisture through their faces and edges, shrink slightly, and gaps open along the seams. When humidity climbs above 60 percent, the same planks absorb moisture, swell, and can cup or crown if the swelling is uneven. Keeping indoor relative humidity between 35 and 55 percent year-round, with a humidifier in winter and a dehumidifier or air conditioning in summer, keeps plank moisture content near the 6 to 9 percent range most U.S. manufacturers specify for installation.