 how-to
Why Do Hardwood Floors Cup: Causes and Solutions
Table of Contents
- What Hardwood Floor Cupping Is and How to Recognize It
- Why Moisture Imbalance Causes Hardwood Floors to Cup
- Common Sources of Moisture Beneath and Around Flooring
- Hardwood Floor Buckling vs Cupping: Key Differences
- How to Fix Cupped Hardwood Floors: Diagnosis and Next Steps
- Can You Sand Cupped Hardwood Floors and When to Replace
- How Long for Cupped Floors to Flatten After Drying
- Prevention: Installation, Acclimation, and Moisture Control
- Frequently Asked Questions
Last Updated: October 21, 2026
What Hardwood Floor Cupping Is and How to Recognize It
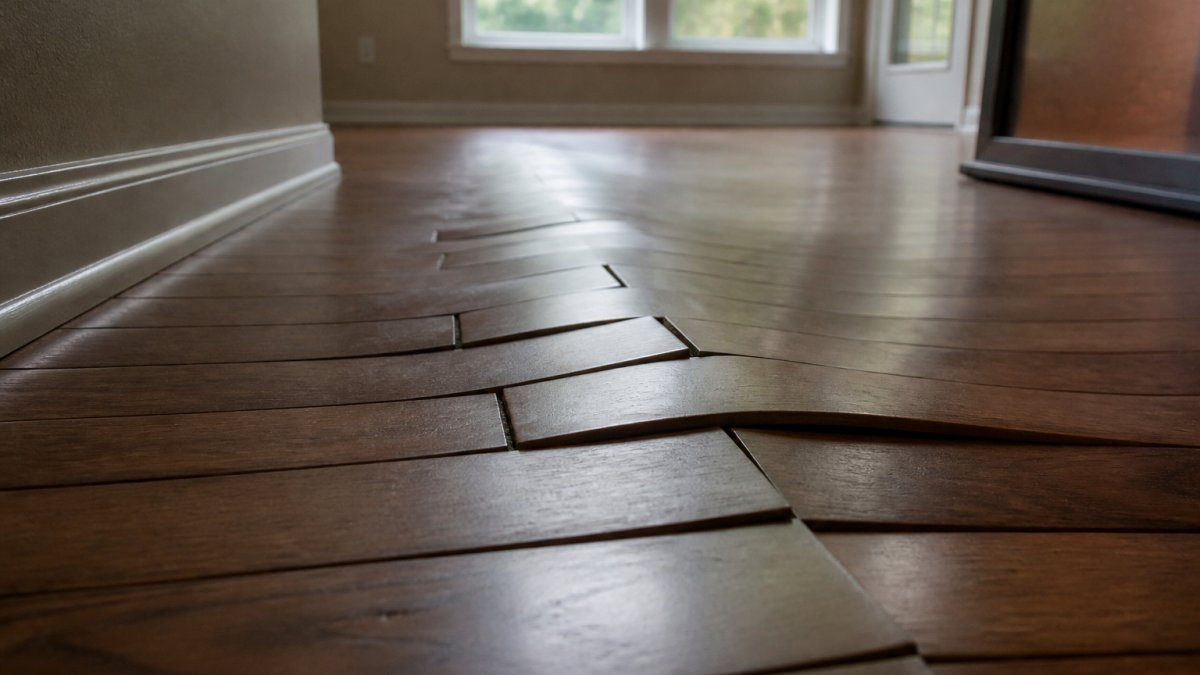
A hardwood floors cup condition occurs when the edges of wooden boards rise higher than the center, creating a concave, dish-like surface.
Cupping happens because wood absorbs and releases moisture. When the bottom of a board absorbs more than the top, the underside swells while the top stays dry, forcing the edges upward.
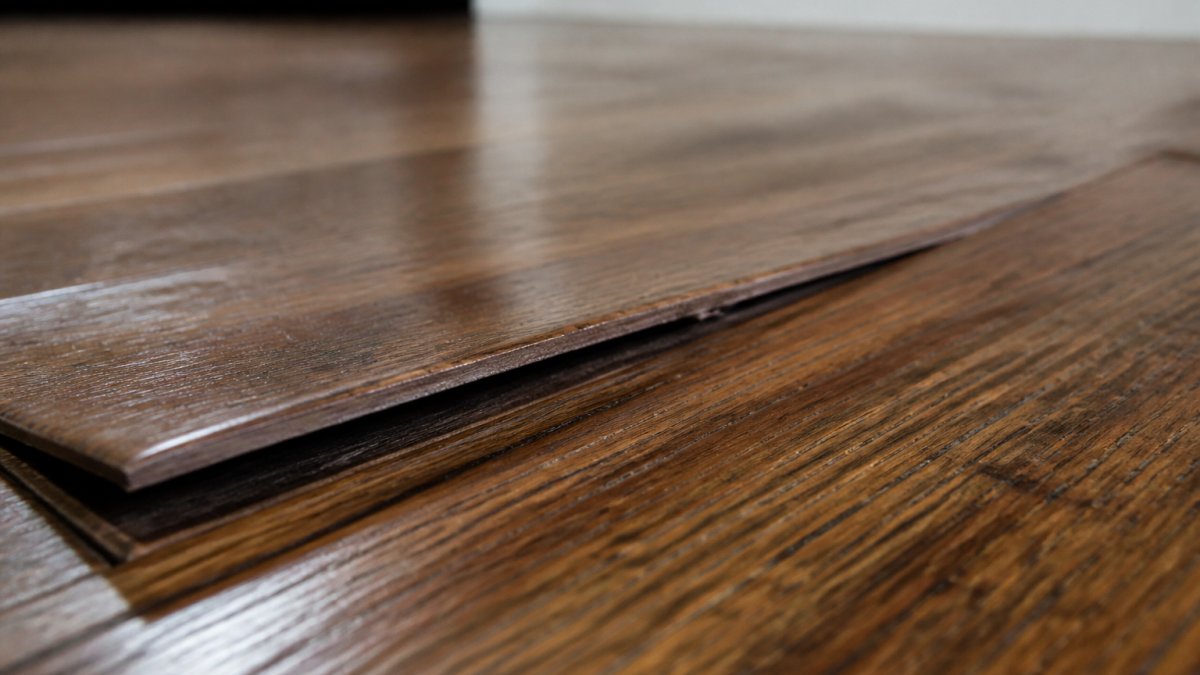
Look for these signs:
- Boards feel uneven underfoot, especially near the edges
- The center of each board sits lower than the perimeter
- A visible valley runs down the middle of planks
- The floor may creak more than usual
- Gaps appear between boards as they cup
Severity ranges from barely noticeable to a pronounced wave. The good news: mild cupping can sometimes flatten on its own once you control the moisture.
Why Moisture Imbalance Causes Hardwood Floors to Cup
Wood is hygroscopic, meaning it naturally absorbs and releases moisture from the air. When hardwood floors cup, it's always because of a moisture imbalance between the bottom and top of the boards.
Wood expands when it absorbs moisture and shrinks when it dries. If the underside absorbs more than the top, the bottom expands more; since the wood is nailed down, it can't expand outward, so it curves upward instead.
This imbalance typically occurs because:
- Moisture comes from below (concrete, crawl spaces, or ground water)
- The top surface is protected by finish and indoor air
- The bottom is exposed to damp conditions
- Air circulation underneath is poor
The wood doesn't have to be saturated for cupping to happen. Even a modest difference, 12% moisture content on the bottom versus 8% on top, can cause noticeable cupping over time, which is why controlling humidity and moisture sources is critical.
Common Sources of Moisture Beneath and Around Flooring
Finding where the moisture comes from is the first step to stopping cupping. Moisture can enter from multiple directions, and often more than one source contributes.
Leaks from Plumbing, Appliances, and Spills
Water leaks are among the most damaging moisture sources. A slow leak under the floor can go unnoticed for weeks, steadily worsening cupping and risking rot.
Watch for these leak sources:
- Supply lines under sinks, toilets, or washing machines
- Drain lines that crack or separate
- Refrigerator water lines (especially in kitchens near wood floors)
- Dishwasher discharge hoses
- Radiator or baseboard heating systems
Even small spills matter if they soak in and aren't dried quickly. A spill on hardwood flooring can penetrate the finish at seams and board edges, and the wood then absorbs moisture and swells.
Plumbing leaks are insidious because they're often hidden: water runs under the floor, and by the time you see cupping, damage is already significant. If you suspect a leak, check under the floor for wet spots, discoloration, or soft subfloor material, and call a plumber immediately if you find active water.
Humidity, Seasonal Changes, and Crawl Spaces
Humidity levels change with the seasons, summer air is more humid, winter heating dries indoor air, causing wood to expand and contract slightly throughout the year.
However, extreme humidity swings or consistently high humidity cause cupping. If indoor relative humidity stays above 55% for extended periods, your wood flooring absorbs more moisture than it should, especially in basements, kitchens, and bathrooms.
Crawl spaces are a major culprit: an unvented or poorly vented crawl space traps ground moisture that rises through the subfloor into your hardwood. Check for:
- Standing water or puddles
- High humidity (above 60%)
- Missing or damaged vapor barriers
- Poor or blocked ventilation
A properly installed vapor barrier on the crawl space floor dramatically reduces moisture transmission. Many older homes lack this protection entirely, which explains why older floors cup more.
Concrete slabs present a similar problem: concrete is porous and wicks moisture from the ground, especially below grade or where drainage is poor.
Hardwood Floor Buckling vs Cupping: Key Differences
People often confuse cupping with other floor problems, but they're distinct issues requiring different fixes.
Cupping is what we've described: the edges of boards rise while the center dips. It's caused by moisture in the subfloor or underneath the boards.
Buckling is more severe: the entire board lifts off the subfloor, creating a pronounced hump.
Crowning is the opposite of cupping: the center of the board rises while the edges stay down.
Gapping is when boards shrink and separate, leaving visible spaces between them. This occurs during dry seasons or after the moisture content drops significantly.
The key difference: cupping is reversible if caught early and the moisture is controlled.
How to Fix Cupped Hardwood Floors: Diagnosis and Next Steps
Fixing cupped floors requires a methodical approach: identify the moisture source, measure how much moisture is present, then decide whether to dry, sand, or replace.
Identifying the Moisture Source
Start by determining where the moisture is coming from, you can't fix cupping without stopping it.
Follow this diagnostic sequence:
-
Check for active leaks. Look under sinks, around toilets, and near appliances. Feel for wet spots on the subfloor. Listen for water running inside walls. If you find a leak, fix it before doing anything else.
-
Inspect the crawl space or basement. If accessible, look for standing water, high humidity, or damaged vapor barriers. Use a moisture meter if you have one, readings above 60% humidity indicate a problem.
-
Check the concrete slab (if applicable). Tape a plastic sheet to the concrete for 24 hours. If moisture beads up under the plastic, water is wicking up from the ground.
-
Assess indoor humidity. Use an inexpensive humidity meter to check relative humidity in the affected room. Readings above 55% suggest humidity is too high.
-
Look at seasonal patterns. Does cupping worsen in summer (high humidity) or after heavy rain? This tells you whether the problem is external moisture or indoor humidity.
-
Examine the floor's history. Ask previous owners or contractors about past water damage, flooding, or moisture issues. Old cupping that has flattened on its own suggests the problem was temporary.
Once you've identified the likely source, address it directly: seal the leak, install a dehumidifier, improve crawl space ventilation, or apply a moisture barrier under the concrete. Stop the moisture before the floor can recover.
Measuring Moisture Content and Testing Thresholds
A moisture meter is essential for assessing hardwood cupping. It measures the wood's moisture content (MC) as a percentage.
Here's what the numbers mean:
- Below 12% MC: Wood is in equilibrium with normal indoor conditions
- 12-16% MC: Acceptable range for hardwood flooring in most climates
- 16-20% MC: Elevated; cupping risk increases
- Above 20% MC: Very wet; significant cupping or buckling likely
Pin-type meters have two small pins you push into the wood; pinless meters use electromagnetic sensors and don't damage the surface. Both cost $30 to $300 depending on accuracy.
Take multiple readings across the affected area, measuring top and bottom surfaces if possible. If the bottom is significantly wetter than the top, you've confirmed that moisture from below is the culprit.
The threshold for action depends on severity:
- If MC is under 16% and cupping is mild, monitor the situation. Improve ventilation and humidity control.
- If MC is 16-20% and cupping is moderate, begin drying and moisture control measures.
- If MC is above 20% or cupping is severe, expect that sanding or replacement may be necessary.
Can You Sand Cupped Hardwood Floors and When to Replace
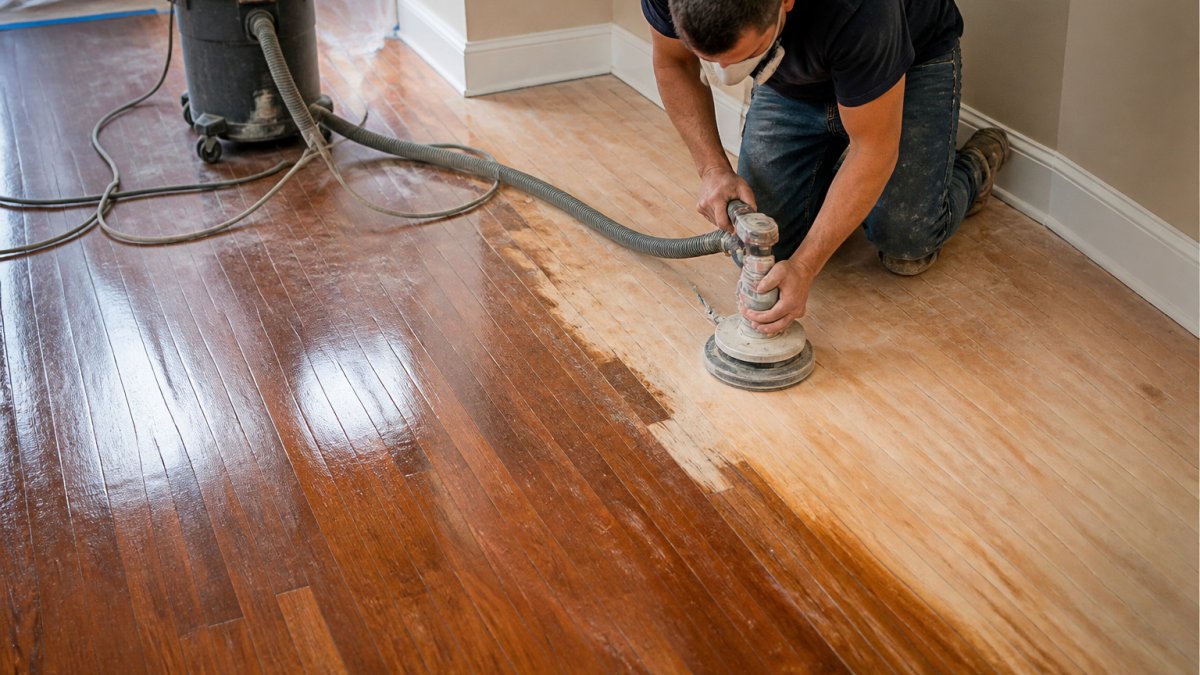
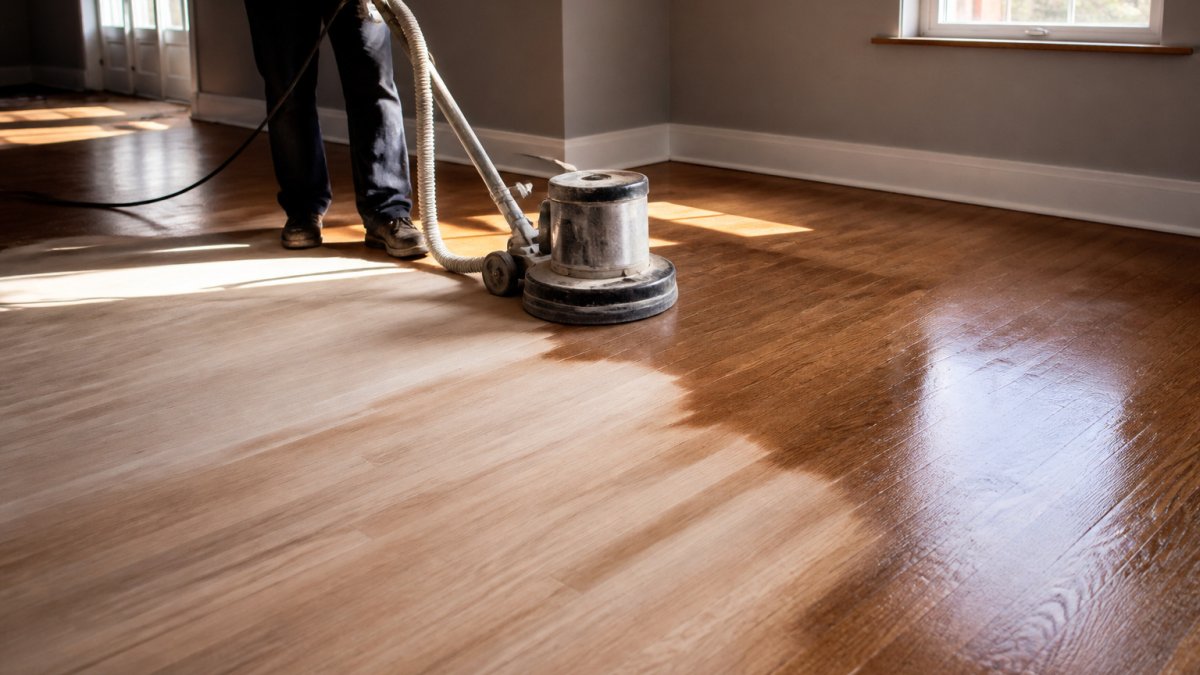
Sanding removes the cupped surface and flattens the floor again, but only under specific conditions. If you sand while the moisture problem persists, the boards will cup again.
When sanding makes sense:
- Moisture content has been brought below 16%
- The moisture source has been identified and fixed
- Cupping is mild to moderate (less than 1/8 inch of rise)
- You've waited at least 2-4 weeks after drying to ensure the wood has stabilized
When sanding won't work:
- Moisture content is still above 16%
- The moisture source is still active
- Cupping is severe (more than 1/4 inch of rise)
- Boards show signs of rot or structural damage
Sanding removes a thin layer of wood. Sand too aggressively on thin engineered flooring and you can damage the wear layer or expose the plywood core; solid hardwood is more forgiving, but even it has limits.
Replacement is necessary if:
- Boards are rotted or structurally compromised
- Cupping is severe and doesn't improve after drying
- The same boards cup repeatedly despite moisture control
- Damage is widespread across most of the floor
Replacement is expensive and disruptive, but sometimes it's the only real solution. New boards installed with proper moisture control and acclimation rarely cup.
How Long for Cupped Floors to Flatten After Drying
Once you've fixed the moisture source, the wood dries and the cupping gradually improves, but patience is essential.
In general, expect 2-4 weeks for mild cupping to flatten after you've controlled the moisture and humidity. More severe cupping may take 4-8 weeks or longer.
During drying, keep indoor humidity between 40-55% using a dehumidifier if necessary. Ensure good air circulation under the floor by opening vents or running fans.
Check progress with a moisture meter every week or two.
Don't rush the process. Forcing the wood to dry too quickly can cause excessive shrinkage, gapping, or crowning. Slow, steady drying is better than aggressive dehumidification.
Prevention: Installation, Acclimation, and Moisture Control
The best approach to cupping is preventing it in the first place. Proper installation and ongoing moisture management make a huge difference.
Acclimation is the first step. Before installing hardwood, the wood must be stored in the room where it will be laid for at least 3-7 days so it can adjust to local humidity and temperature.
Proper installation matters enormously. Hardwood should be installed with:
- A moisture barrier or underlayment over concrete slabs
- A properly functioning vapor barrier in crawl spaces
- Adequate spacing between boards to allow for seasonal movement
- Fastening methods that allow the wood to move slightly
Engineered flooring is more stable than solid hardwood in high-moisture environments because its cross-grain plywood core resists cupping. If you live in a humid climate or have moisture concerns, engineered flooring is a smarter choice.
Ongoing moisture control includes:
- Maintaining indoor humidity between 40-55% year-round
- Using a dehumidifier in summer or damp seasons
- Fixing leaks immediately
- Ensuring crawl spaces are properly vented and have vapor barriers
- Cleaning gutters and grading soil away from the foundation
- Wiping up spills promptly
These preventive measures don't cost much but can save thousands in repairs. A little effort upfront prevents the heartbreak of cupped floors down the road.
Hardwood floor cupping is frustrating, but it's fixable if you address the moisture source promptly. If you're dealing with cupped floors or planning a new installation and want to avoid this problem, Freddie Sanchez Hardwood Floors can help.
Frequently Asked Questions
What causes hardwood floors to cup?
Hardwood floors cup when moisture content beneath or within the wood exceeds moisture content at the surface. Wood naturally expands when it absorbs water, and when the underside absorbs more moisture than the top, the board edges rise and the center becomes concave. Common sources include plumbing leaks, appliance spills, high indoor humidity, concrete slabs without vapor barriers, and crawl spaces with poor ventilation. Proper acclimation during installation and humidity control prevent most cupping.
Can you sand cupped hardwood floors?
Sanding cupped floors is risky and often not recommended. If moisture is still present, sanding removes material from the high edges, but the boards will re-cup as moisture continues to move through the wood. Sanding works only after the moisture source is eliminated and moisture content stabilizes. Even then, aggressive sanding can weaken thin boards. A professional moisture assessment determines whether sanding is safe for your specific flooring.
How long does it take for cupped hardwood floors to flatten?
Drying time depends on moisture severity, wood thickness, and environmental conditions. A moisture meter confirms when boards have reached equilibrium and are ready for sanding or refinishing.
What is the difference between cupping and buckling in hardwood floors?
Cupping occurs when boards cup upward at the edges with a concave center, caused by excess moisture from below. Buckling is more severe, the entire board lifts off the subfloor, often caused by extreme moisture or improper installation. Buckling requires immediate attention and usually replacement, while cupping can sometimes be reversed if moisture is addressed early. Gapping, where boards shrink and separate, happens when moisture is too low. Proper moisture control prevents all three conditions.