 comparison
DIY vs Pro Hardwood Flooring: Which Fits Your Project
Last Updated: November 5, 2026
Quick Summary
DIY hardwood flooring saves on labor but puts material costs, finish quality, and structural integrity on your shoulders, while a professional install costs more upfront but transfers that risk to an experienced crew. DIY works for small, sound-subfloor rooms but fails badly when moisture, structural issues, or a tight timeline are involved.
- Rent a pneumatic floor nailer for a single room, but buy an inexpensive moisture meter you will use for years.
- Floating engineered flooring in one room rates 1 to 2 on a 1-to-5 difficulty scale; full-home nail-down solid rates 4 to 5.
- Acclimation takes days before installation, and a full-home nail-down realistically runs two to four weeks for a first-timer.
- A DIY error can void manufacturer warranty coverage on finish and structural claims, and homeowner's insurance may not cover your own work.
- Hire a pro when moisture issues, structural subfloor problems, or a sale within three months are in play.
Table of Contents
- DIY vs Professional Hardwood Flooring: The Core Trade-Off
- Hardwood Floor Installation Cost 2026: DIY vs Hiring a Pro
- Tools Needed for Hardwood Floor Installation (and What to Rent)
- Hardwood Flooring Installation Mistakes That Cost the Most
- Skill, Time, and Difficulty: Rating the DIY Job Honestly
- Warranty, Insurance, and Resale Value: What DIY Puts at Risk
- When to Hire a Pro for Your Hardwood Floor Installation
- Frequently Asked Questions
DIY vs Professional Hardwood Flooring: The Core Trade-Off
Weighing the pros and cons of DIY hardwood flooring comes down to one question: are you trading money for risk, or risk for money? A DIY install saves on labor but puts material costs, finish quality, and structural integrity on your shoulders. A professional install costs more upfront but transfers that risk to a crew that does this daily.
The honest answer is that DIY works for some homes and fails badly in others. Below, we break down cost, tools, mistakes, skill, and resale value so you can decide with clear eyes.
DIY hardwood flooring is the practice of installing solid or engineered wood planks yourself using rental or owned tools, rather than hiring an installation crew. The savings are real. So is the risk.
Most guides frame this as a simple budget decision. It isn't. The real variable is your subfloor, your schedule, and how much a failed install would cost to undo.
Hardwood Floor Installation Cost 2026: DIY vs Hiring a Pro
DIY saves the labor line, not the material line. You still pay for every board, and mistakes raise the waste factor fast. A pro quote bundles labor, subfloor prep, and disposal into one number.
Where DIY gets expensive is the hidden line items: tool rental, adhesive, underlayment, baseboards, thresholds, and the extra boxes you buy after miscutting. Professional installation folds those into a fixed scope, so surprises land on the contractor, not your card.
For the full cost breakdown behind these numbers, see our guide to hardwood floor installation cost 2026.
Tools Needed for Hardwood Floor Installation (and What to Rent)
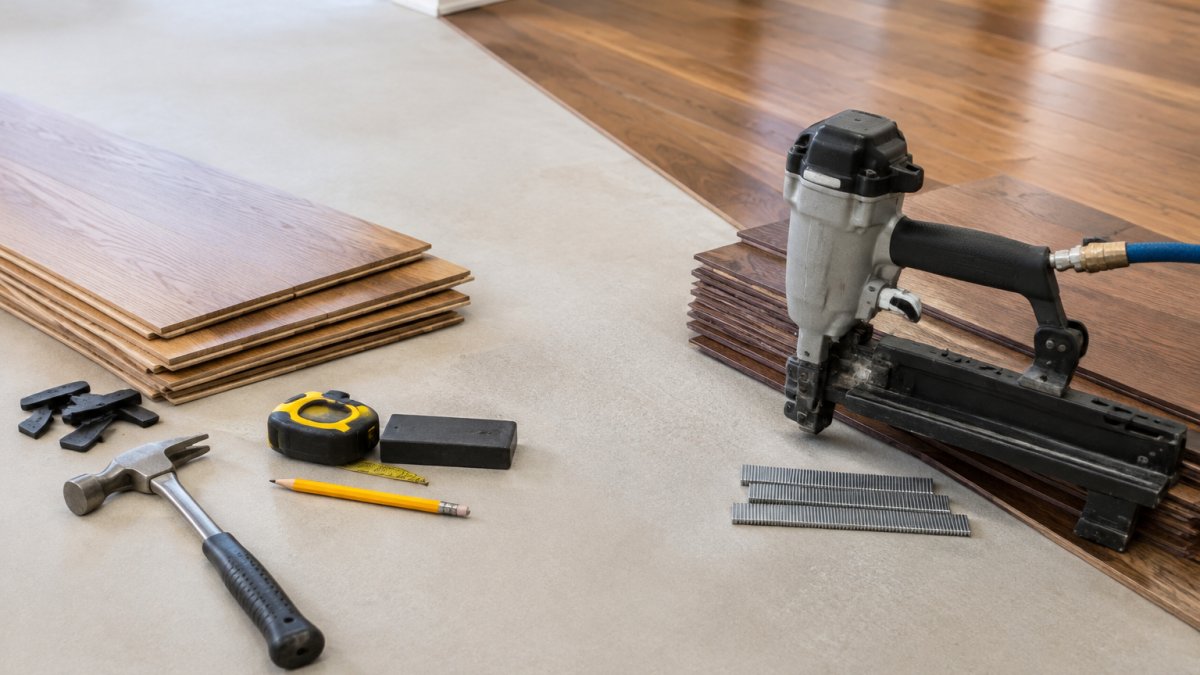
The tool list changes with the installation method, and so does the rent-versus-buy math. Nail-down solid wood needs a pneumatic floor nailer and a compressor; glue-down engineered needs adhesive spreaders, a notched trowel, and roller weights; floating engineered needs little more than a tapping block, spacers, and a pull bar. Buying the wrong tier of tool for a one-time job is one of the quiet ways DIY budgets blow past the pro quote.
Here is the working list by method:
- Nail-down (solid or engineered): pneumatic floor nailer, compressor and hose, mallet, tapping block, pull bar, spacers, moisture meter, miter saw, jamb saw for door casings
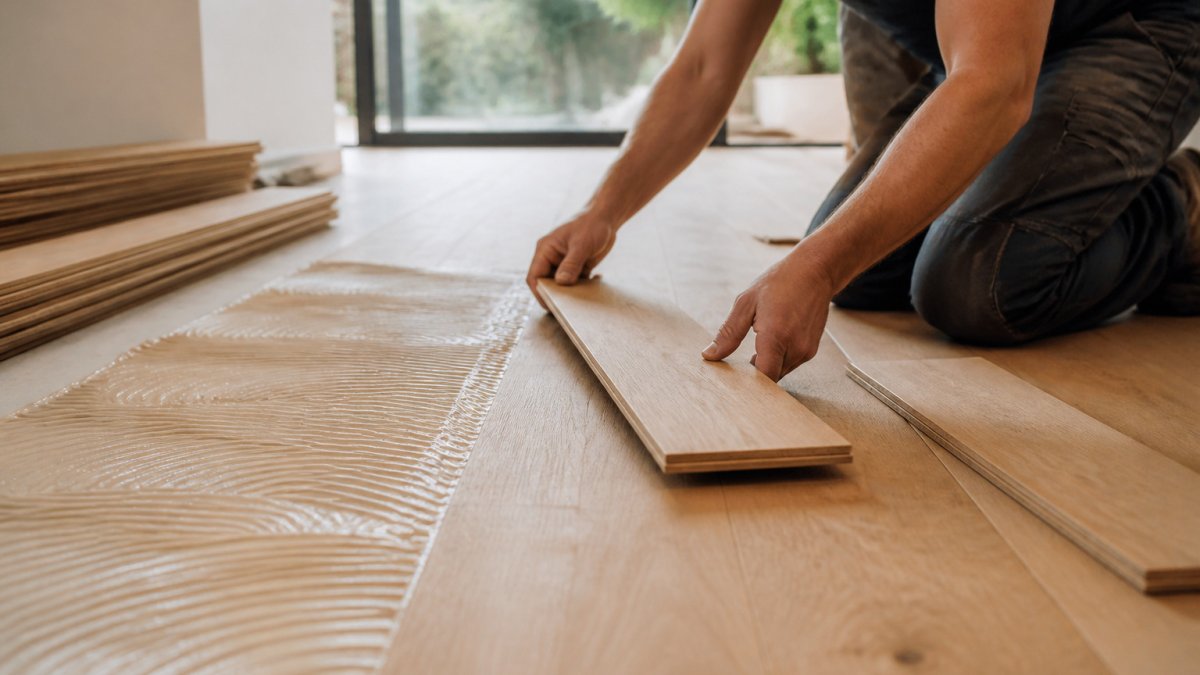
- Glue-down (engineered): adhesive spreaders and notched trowel, roller, weights, tapping block, pull bar, spacers, moisture meter, miter saw
- Floating (engineered): tapping block, pull bar, spacers, underlayment, miter saw, moisture meter
Rental versus purchase ROI. The rule of thumb most installers use: rent anything you will use for one project and that costs more than a few hundred dollars to own. A pneumatic floor nailer is the classic example of a tool that is often rented for a single room. A moisture meter, by contrast, is inexpensive enough to buy and useful for years of home maintenance, so buy it. The break-even point is roughly the second or third install: if you plan to floor more than one room in the next year or two, owning the nailer can beat repeated rental fees, but for a single room the rental wins almost every time.
- Rent: pneumatic floor nailer and compressor, floor sander or edger for refinishing, jamb saw
- Buy: moisture meter, tapping block, pull bar, spacers, knee pads, blades, mallet
- Skip: solid-wood specialty tools if you are installing engineered planks, and a floor sander if you are not refinishing
Watch out: rental nailers are often set up for a specific fastener and tongue thickness, and using the wrong fastener or an unadjusted depth setting can split tongues or leave nails proud, confirm the rental shop has the right cleats or staples for your plank thickness before you leave the counter.
Budget for consumables too: fasteners, adhesive, underlayment, and blades are not in the rental price and are easy to forget when comparing DIY against a pro quote. For the full cost breakdown behind these numbers, see our guide to hardwood floor installation cost 2026.
Hardwood Flooring Installation Mistakes That Cost the Most
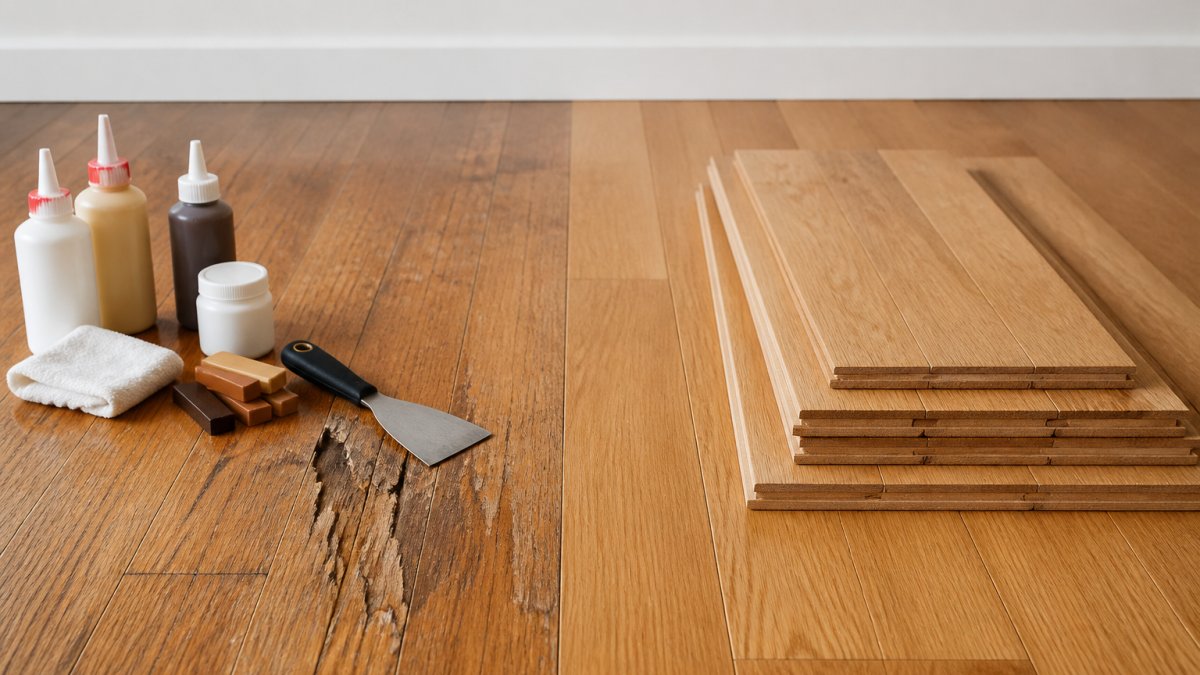
The costliest mistakes start before the first board goes down. Skipping subfloor preparation, ignoring moisture testing, and rushing the acclimation period cause gapping, floor cupping, and squeaking that show up months later.
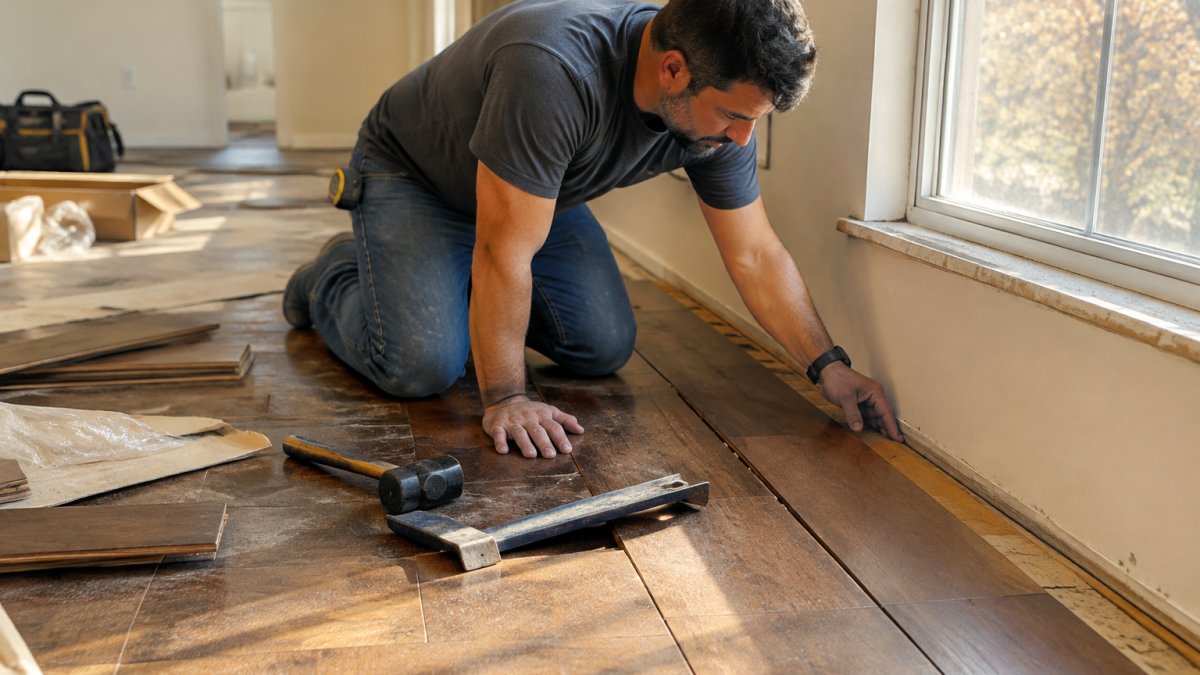
A common mistake is nailing too close to the tongue or leaving expansion gaps too tight against walls. Both cause squeaks and buckling. In practice, the waste factor climbs when boards are cut short, so measure twice.
For the subfloor prep details behind these failures, read our guide to subfloor preparation for hardwood installation.
Skill, Time, and Difficulty: Rating the DIY Job Honestly
Most guides treat "difficulty" as one number. It isn't, it depends on the installation method, the wood type, and the room count. Here is a complexity scale by method, using a 1-to-5 rating where 1 is a careful beginner weekend project and 5 is work that rewards years of experience:
| Method | Difficulty (1-5) | Typical scope for a beginner | Main skill bottleneck |
|---|---|---|---|
| Floating engineered, single room | 1-2 | Weekend project | Layout and expansion gaps |
| Glue-down engineered, single room | 2-3 | Weekend to several days | Adhesive open time and cleanup |
| Nail-down engineered, single room | 3 | Several days | Nailer setup and tongue alignment |
| Nail-down solid, single room | 3-4 | Several days to a week | Fastener depth and board fitting |
| Nail-down solid, full home | 4-5 | Multi-week | Layout continuity, transitions, subfloor correction |
The jump from a single room to a full home is not linear. Layout lines have to carry through doorways and hallways, transitions between rooms have to line up, and every subfloor defect compounds across square footage. That is why a homeowner who successfully floats one bedroom can still stall on a whole-house nail-down.
Time is the hidden cost. Acclimation alone takes days before you touch a board, planks need to sit in the room at its normal temperature and humidity so they stabilize. Add curing time for finishes and you are looking at a project timeline measured in weeks, not hours. A single-room floating install is realistically a weekend; a full-home nail-down is realistically two to four weeks of evenings and weekends for a first-timer, longer if subfloor correction is needed.
Skill benchmarks that matter more than general handiness: can you read a moisture meter and act on it, can you set a nailer depth so fasteners sit in the tongue without splitting it, and can you keep a consistent expansion gap around every wall and obstruction? If any of those is a no, the difficulty rating for your project effectively goes up by one.
If you are weighing the schedule before committing, our breakdown of how long hardwood floor installation takes covers the seven factors that stretch a timeline.
Warranty, Insurance, and Resale Value: What DIY Puts at Risk
Manufacturer warranties often hinge on proper installation. A DIY error can void coverage on finish and structural claims, leaving you with no recourse if the floor fails.
Insurance is the second gap. If a DIY install causes water damage or a subfloor failure, a homeowner's policy may not cover work you performed yourself. Professional installation warranty coverage shifts that exposure to the contractor.
Resale value cuts both ways. Hardwood flooring is a genuine home improvement that buyers pay for, but a visibly flawed DIY job can read as a liability during a home inspection. Buyers notice gapping and uneven finish quality.
If you want to understand the coverage you may forfeit, review hardwood flooring installation warranty options before you start.
When to Hire a Pro for Your Hardwood Floor Installation
Hire a professional when moisture issues, structural subfloor problems, or a tight timeline are in play. Those are the conditions where a DIY mistake costs more to fix than the labor would have cost to begin with.
The decision is simpler than most homeowners expect:
| Situation | DIY | Hire a Pro |
|---|---|---|
| Single room, engineered, floating | Good fit | Optional |
| Full home, solid wood, nail-down | High risk | Recommended |
| Known moisture or subfloor issues | Not advised | Recommended |
| Selling within three months | Risky | Recommended |
| Tight coordination with other trades | Hard to manage | Recommended |
At Freddie Sanchez Hardwood Floors, we are committed to constant communication with customers until the job is done.
When you're ready to compare installers, our guide to the best hardwood flooring installation companies walks through what to look for.
Weighing the pros and cons of DIY hardwood flooring is really a question about risk tolerance and timeline. If your subfloor is sound and the room is small, DIY can work. If moisture, structural integrity, or a sale date is on the line, bring in a crew that does this every day. Freddie Sanchez Hardwood Floors brings expert installation, high standards of craftsmanship, and constant communication until the job is done. Get started with Freddie Sanchez Hardwood Floors and install a floor that holds up for years.
Frequently Asked Questions
Is it worth installing hardwood floors yourself?
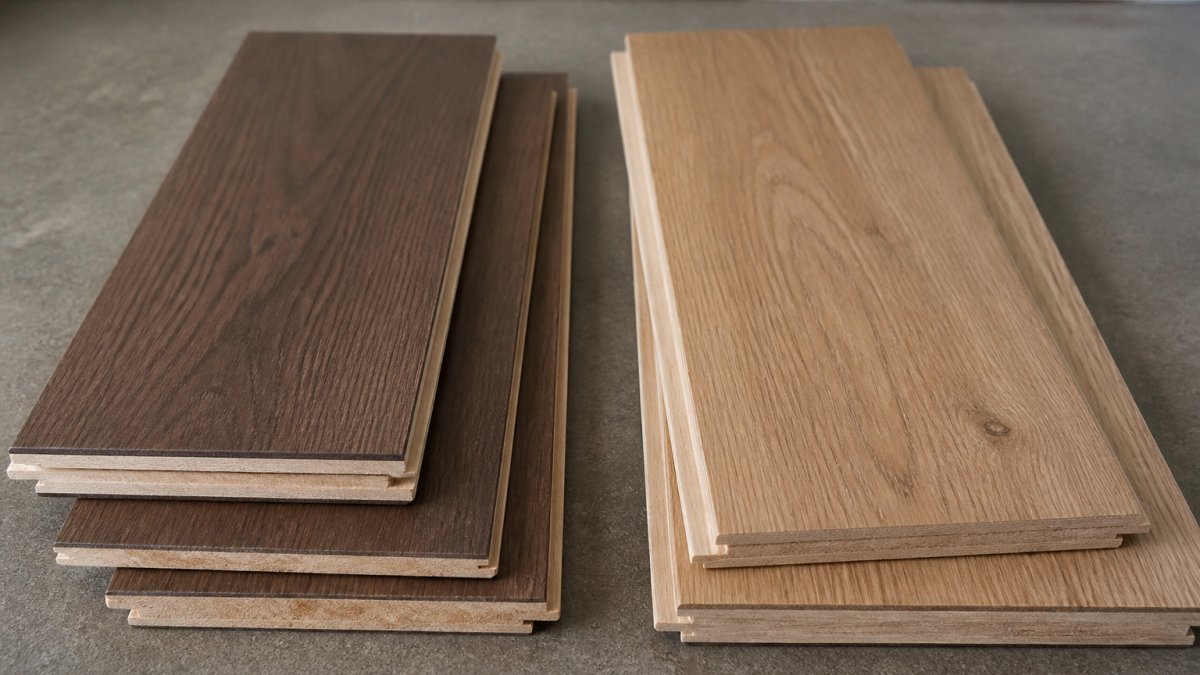
It depends on your floor type, subfloor condition, and comfort with power tools. DIY hardwood flooring can save on labor, but engineered and floating floors are far more forgiving than solid nail-down boards. If your subfloor needs leveling, moisture readings are borderline, or you are installing solid wood over a large area, the risk of gapping, cupping, or squeaking often outweighs the savings. Many homeowners find a hybrid approach works best: handle demolition and prep, then bring in a pro for the install.
How much does hardwood floor installation cost in 2026?
Hardwood floor installation cost 2026 depends on square footage, wood species, and whether you choose solid or engineered boards. The biggest variable is labor: professional installation adds a significant per-square-foot charge on top of material costs, while DIY removes that line item but adds tool rental, waste factor, and your own time. Get itemized quotes from local installers and price your materials separately so you can compare the real gap before committing.
Does DIY hardwood installation void manufacturer warranties?
Often, yes. Many manufacturers require installation by a qualified professional to keep the finish and structural warranty valid, and some specify nail-down or glue-down methods that must be followed exactly. Acclimation period, moisture testing, and subfloor prep are usually written into the warranty terms. Before you buy, read the installation requirements on the product page or box. If the warranty requires a pro, a DIY install can leave you paying for replacements out of pocket.
How long does it take to install hardwood flooring as a beginner?
Plan for roughly two to three times longer than an experienced crew. A pro might finish a standard room in a day; a first-timer should budget several days per room once you factor in acclimation, subfloor leveling, cutting around thresholds and baseboards, and fixing mistakes. Add drying time for glue-down methods and a buffer for tool rental returns. Rushing the acclimation period is one of the most common hardwood flooring installation mistakes and a leading cause of gapping later.
What tools are needed for hardwood floor installation?
The core list includes a miter saw, pneumatic nailer or flooring stapler, tapping block, pry bar, chalk line, moisture meter, and safety gear. You will also need floor leveling compound, underlayment, and fasteners matched to your board thickness. For a single room, renting the nailer and saw usually costs less than buying. For multi-room projects or repeated renovations, purchasing can pay off. Always confirm the tool matches your installation method: floating floors need far less equipment than nail-down solid wood.